Nexus 4 Display Assembly Replacement
ID: 100627
Description: Use this guide to replace your Nexus 4 Display...
Steps:
- Power off the phone, by long-pressing the power button and touching Power off.
- Remove the SIM tray using the SIM Card Eject Tool.
- This step is required in order to remove the back case.
- Remove the two screws from the bottom of the phone with a T5 Torx Screwdriver.
- Gently open the back case by prying along the edge of the cover, starting at a corner of the phone and circling around the phone using a plastic opening tool.
- The opening process may take a few minutes. The plastic will make a light snapping noise as the back cover separates from the rest of the phone.
- Remove the two 1.8 mm Phillips screws holding down the battery connector.
- Using a plastic opening tool, disconnect the battery cable from its socket on the motherboard.
- Remove the blue tape that secures the white antenna cable to the battery.
- Using a spudger, carefully disconnect the white antenna cable.
- Carefully pry the battery out with a Plastic Opening Tool, starting at the top left-hand corner and working down towards the bottom right-hand corner.
- If necessary, you can also use a plastic card to separate the battery from the metal midframe.
- The battery is securely glued to the phone. When reinstalling the battery, press the battery firmly against the adhesive strip.
- Remove the nine 4.6 mm Phillips #000 screws. Gently lift out the plastic cover.
- The midframe is held in with two clips, one at either side. Use a plastic spudger to release each side and gently lift up and away.
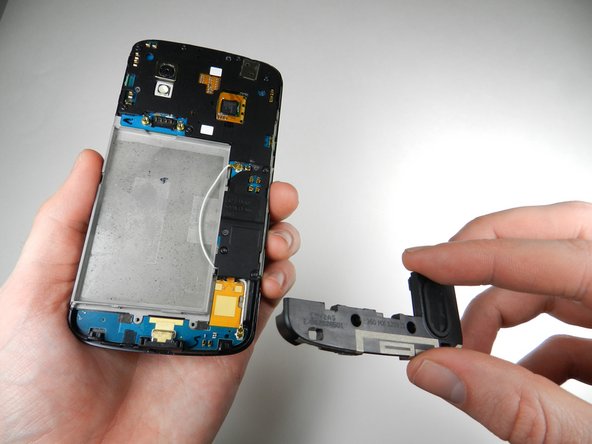
- Remove the two 4.8 mm screws that hold the speaker enclosure together using the Phillips 00 screwdriver.
- Gently pry the speaker up and away from the back of the phone using a plastic opening tool, and lift it out of the phone.
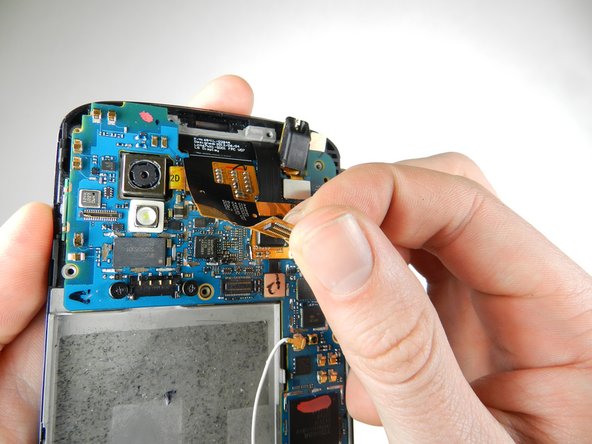
- Using a spudger, pop off the gray connector on the top right of the motherboard.
- Gently lift the audio jack upwards and to the left to remove it from the motherboard.
- The audio port will likely lift out together with the ambient light sensor rubber cap.
- Remove the cap from the old part and move it to the new one. Ensure the cap stays in place when installing the new audio port into the phone.
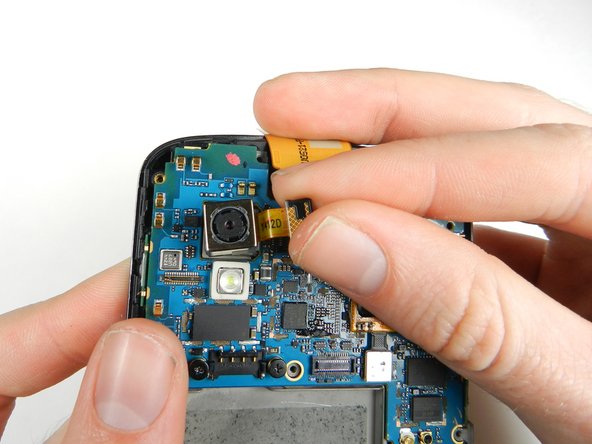
- Gently pry the metal tab up using a spudger, and lift up the disconnected black flap.
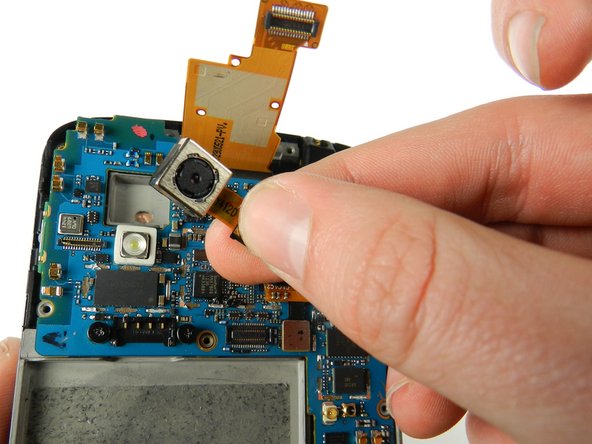
- With a spudger, carefully pry up the black tab connecting the camera to the motherboard.
- Lift up the camera from the socket.
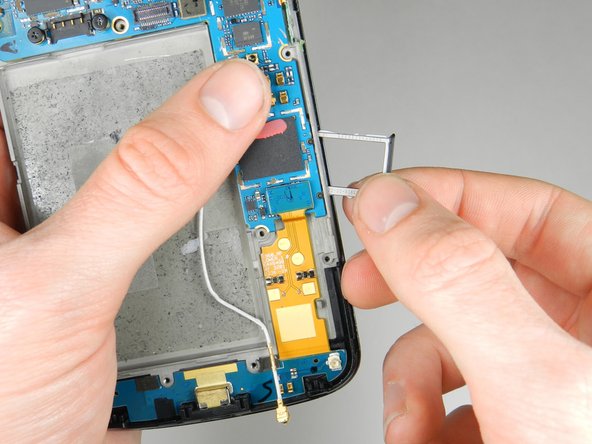
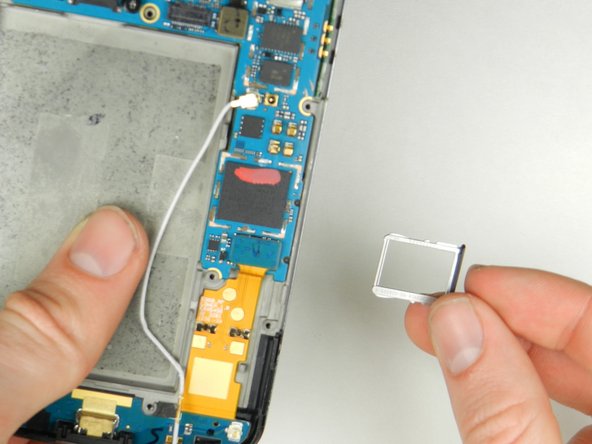
- Remove the Sim Card and the Sim Card metal tray.
- Remove the white antenna interconnect cable that attaches the motherboard to the bottom right-hand corner of phone by pulling on it gently.
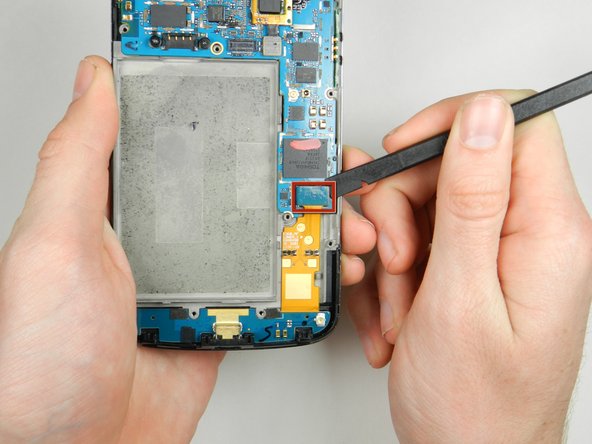
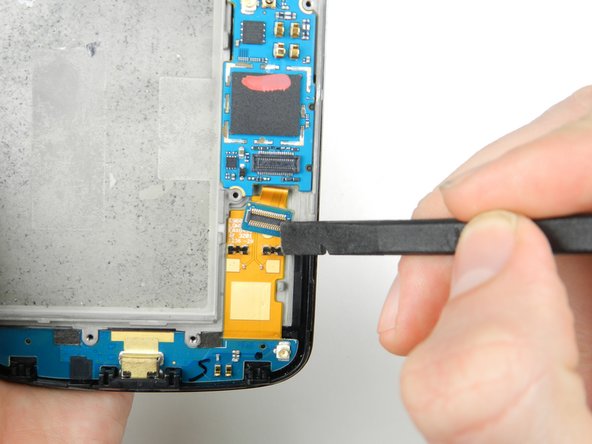
- Remove the tab located in the bottom right-hand corner of the motherboard attaching the motherboard to the front display assembly using a spudger.
- Remove the last tab connecting the motherboard to the front display assembly located in the upper right-hand corner of the motherboard using a spudger.
- Once this tab is removed, the flap will be free and will spring away from the motherboard.
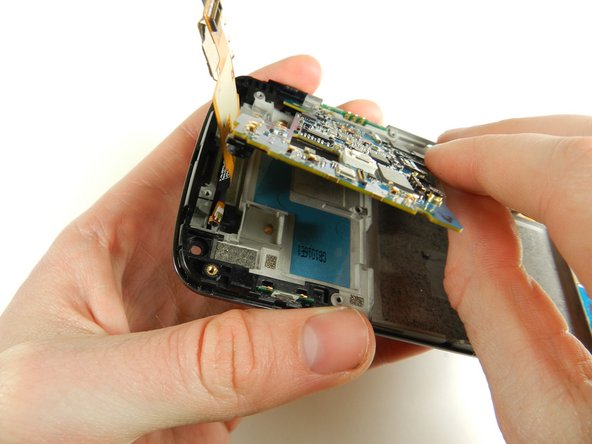
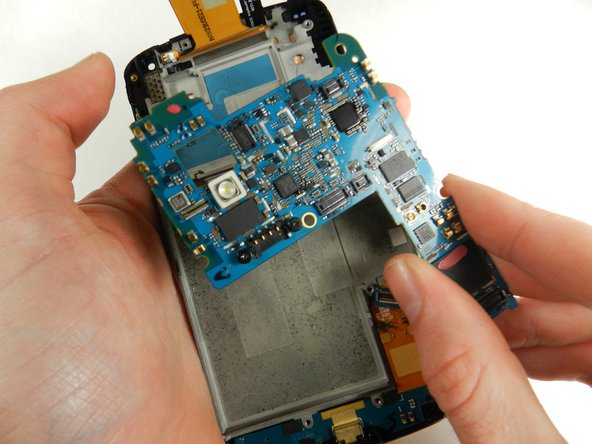
- Using a spudger, gently lift up the motherboard from the front display assembly.
- Carefully remove the motherboard using your hands.
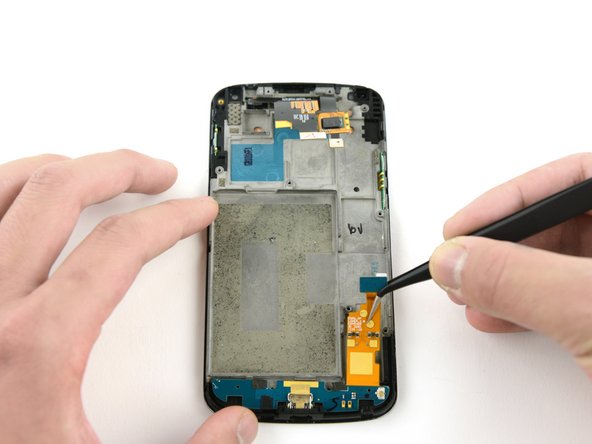
- Grasp the daughterboard with tweezers.
- Gently pull upwards to slide the connector out of the charging port housing.
- Remove the daughterboard from the display assembly.
- Remove the power and volume button switches from the display assembly.
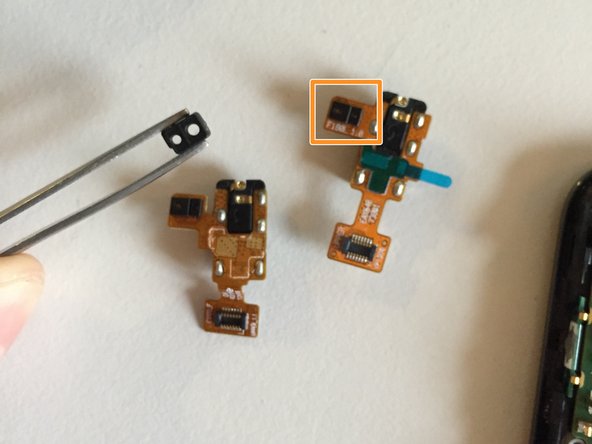
- Compare your old display assembly to your replacement part and verify that they match. If there are any small components missing from the replacement display, transfer them over from you old display.