Sonos Bridge Power Port Replacement
ID: 100631
Description: This repair should be fairly simple given the...
Steps:
- The rubber bottom is glued on, meaning it can be easily pried off using the metal spudger.
- You may have to pry from multiple locations.
- There is one screw in each corner of the base for a total of four screws.
- Remove each screw using the Phillips 1 screwdriver.
- The four screws are each 0.9 cm long.
- The screws are small, so be careful to not lose them.
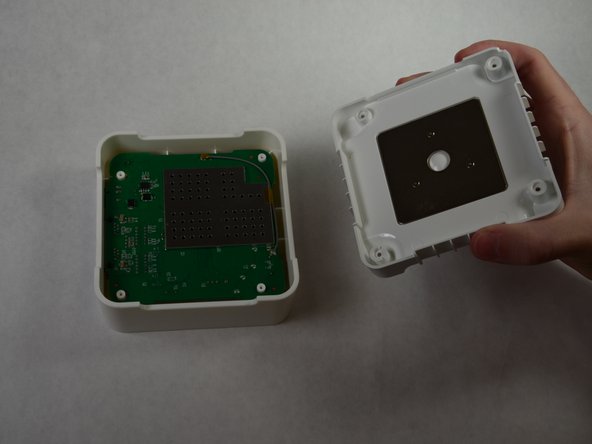
- Use the metal spudger to pry out the plastic bottom.
- Alternatively, the casing can be lightly tapped on a table (base down) to drop the bottom out of the casing.
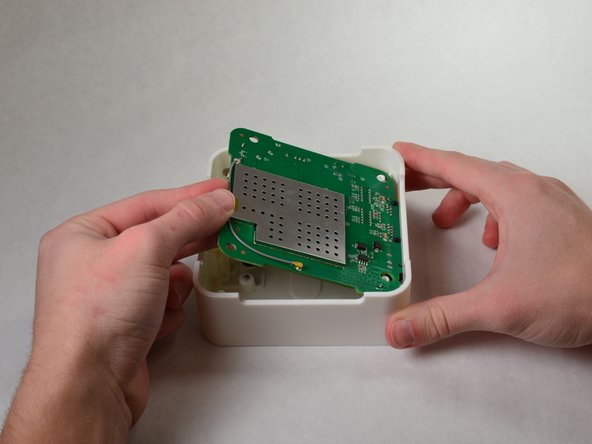
- Pry out the circuit board.
- Place the metal spudger under the board on the side opposite the two ports.
- The board can then be easily wiggled out of the casing.
- This should NOT require significant force.
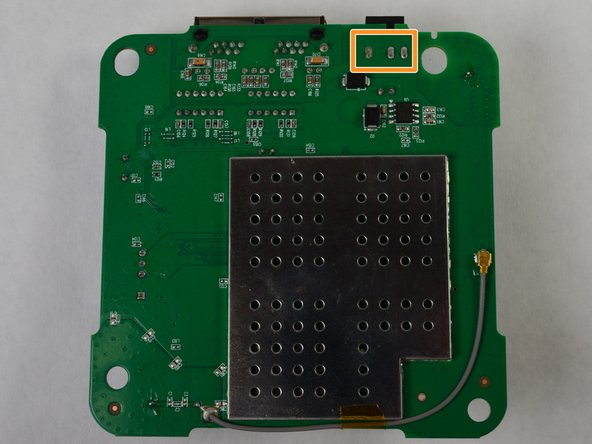
- Locate the Power port on the circuit board, shown with the red box in the first image.
- Locate the solders attached to the Power port.
- Use the soldering iron to undo the solders.