Google Pixelbook Touchpad Replacement
ID: 103135
Description: Before starting this replacement, make sure...
Steps:
- Use the iFixit opening tools or a metal spudger to pry the rubber covers off the back of your Pixelbook.
- Peel the linings off completely until the back of the Pixelbook looks bare.
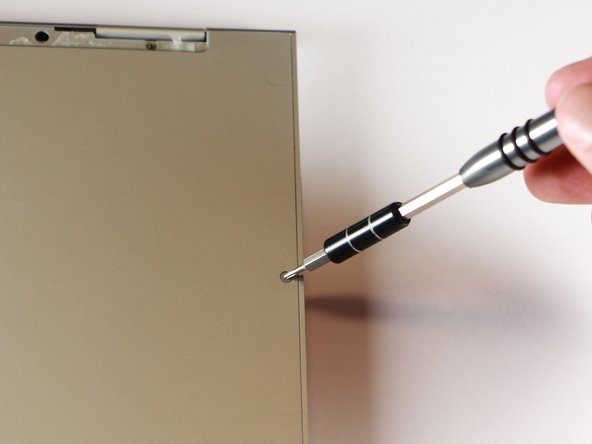
- Remove the two yellow 2.0mm screws by using a T3 Torx screwdriver.
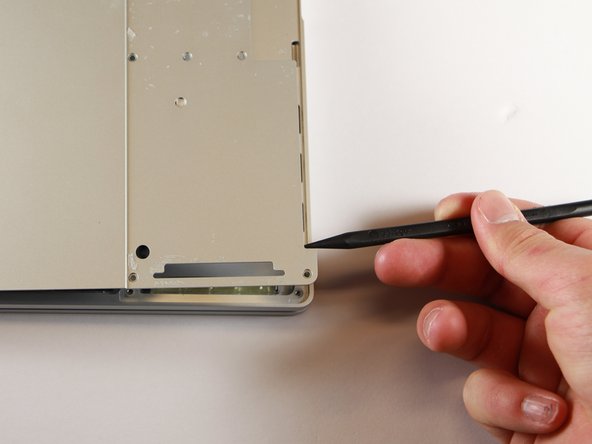
- Remove the seventeen 3.0mm T5 Torx screws from the bottom panel.
- Use the nylon spudger to pry the edge of the Pixelbook up until you can grab the edge with your fingers.
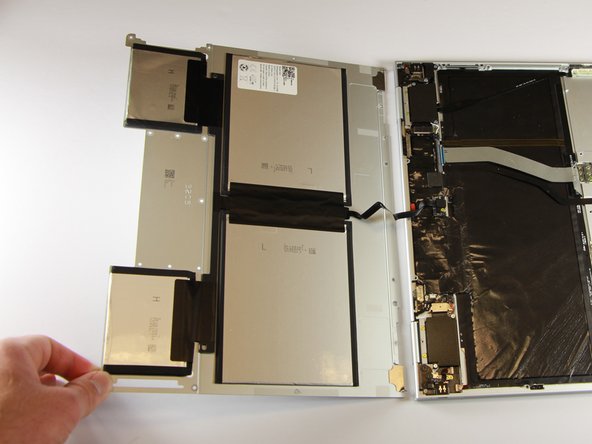
- Open the back panel completely and lay it flat so you see the whole inside of the computer.
- Remove the yellow 2.0mm screw from the middle of the panel by using the T3 Torx screwdriver to turn the screw counterclockwise.
- Remove the small, black casing by using the spudger to lift it up from its place.
- Disconnect the flat, black cord from the main component by using a spudger to push it out of the slot, or by using your hand to carefully pull it out.
- Your back panel is now free from the main component.
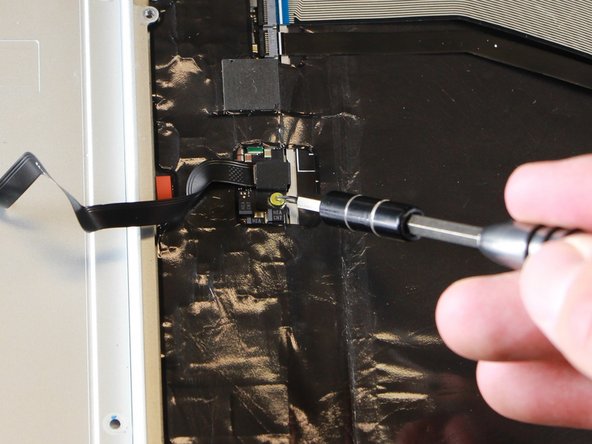
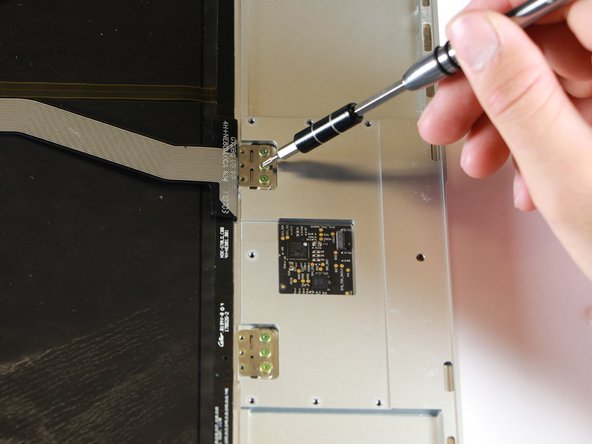
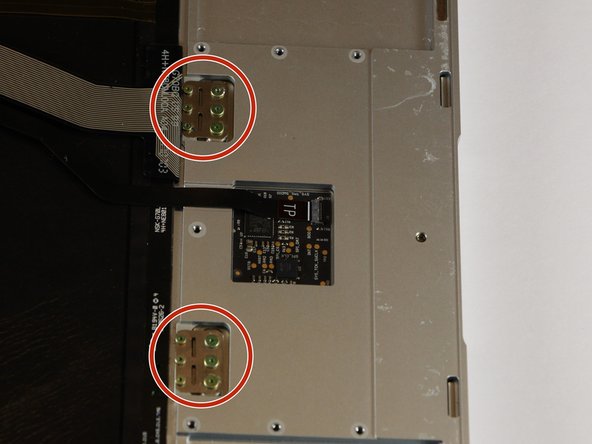
- Once the back panel is out of the way, use the T3 Torx screwdriver to turn both the 2.0mm and large 3.0mm gold screws from the touchpad.
- Gently pull out the ribbon connector either by using tweezers or your fingers to pull the cord out and up.
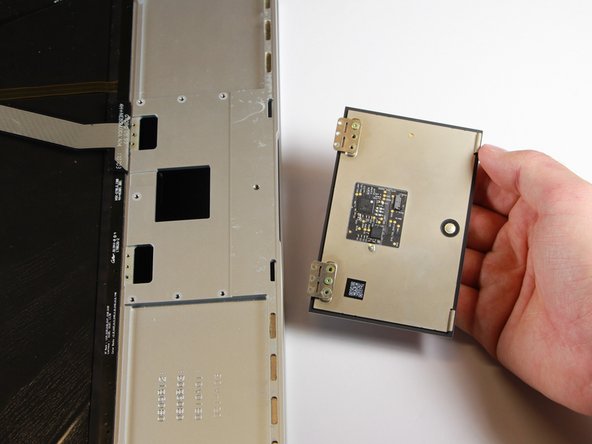
- Use the nylon spudger to push the touchpad out of the laptop by inserting the point into the hole near the edge of the laptop.
- As the metal plates with the screws tilt upwards, use your hand to catch the falling touchpad and remove it.