HP Officejet Pro 6835 Sensor Chip Replacement
ID: 103326
Description: The sensor chip is a small, green chip located...
Steps:
- Open the main lid as far as it will go.
- Use a plastic opening tool to gently pry off the hinge on the right side by pushing it to the left and off the hook.
- Open the lid further.
- Use a T9 torx screwdriver to remove a total of ten (10) 12mm screws from the main cover by turning the screwdriver counterclockwise.
- The two screws above the screen assembly are deep so you may need a long screwdriver.
- Grab the main cover and lift it up slightly.
- Do not pull too hard—there is a cable connecting the cover to the printer.
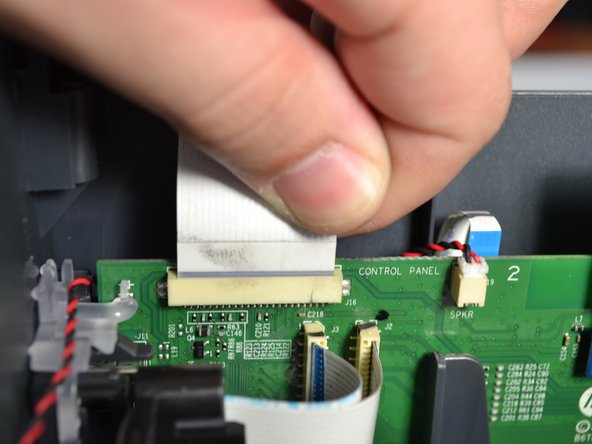
- Grab the base of the white ribbon cable connecting the cover to the base of the printer and pull it out.
- Twist the screwdriver counter-clockwise to remove the T9 screw on the sensor chip.
- Pick up the sensor chip by the edges.
- Pull the white cable to disconnect it from the sensor chip.
- Repeat the process with the cable on the bottom.