Conduit Attachment
ID: 105343
Description:
Steps:
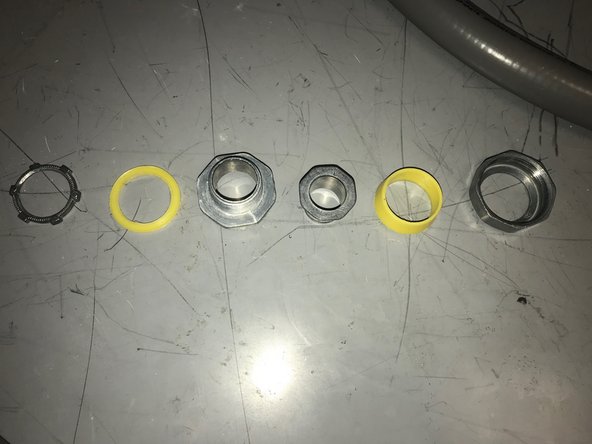
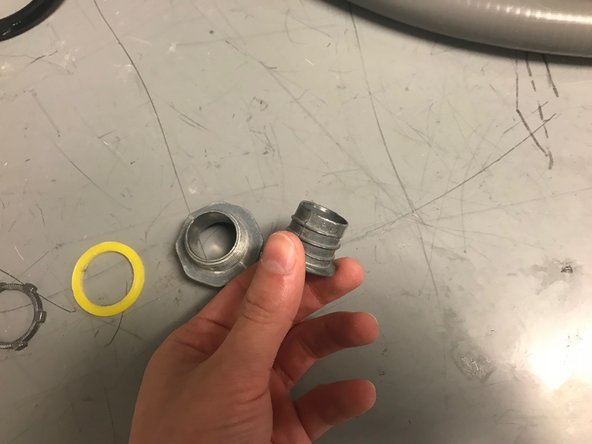
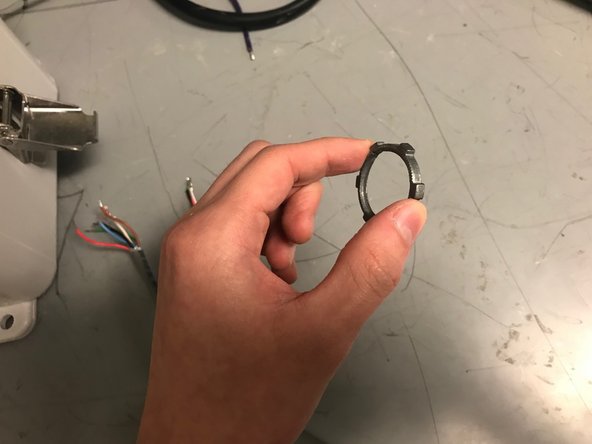
- The parts depicted are the attachment pieces you should have (in addition to the conduit)
- Pull the cover over the conduit and the wires
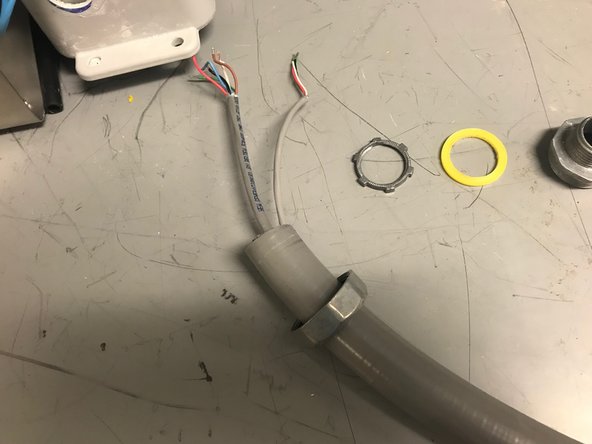
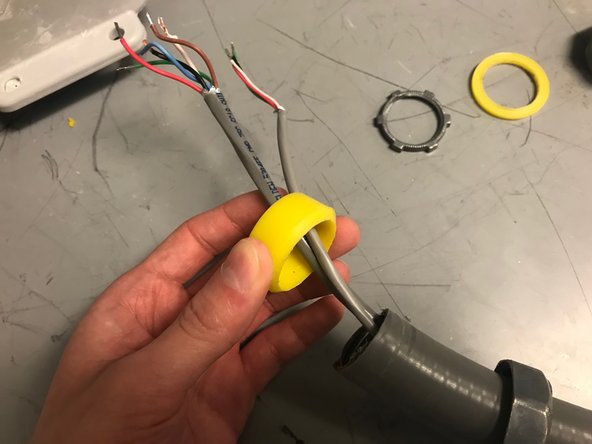
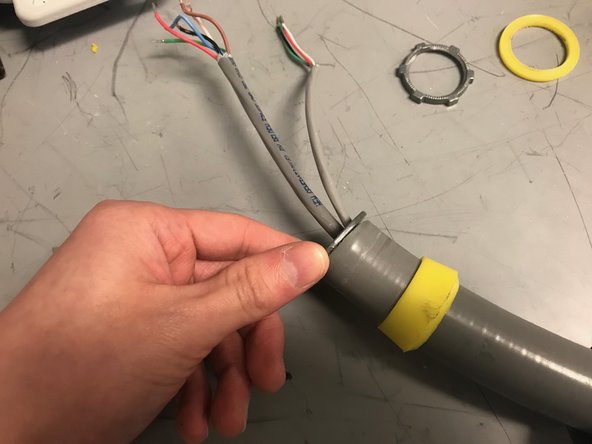
- Pull the outer yellow seal over the wires and the conduit
- The end with the ridge should be pulled down first (i.e. that end will be closer to the cover)
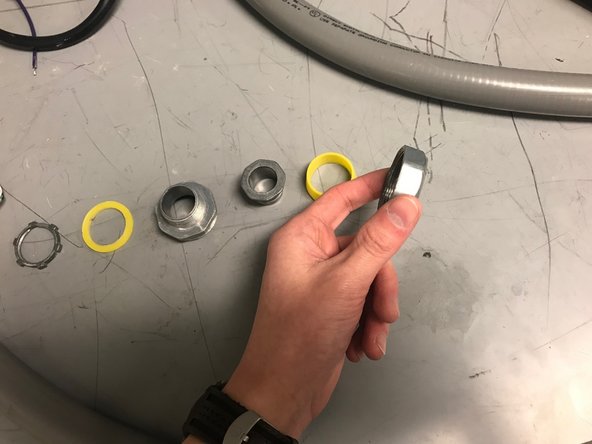
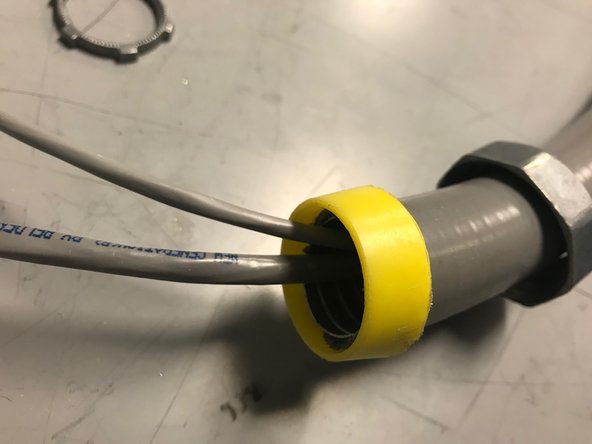
- Pull this piece over the wires and then screw it into the conduit
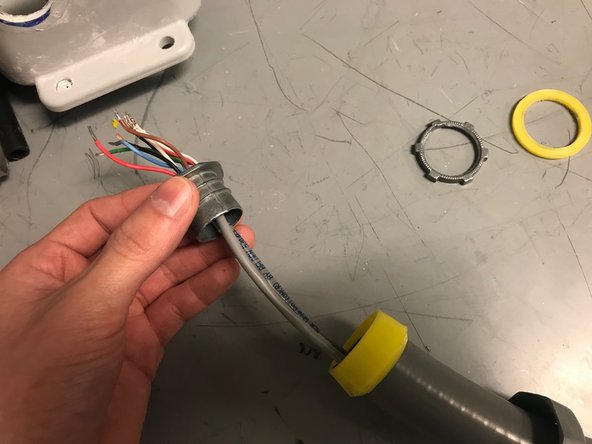
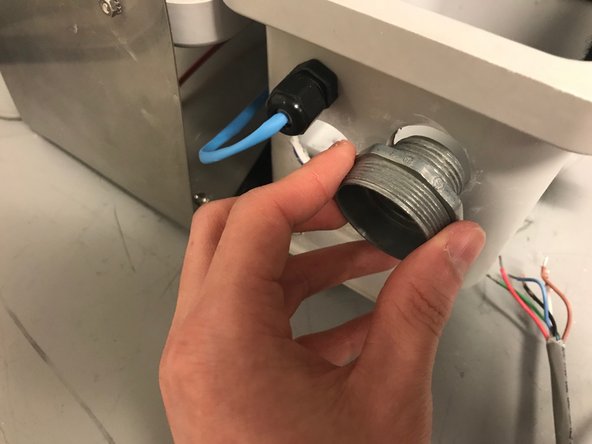
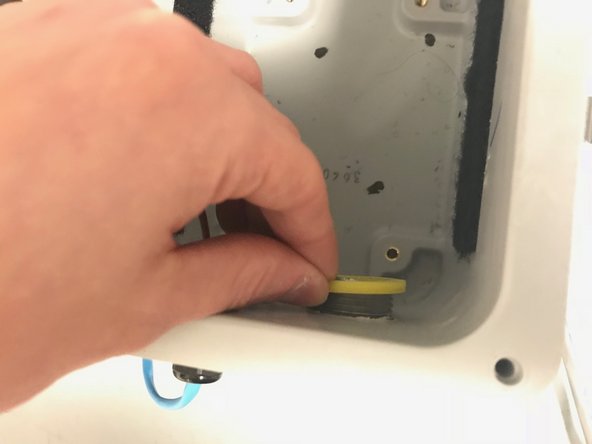
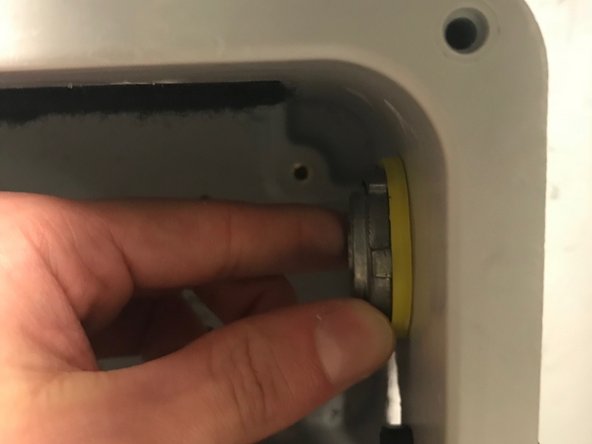
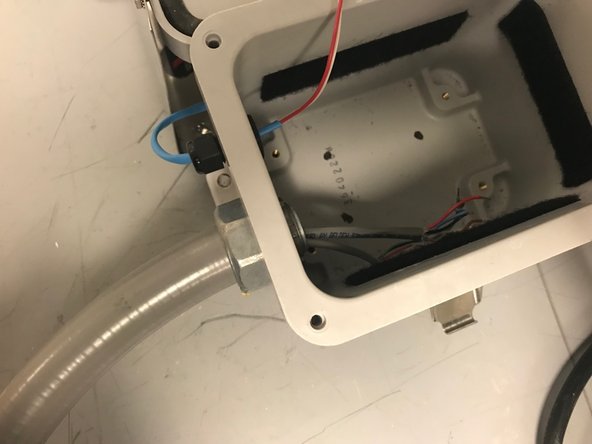
- Put the connector piece into the node (may have to hold it in place for the subsequent steps)
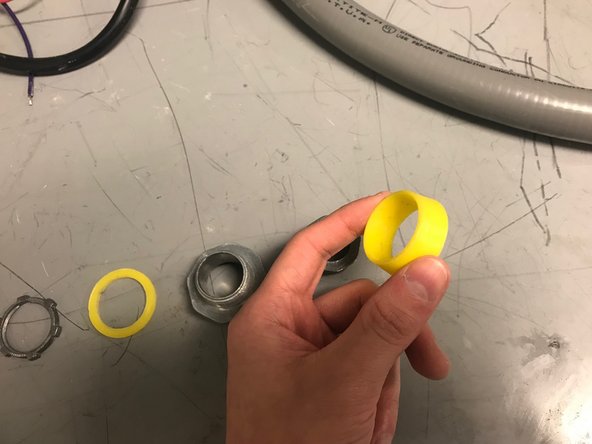
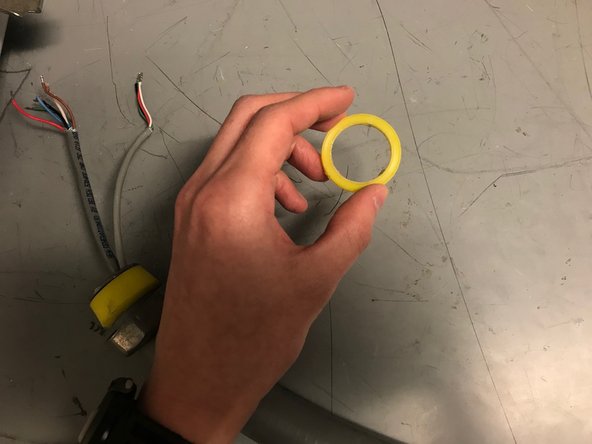
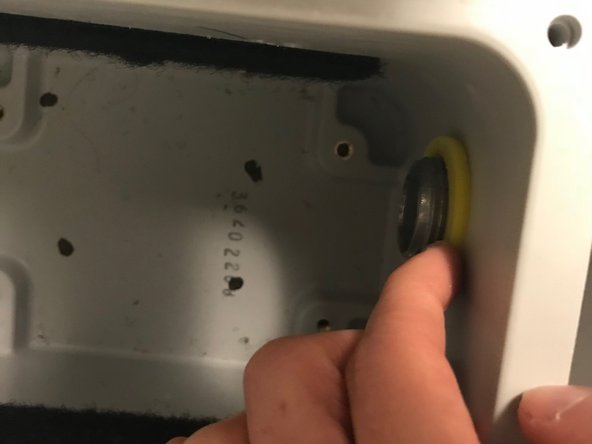
- Pull the yellow seal over the inside of the connector piece
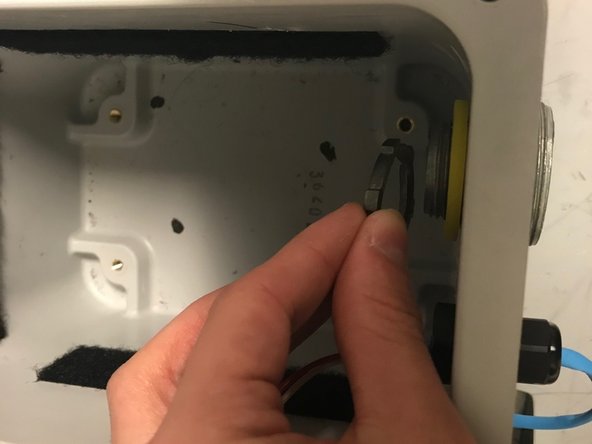
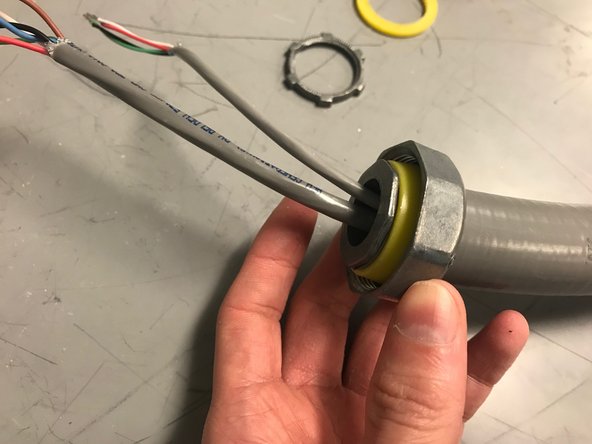
- Screw the tightener piece onto the connector
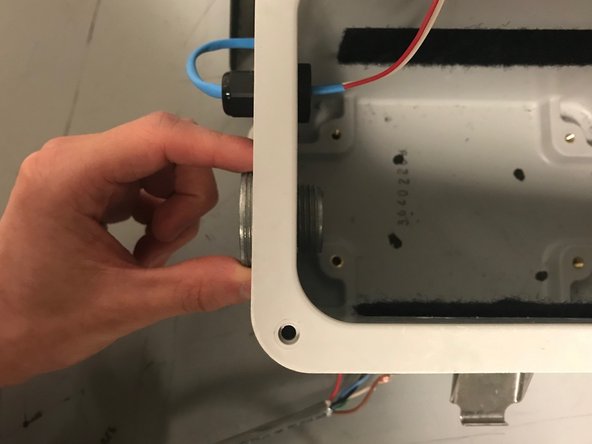
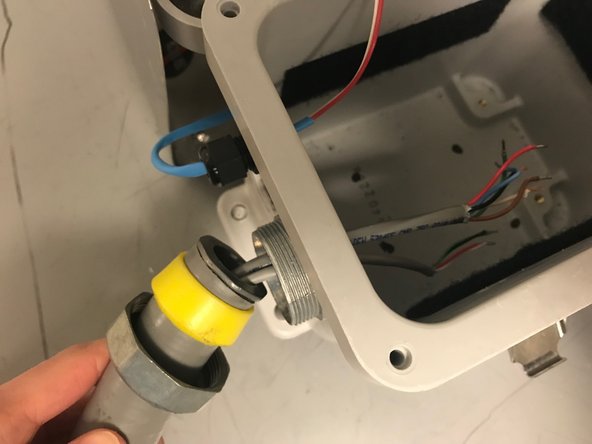
- Pull the wires through the connector piece and then screw the conduit onto the connector
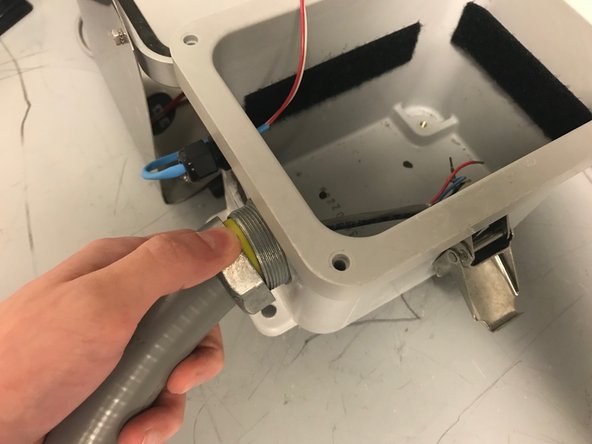
- This is how it should look after everything is connected