Alienware P18G M14X R1 Hard Drive Replacement
ID: 106849
Description: This guide will show you how to replace the...
Steps:
- Loosen the top left and top right 6.5mm PH1 screws that hold down the back cover.
- The screws will not be able to be removed from the back cover. They can only be loosened or tightened.
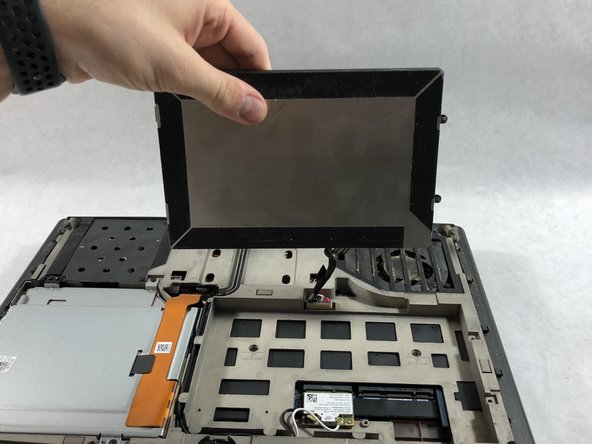
- Slide back cover forward using your thumbs.
- Lift up the cover and set aside exposing the internals of the computer.
- Make sure the laptop is turned off before starting.
- Using PH1 screwdriver loosen the two screws on the right of the battery.
- The screws will not be able to be removed from the battery. They can only be loosened or tightened.
- Pull battery up using the tab provided.
- Disconnect the clip connecting the battery to the computer.
- Set battery aside.
- Unscrew the four 6.35mm screws using the PH1, that hold down the optical drive.
- Using the plastic opening tool unclip the white connector holding down the orange cable.
- Using the tab on the optical drive, lift the optical drive out of the computer and set it aside.
- Loosen the three 6.35 mm screws using the PH1 screw driver, to release the hard drive.
- The screws will not be able to be removed from the hard drive. They can only be loosened or tightened.
- Pull the tab on the hard drive slowly and carefuly because there will be a cable attached to it.
- Pull the clip away from the hard drive to remove it.