RedOctane X-Plorer Motherboard Replacement
ID: 108313
Description: If the motherboard becomes damaged, all other...
Steps:
- Remove the strap by pulling it off of the mounts located on the body and neck.
- Remove the nine 12mm Phillips #1 screws around the perimeter of the case with a screwdriver.
- Remove the two 15mm Phillips #1 screws connecting the body panel to the neck panel with a screwdriver.
- These screws can also be Torx on some models.
- Pull off the rear case.
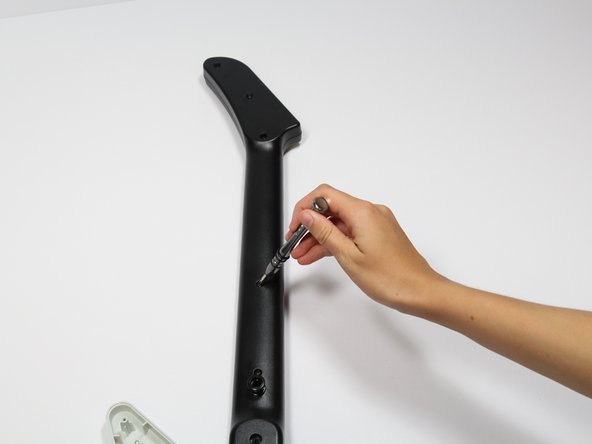
- Remove the five 12mm Phillips #1 screws along the neck with a screwdriver.
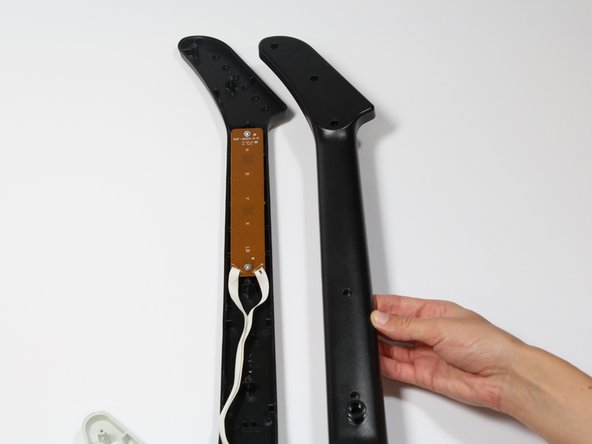
- Pull off the top shell of the neck to expose the internal features.
- Remove the two 10mm Phillips #1 screws from the auxiliary port board using a screwdriver.
- Gently lift up on the auxiliary port to remove it from the case.
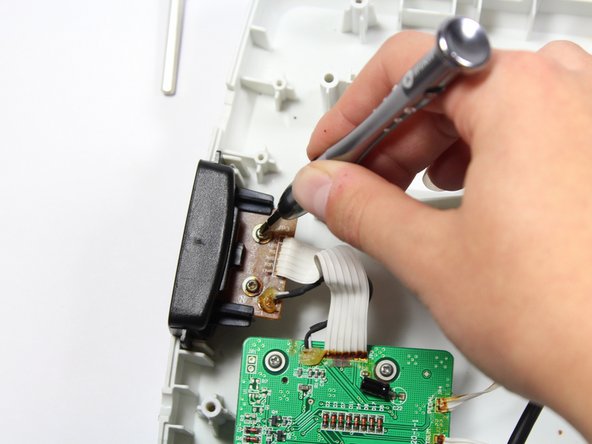
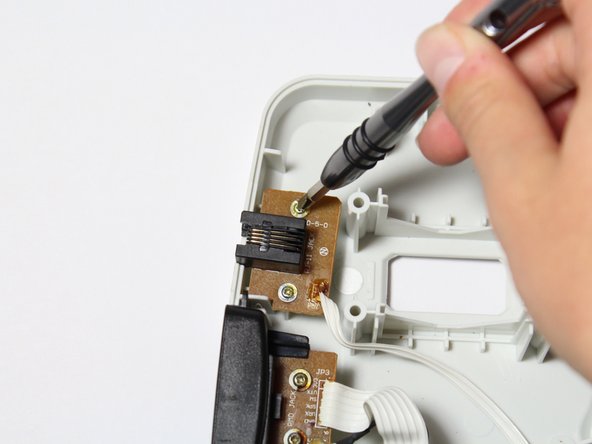
- Remove the two 10mm Phillips #1 screws from the RJ-14 connector board.
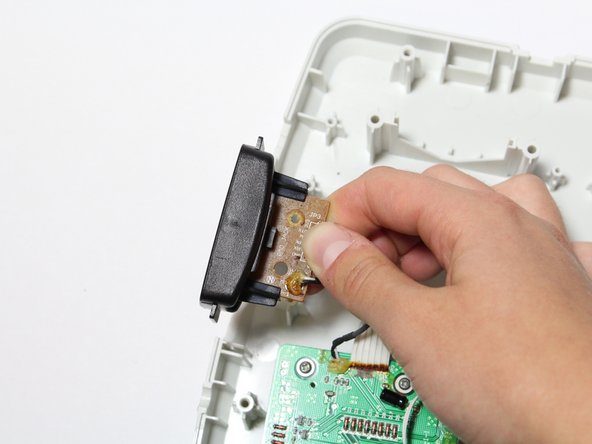
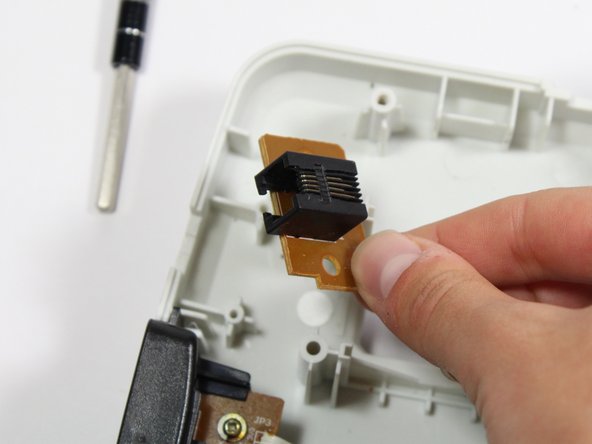
- Lift the RJ-14 connector to remove it from the case.
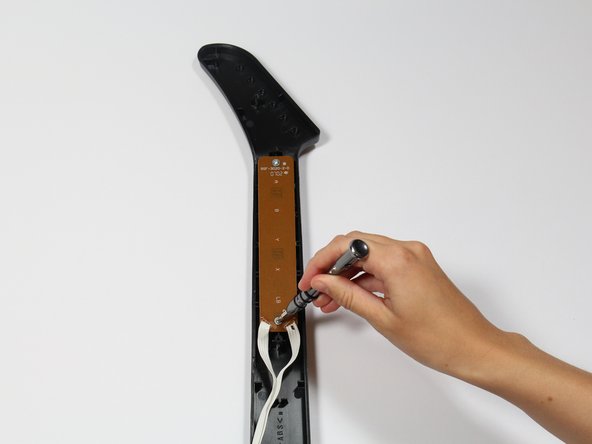
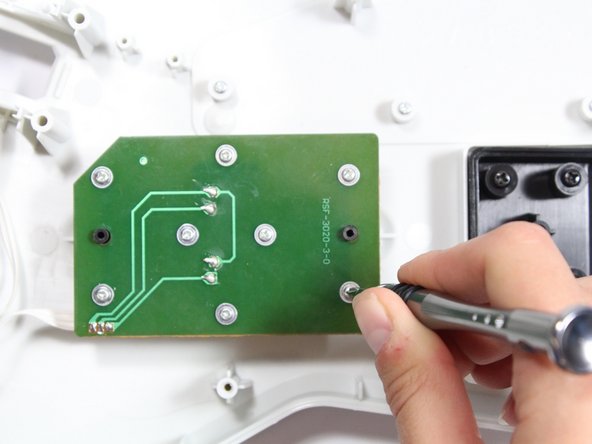
- Use a screwdriver to remove the 10 mm Phillips #1 screws from the key sensor board.
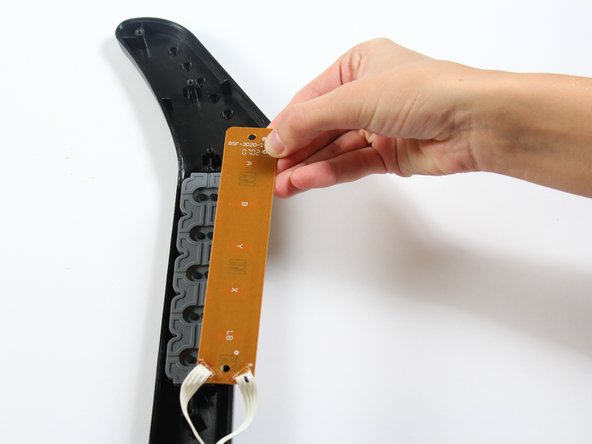
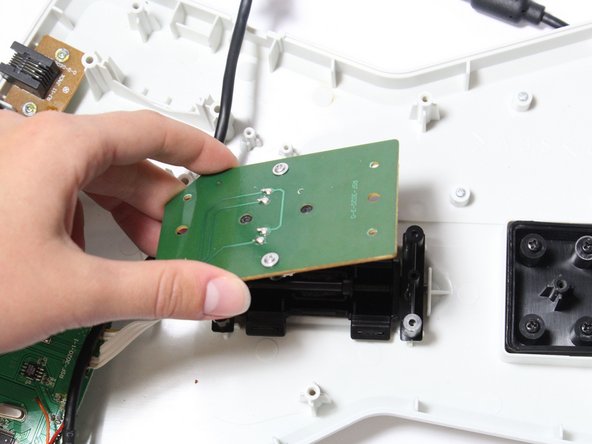
- Lift up on the key sensor board to remove it from the guitar neck.
- When using the screwdriver, make sure to avoid puncturing the wires.
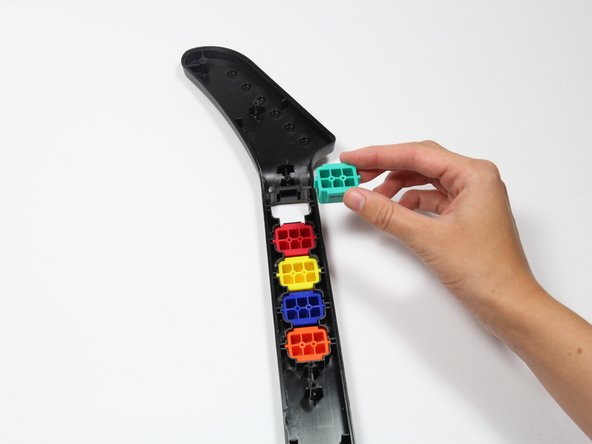
- Using your fingers, remove the rubber pad to expose the colored keys.
- Reach one finger under the guitar to push the key out of the casing.
- Repeat this step for the four remaining keys.
- Use a screwdriver to remove the four 14mm Phillips #1 screws around the perimeter of the strum bar sensor board.
- Lift up on the strum bar sensor board to remove it from the case.
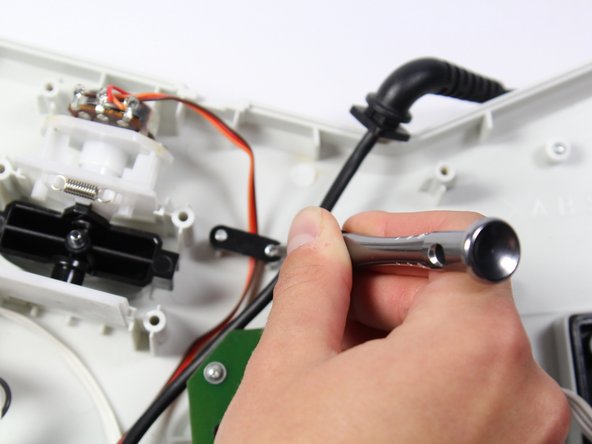
- Remove the two 7mm Phillips #0 screws.
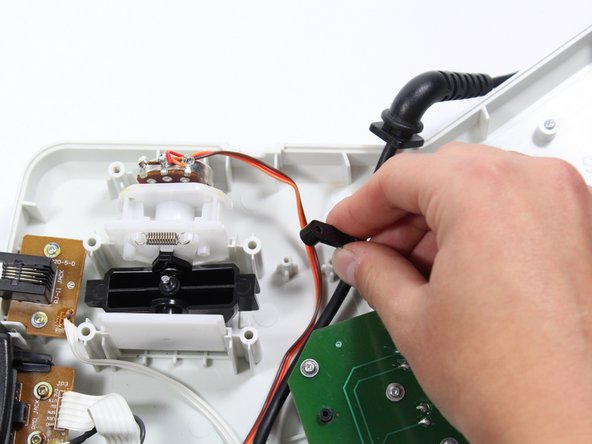
- Using your fingers, remove the black wire retainer.
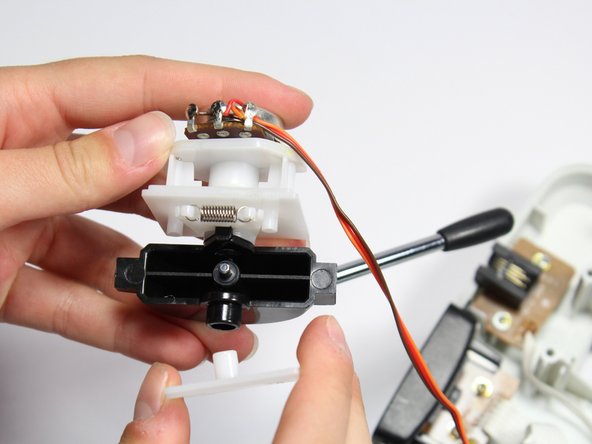
- Using one hand, remove the whammy bar and its attached components from the case.
- Using two hands, remove the whammy bar sensor.
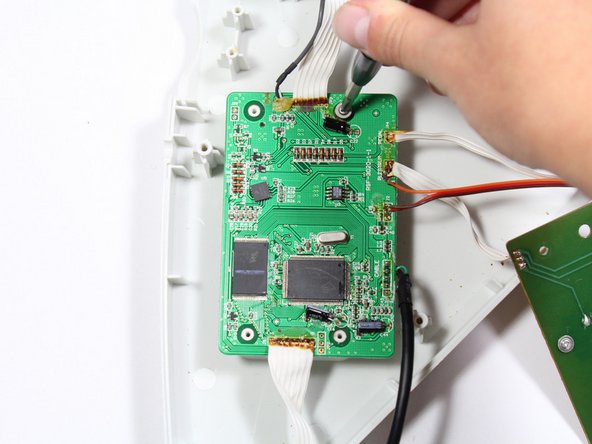
- Remove the four 10mm Phillips #1 screws around the perimeter of the motherboard with a screwdriver.
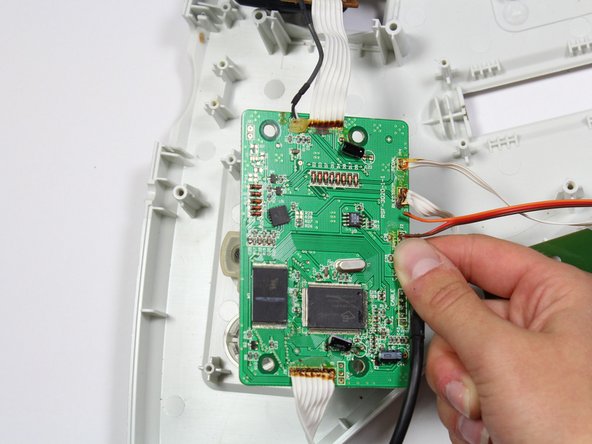
- Lift the motherboard to remove it from the case.