Asus Zenbook UX21e Cooling System Replacement
ID: 108482
Description: The Asus Zenbook UX21e has a simple cooling...
Steps:
- Using a T4 Torx screwdriver, unscrew the ten screws lining the bottom cover. Then, proceed to remove the bottom cover by sliding it out parallel toward the back of the computer.
- There are two length of screws. Eight screws are 3mm and two are 5mm. The two 5mm screws always go into the two center holes along the back edge.
- Using an iFixit opening tool and your other hand, gently lift the connector up from the tape wrapped around the connector wires and pry the connector from the motherboard.
- Remove the battery by unscrewing the five 3mm screws using a Phillips #1 screwdriver.
- One at each corner and one in the center.
- Lift the battery directly up and remove it from the device.
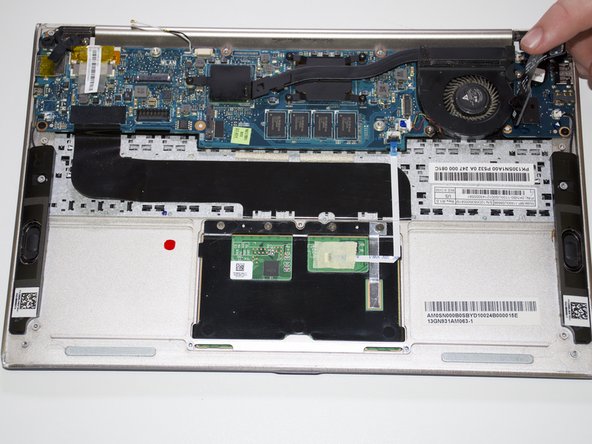
- Remove the plastic piece (labeled M3 10) sitting on top of the fan by lifting from one edge and peeling it over.
- Disconnect fan from motherboard by pulling the small white and blue connector from its socket.
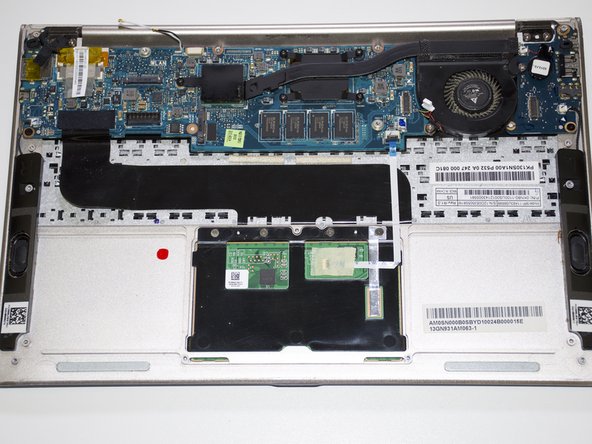
- Remove the seven 3mm screws that hold the cooling system down using a Phillips #1 screwdriver.
- Four are along the heat sink above the CPU, one is on the side of smaller heat sink to the left of the CPU heat sink. Two are along the edge of the fan.
- Remove the cooling system from the device.