Samsung Galaxy Note5 Display Replacement
ID: 108503
Description: Cracked the screen on your shiny new Galaxy...
Steps:
- Insert a SIM Ejector Tool into the small hole on the left side of the top edge of the device.
- Press down until the SIM Card Tray begins to protrude out of the device.
- Remove the SIM Card Tray from the slot.
- Heat the back of the device with a heat gun for two minutes.
- Once the device is very warm to the touch, place a suction cup near the bottom of the back of the device.
- Make sure to place the suction cup on the flat part of the glass.
- Gently pull upwards on the suction cup to separate the rear glass from the body of the phone.
- While pulling upwards, insert a pick under the rear glass
- Keeping the pick under the rear glass, move the pick along the bottom edge of the device to cut the adhesive.
- Repeat the previous heating and cutting procedure for the remaining three sides of the phone.
- Leave a pick on each side as you continue to the next to prevent the adhesive from resealing.
- Once all adhesive has been cut, gently lift up the rear glass to remove it.
- Remove the S-Pen from the bottom of the device.
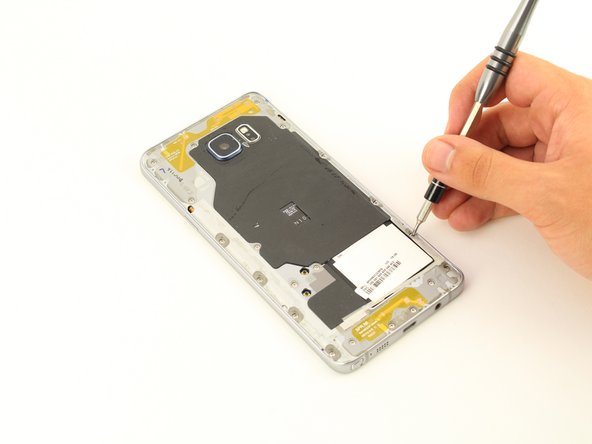
- Remove 20 5mm screws with a Phillips #1 Screwdriver.
- Grip the back of the device and press down on the white square to remove the middle housing.
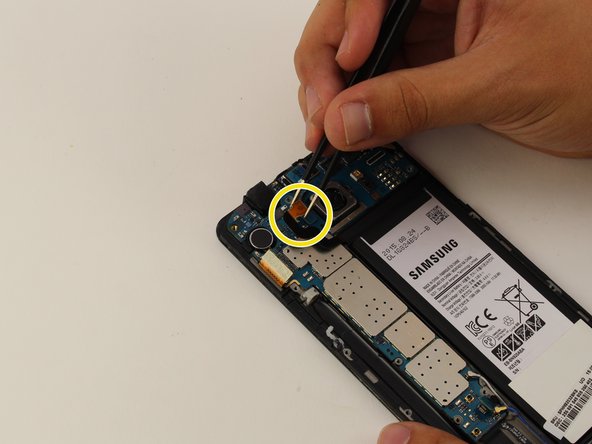
- Loosen the two signal cable connectors.
- To disconnect flexes, carefully pull up on the exposed tab with tweezers.
- Disconnect the battery flex.
- Disconnect the earpiece flex.
- Disconnect the battery flex.
- Remove the teal navigation button flex.
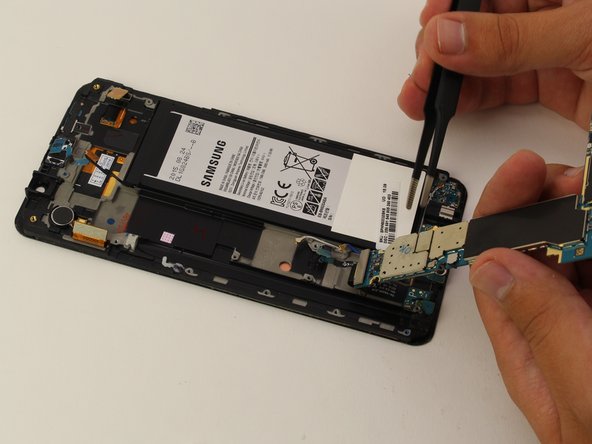
- Gently lift up the motherboard from the top end to remove.
- Make sure all flexes are disconnected before removing the motherboard. If the motherboard does not easily detach, remove any connected flexes.
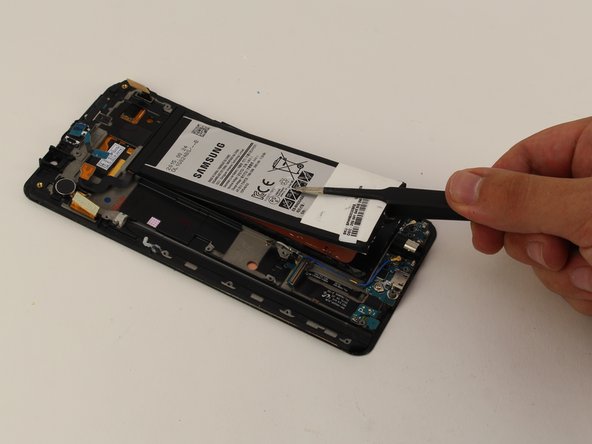
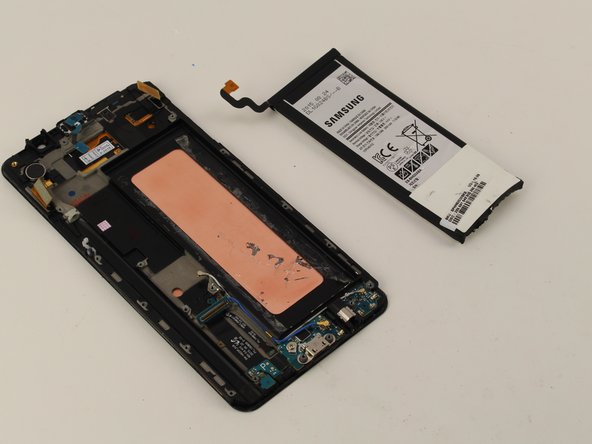
- With the motherboard removed, slowly pry off the battery with tweezers, starting at the bottom.
- Be careful not to puncture the battery as this could cause permanent damage.
- Heat the display for two minutes with a heat gun.
- Once the display is very warm to the touch, slide a pick between the LCD and the LCD shield on the bottom edge of the device.
- Slide the pick across the bottom to cut through the adhesive.
- The display is now removed.