Asus Transformer Book T100TAM-C1 Screen Replacement
ID: 113569
Description: In order to perform the actions necessary in...
Steps:
- Remove the tablet portion of the device from the keyboard by pushing the large silver button near the base of the tablet. Pull up on the tablet to remove from the keyboard.
- Insert the iFixit Opening Tool into the seam of the back tablet casing and gently pry upwards. With enough force the clips will release on the back tablet casing.
- Make sure to insert the tool in the seam between the black and gray portions of the backing. If the tool is inserted between the screen and the black portion then the screen may crack.
- Move the iFixit Opening Tool along the seam until the entire backing is removed.
- Be careful and try not to use too much force while taking off the backing because you may damage the clips. If you damage the clips the backing will not fit properly back onto the tablet.
- Carefully remove the copper tape at the top of the battery.
- Save this piece of copper tape as you will need it for when you replace the battery.
- Gently pull back on the yellow transparent plastic covering on top of the battery connection port.
- The plastic covering is located at the top right of the battery, next to where the copper tape had been.
- Insert the iFixit Opening Tool underneath the top of the battery and gently lift upwards to remove the battery.
- Remove the battery from the tablet by slowly pulling it from the connected side.
- The adhesive on the back will pull away from the battery.
- The battery wire harness will come out as the battery is pulled up.
- Turn the tablet so that motherboard will be in the top right corner of the tablet and will be the largest of the green pieces.
- Remove six 5mm Phillips #0 screws around the edge of the motherboard.
- Remove three 3mm screws on the inner side of the motherboard.
- Locate the 5 different clips around the edges of the motherboard.
- The clips will be covered by either tape or a foam piece. You will need to remove this before unlatching the clips.
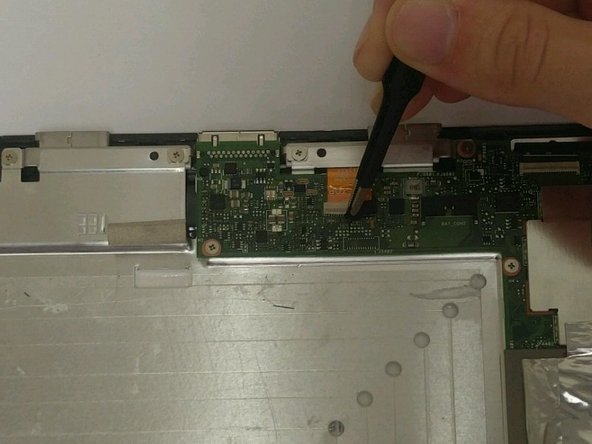
- Unlatch the connections and use tweezers to remove the cables from the connections.
- The two remaining connections are slightly different.
- Pull the connection on the left directly upwards to remove it.
- Remove the connection on the right by pulling it towards you.
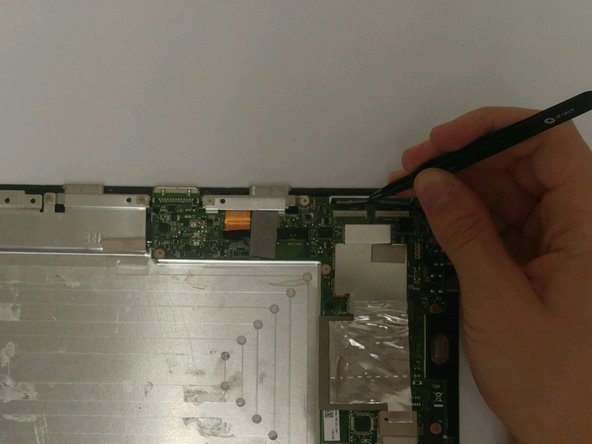
- The motherboard should now be completely free and able to be removed.
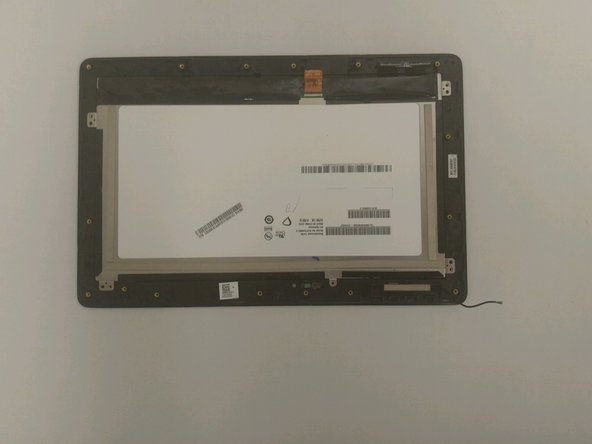
- Once motherboard has been removed, remove the metal from the front panel.
- Using tweezers, remove the yellow tape that is covering the orange ribbon wire.
- Flip the connector for the orange ribbon wire, and gently pull that end out of the socket.
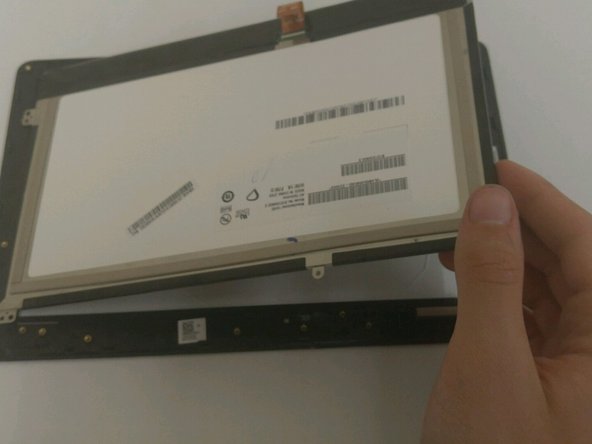
- Gently insert the picks under the digitizer to begin removing it.
- Slide the picks around the edges until the digitizer is loose, then gently lift up and remove the digitizer.
- Place the iOpener microwave piece in the microwave for the suggested amount of time.
- The suggested amount of time will be on the iOpener microwave piece.
- Follow the directions on the iOpener microwave piece for safe removal so you do not burn yourself, as it will be very hot.
- Place along the edges until the tape has been melted, therefore releasing the screen from the frame.
- Remove old frame and replace with the new one.