Asus ROG G751JT-DH72 RAM Replacement
ID: 115332
Description: Use this guide to replace the RAM in your device.
Steps:
- Lift up the rubber tab located in the upper-right corner of the backing plate.
- Use a Phillips #1 screwdriver to remove the 5.2 mm screw behind the rubber tap.
- Carefully pull the backing plate off. If you have a pry tool, you can pry on the edges carefully.
- Use a Phillips #1 screwdriver to remove the 5mm screw on the right side.
- Pull out the optical drive to revel the screws holding the laptop cover.
- Remove all 10 5.2mm Phillips screws holding the main back cover using the Phillips #1 screwdriver.
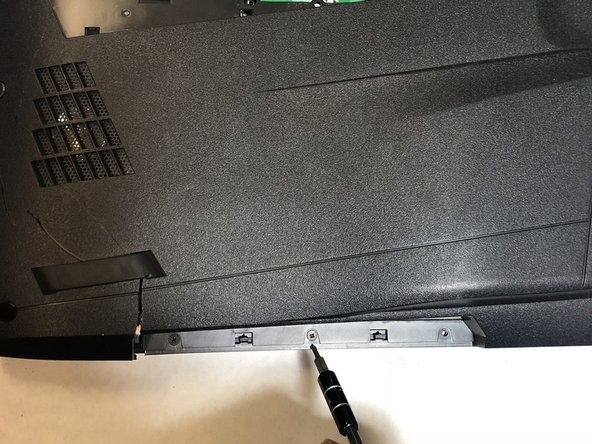
- Remove the four 5.2mm screws directly behind the backing plate using the Phillips #1 screwdriver.
- Flip over the laptop and pry the 2 vent covers off.
- Remove the two 6.8mm Phillips screws directly below the vent covers using the Phillips #1 screwdriver.
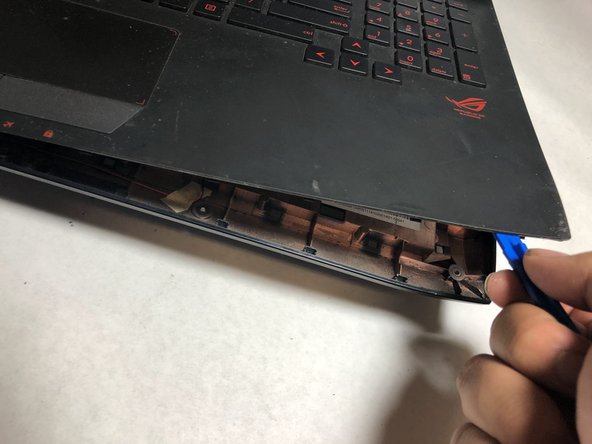
- Pry along the edges of the keyboard to lift it up.
- Be careful not to damage the ribbon connectors.
- Disconnect all 4 ribbon connectors with a tweezer.
- Carefully, pull on the side tabs to release the RAM card.