Hair Scrunchie Elastic Replacement
ID: 115489
Description: Often the elastic interior of a scrunchie will...
Steps:
- There are two seams that hold the fabric outer tube of the scrunchie together. The long seam runs along the entire circumference of the tube. The short seam goes around just one part of the tube.
- Locate the short seam and use the hem ripper to carefully cut through each stitch without damaging the fabric.
- Do not cut through the stitches where the long seam intersect with he short seam.
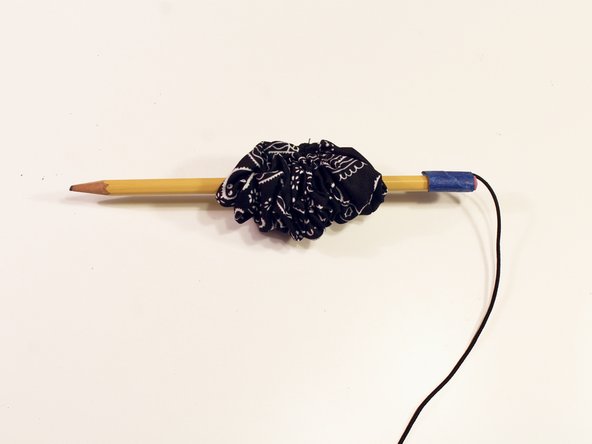
- Attach the elastic band to the end of a pencil with a piece of tape.
- Insert the pencil tip into one end of the fabric tube.
- As you push the pencil through, scrunch the fabric together until the tip comes out the other side.
- Tie a secure knot with the newly replaced elastic.
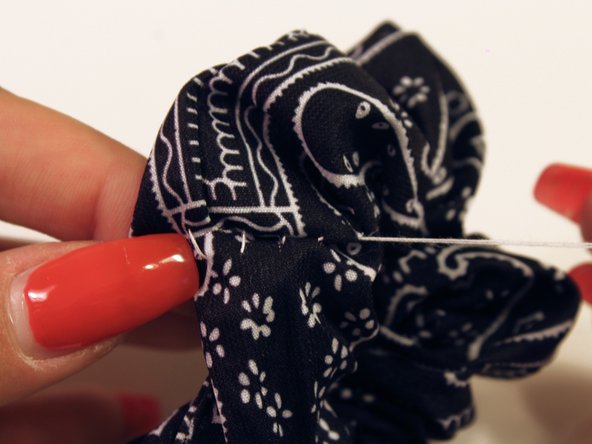
- Prepare your needle and thread by tying a knot at the end.
- Insert the needle at the spot holding each end of the tube together.
- Use the ladder stitch technique to sew each end of the tube back together.
- Use this guide for assistance.
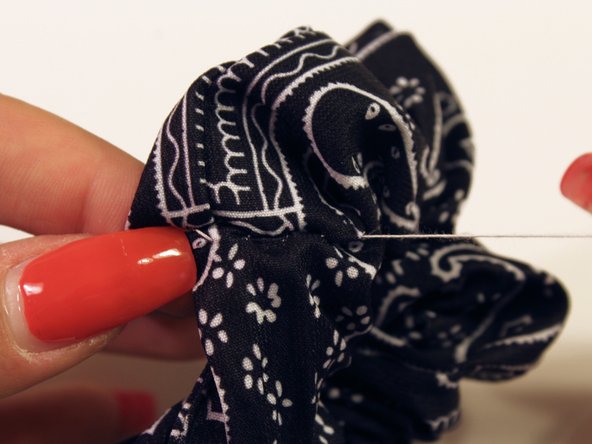
- Tie a knot and use your finger to keep the knot close as close to the fabric as possible.
- Repeat this process until the thread is secure.
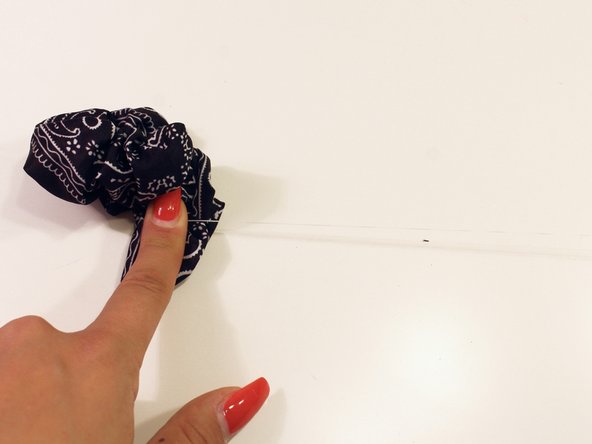
- Trim the thread as close to the knot as possible.