Samsung Galaxy On5 Speaker Replacement
ID: 115735
Description: The Samsung Galaxy On5 speaker is located in...
Steps:
- Locate the side notch that allows you to open the back casing.
- Use a plastic prying tool or your fingernail to pop the back cover off of the phone.
- Locate the battery notch and remove the battery, using either your finger or a plastic prying tool.
- Be careful not to puncture the battery. Lithium-ion batteries are highly flammable when exposed to oxygen.
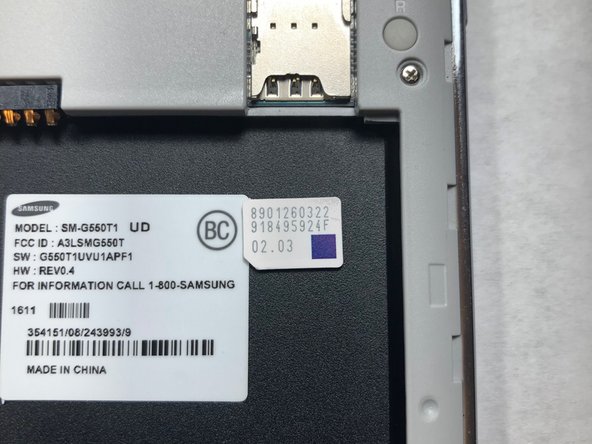
- Before disassembling the phone, take out the SIM card and microSD card.
- Use a plastic pry tool to slide both of the cards out.
- Do not use a metal pry tool. Using this could cause damage to the cards and/or card holder.
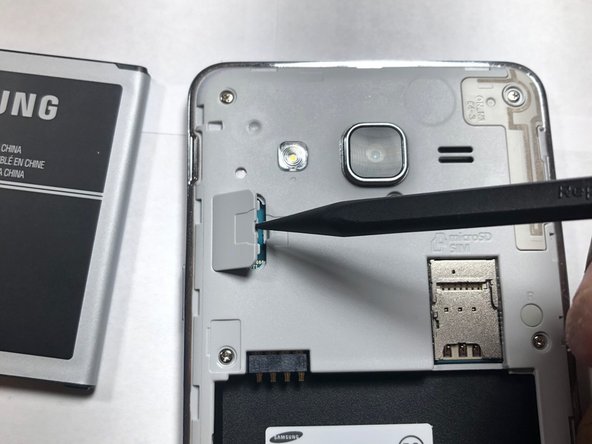
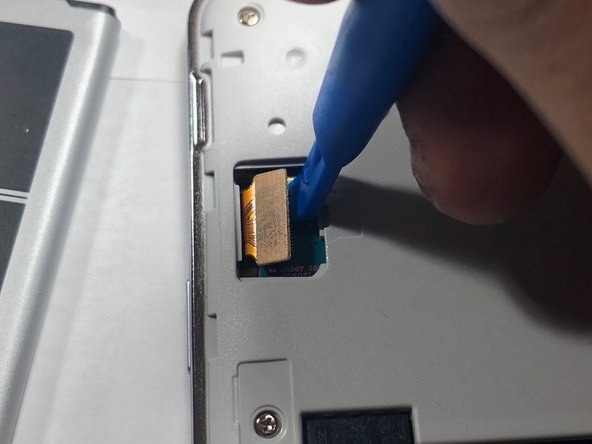
- Use the plastic Spudger tool to pry open the LCD ribbon cable cover.
- This part might be a little hard to open. Take your time and be careful not to push too hard as doing so could result in damage to the ribbon.
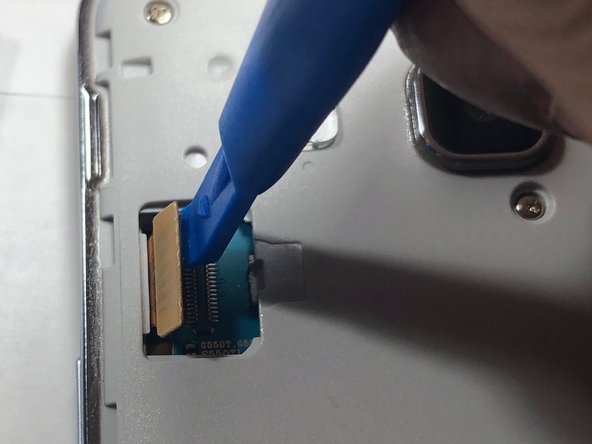
- Using a plastic pry tool, carefully pry the LCD ribbon cable from the logic board.
- Do not use a metal pry tool. Metal pry tools can cause damage to the logic board and to the ribbon cable.
- This LCD ribbon cable sends signal from the logic board to the LCD screen.
- Take a Phillips #00 head and remove all 9 screws. Once done place them aside where you won't lose them.
- All 9 screws are the same size.
- Use an iFixit plastic pick to pry away the LCD from the back assembly.
- This process will take some time due to the glue that's holding the LCD and back assembly together. Slowly move around the edge of the screen to loosen the glue up.
- If you have a heat gun, you can use it to heat up the glue. Heating up the glue makes it easier to separate the LCD and back assembly.
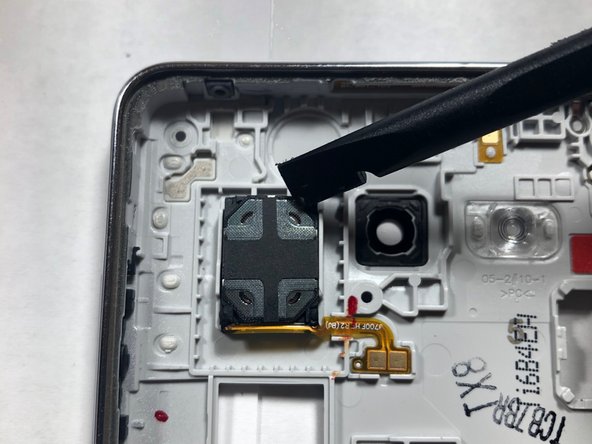
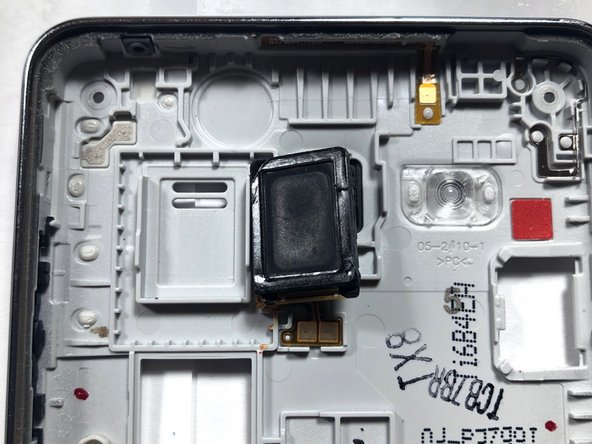
- Once both the LCD and back assembly come apart, look at the back assembly where the speaker is located.
- Once located, take the plastic pry tool to remove the speaker from its housing and replace it with a new one.