X-Rite Colormunki flat cable replacement and reflective patch refurbishing.
ID: 118580
Description:
Steps:
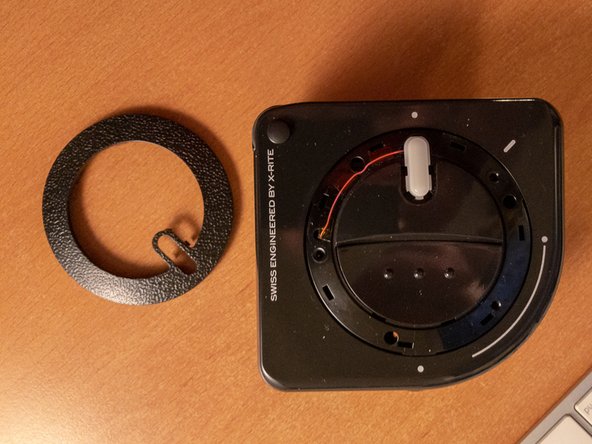
- If your Colormunki is behaving eratically while trying to select the calibrating position you may have either one, or both of the following issues. The flat cable within the housing is broken. The light reflecting patches within the housing need refurbishing.
- Gently pry off the plastic covers. Start from the place indicated in the picture and go around. There are 3 cover pieces to be removed.
- Once covers are removed you will see 4 metal clips connecting the 2 sides of the housing.
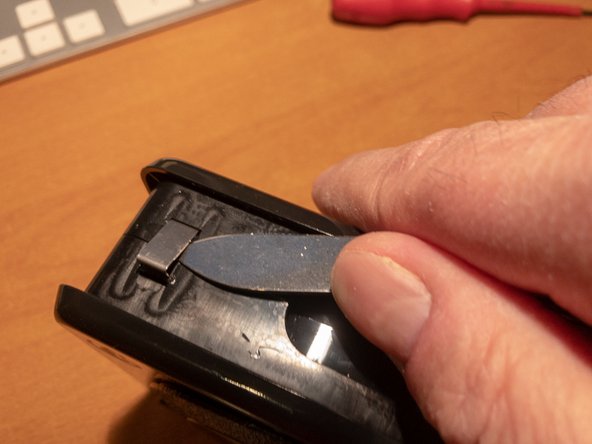
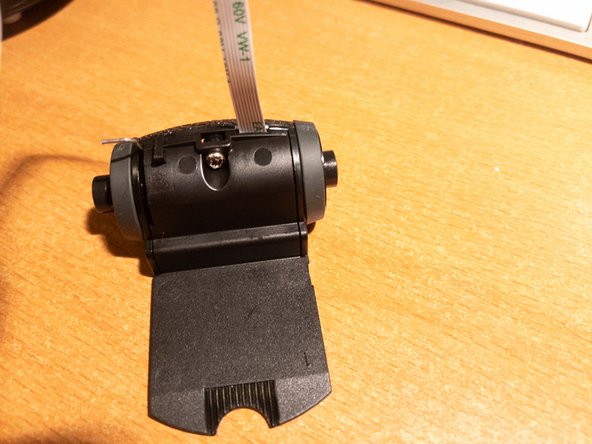
- Gently pry off the collar around the rotating piece. Do this on both sides.
- Incorrect tool, use a spudger or iFixit opening tool instead of a knife to pry the collar off.
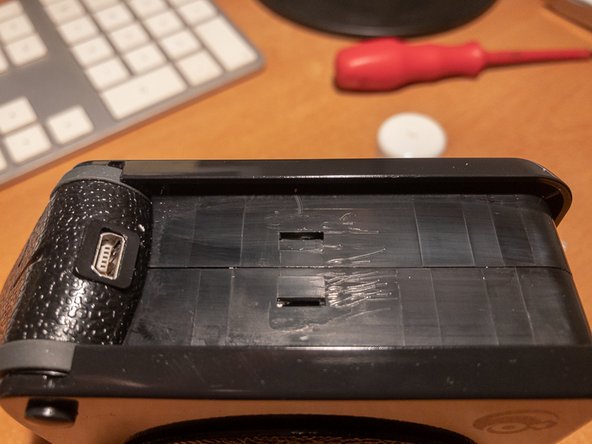
- The collar is now removed. The small white plastic covering the LED light tends to fall off, be careful not to lose it.
- Pry out the 4 clips that hold together the housing.
- Incorrect tool, use a spudger or opening tool to pry the 4 clips out.
- Scrape off the warranty sticker applied on one of the clips.
- Clean the remains of the sticker in order to avoid it staining the interior of the housing once you open it.
- One of the clips is slightly hidden under the flipping part of the Colormunki.
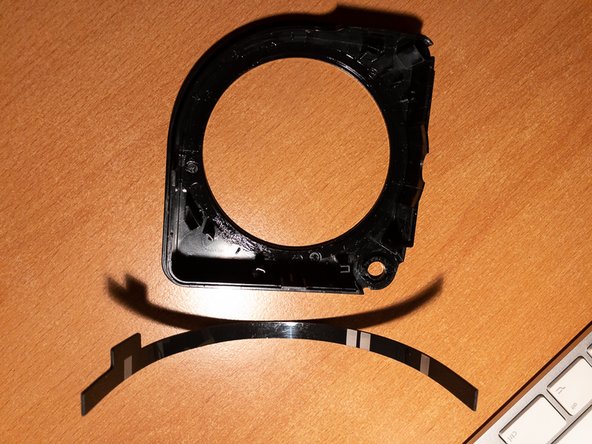
- Once all clips are out gently pull apart the 2 pieces of the housing. Be carful to avoid damaging the flat cable.
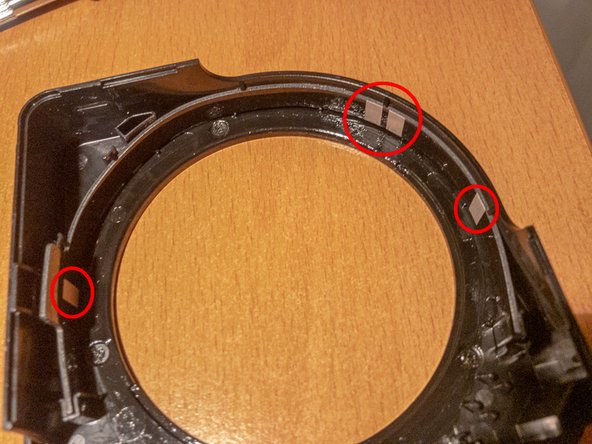
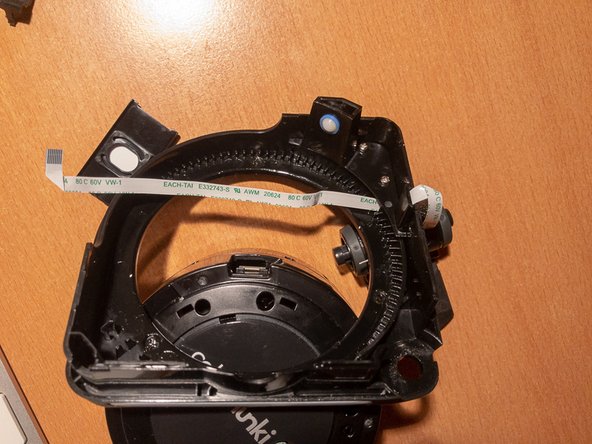
- The housing contains the rotating barrel. On the barrel there are 2 (highlighted) reflective optical sensors used for identifying the position of the Colormunki's rotating part. Gently clean the sensors if you feel necessary. Use only a soft cloth, soak it in alcohol if needed.
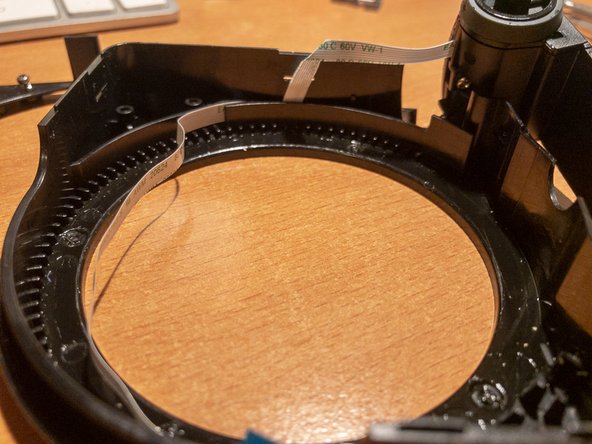
- The light emitted by the sensors is bounced by the strips higlighted on the picture. Clean those if yo need to, or refurbish those by gluing on top reflective material (e.g. aluminium foil) while respecting the original shape and position of the strips.
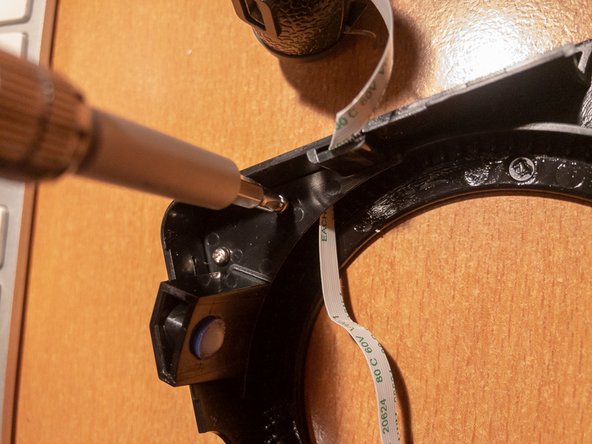
- If you need to refurbish the reflecting strips, you can remove the plastic part holding the strips. This will allow you easier access to the strips.
- Remove the black plastic clip covering the flat cable's connection. Distance the brown coloured retaining mechanism from its base at the entry of the flat cable. The cable will become lose and you can easily remove it.
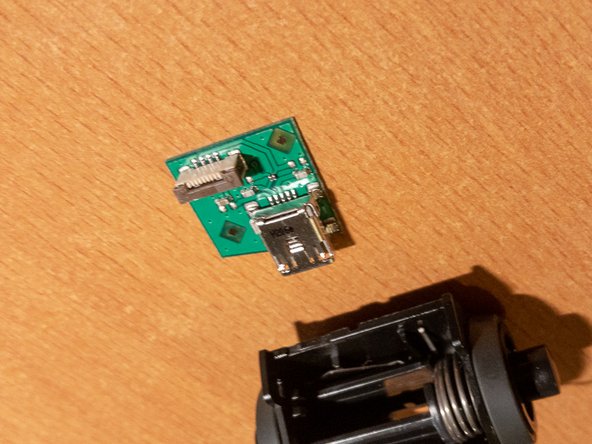
- You can read here the type of the flat cable. An equivalent replacement is part number 687708200002 from Wurth Electronics. It is also available via Conrad in Europe.
- All parts dismantled except the flat cable from the USB port section. Note the plastic item with a white patch. It is the calibration target. Make sure you keep it clean.
- Remove the 2 small screws to release the plastic piece that holds the flat cable attached to the housing.
- Note the routing of the flat cable.
- Remove the small screw and gently pry open the small barrel.
- As previously on the rotating barrel, distance gently the cable locking mechanism, i.e. the brown part from the white part. Once distanced you can easily remove the flat cable.
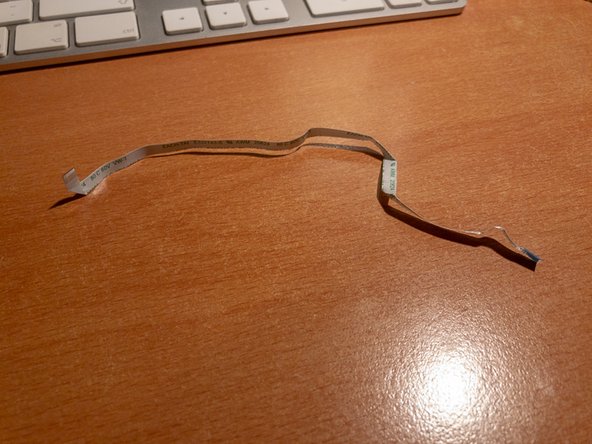
- A close up of the cable retaining mechanism.
- Even if you have to replace it, retain the old cable in order to have a reference of where and how to bend the replacement for getting it back in place as intended.
- Reassemble in reverse order.