Asus R510CA-OB01 Optical Drive Replacement
ID: 122033
Description: Many times your optical drive can fail due to...
Steps:
- Shut down the computer and disconnect all external devices connected to it.
- Turn the computers that it is upside down. Position the computer with the front towards you.
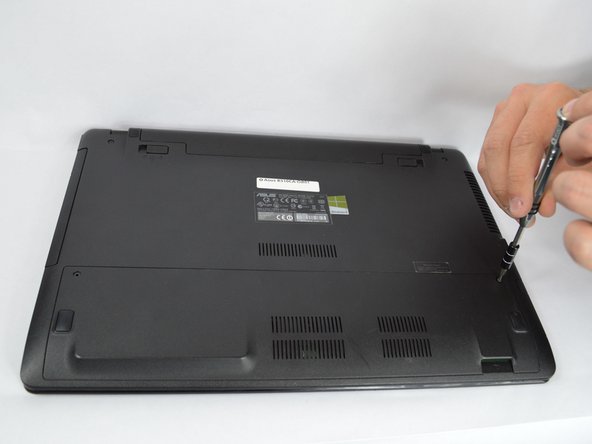
- After detaching the battery, remove the two 5mm screws holding down the casing using a Phillips #00 screwdriver.
- Loosen the four 12mm screws on the bottom and top panel of your device using a Phillips #0 screwdriver.
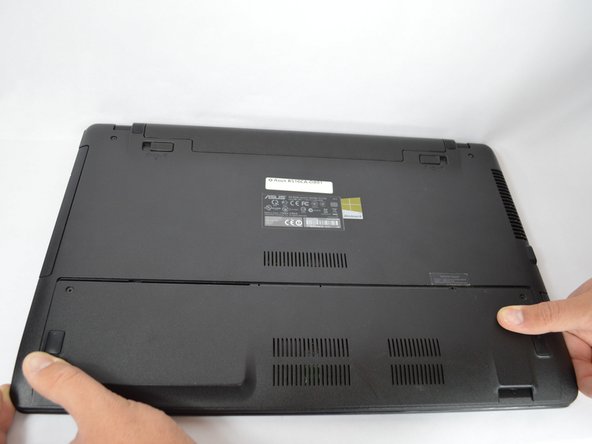
- Use the grips to slide the panel off.
- Remove the panel by lifting it off the device.
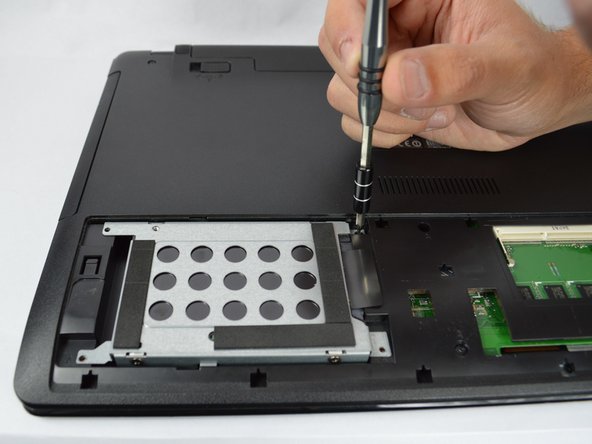
- Remove the three 5mm screws holding down the hard drive and the five 5mm screws holding down the casing using a Phillips #00 bit.
- Turn the laptop the right way up and face it towards you.
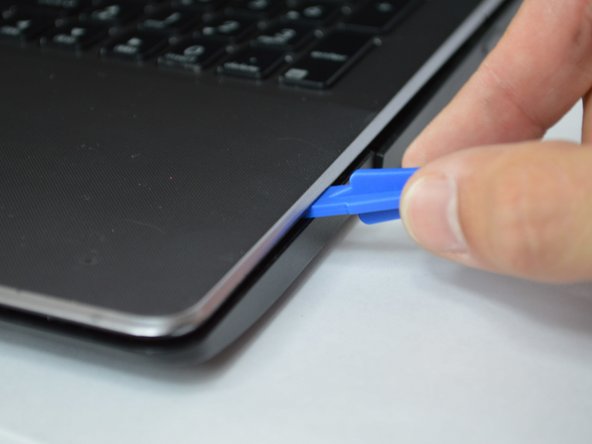
- Insert the flat edge of the flat plastic opening tool into the crease of the keyboard cover.
- While the opening tool is in the crease, carefully pry open the casing by sliding the plastic opening tool along the edge.
- Make sure that the entire cover has been released front the plastic pins.
- Slowly lift the cover open from the front of the laptop but do not completely remove.
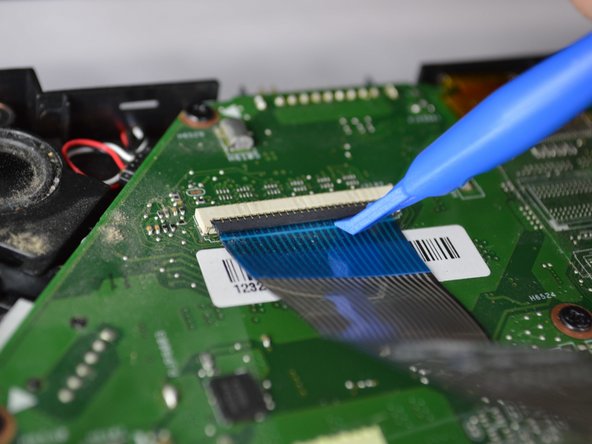
- Note the three locations of the three white and blue data cables connecting the keyboard to the computer's main board.
- Remove each data cable from the motherboard by using your finger or the plastic opening tool to lift the white latch.
- The cable will slide out of its place.
- With the data cables removed and the keyboard module fully disconnected, the keyboard module should come free from the laptop.
- Remove the 4.5mm silver screw in the top right corner using a Phillips #0 bit.
- Remove the three 2mm silver screws using a Phillips #000 bit.
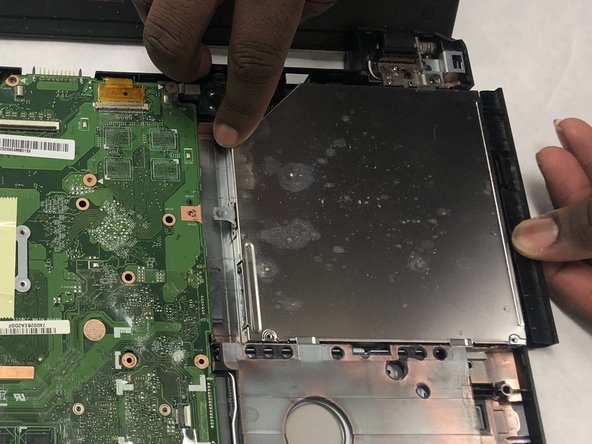
- Remove the 5mm screw using a Phillips #1 bit that is holding the optical drive in place.
- With your hands, gently slide the optical drive out of the laptop.