HP Split x2 13-g210dx SD Port Replacement
ID: 122471
Description: If there are issues reading from or writing to...
Steps:
- Carefully peel off the felt cover that is found beneath the display along the bottom of the device.
- Use a spudger to gently scrape away the padding that hides the screws in each of the four locations.
- Remove the four 4-mm Phillips #0 screws.
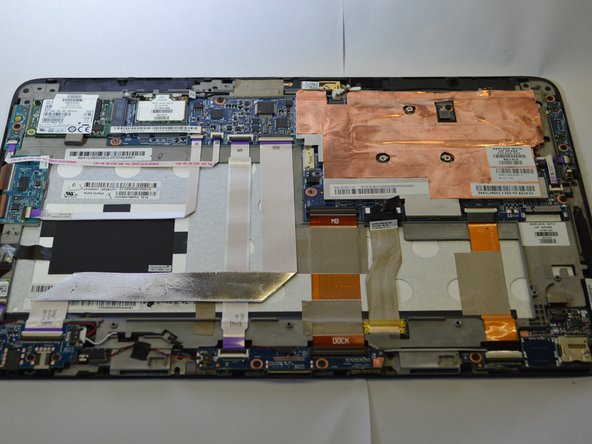
- Run a spudger along the crease of the entire laptop and slowly pry off the back panel of the device, beginning with the bottom edge.
- You will hear popping noises as the clips separate from each other.
- Remove the three 6-mm Phillips #0 screws.
- Remove the four 4-mm Phillips #0 screws.
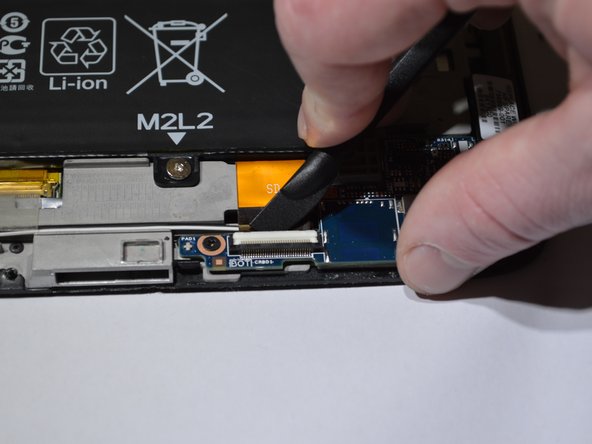
- Remove the white connector clip from the connector port using a sturdy tweezers.
- Lift the battery away from the device.
- Remove the two 4-mm Phillips #0 screws.
- Remove the yellow ribbon labeled "SD" in the left corner of the SD port board using tweezers or a sturdy plastic opening tool.
- Lift the SD port away from the device.