Maze Speed SSB-508 Screen Replacement
ID: 125052
Description: This guide will show the process of replacing...
Steps:
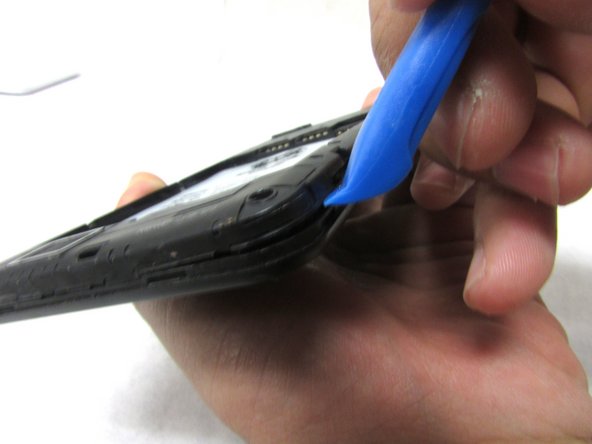
- Remove the back cover by inserting the plastic opening tool at the bottom left corner of the device.
- Remove fifteen 2mm Phillips #00 screws.
- Lift the plastic opening tool up at the bottom left corner to create the gap.
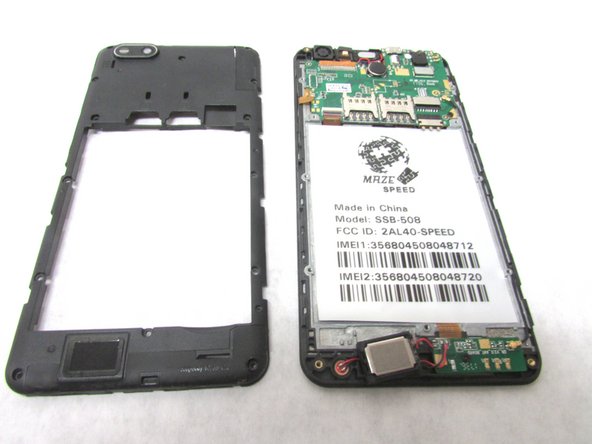
- Repeat this through all corners to remove the internal casing.
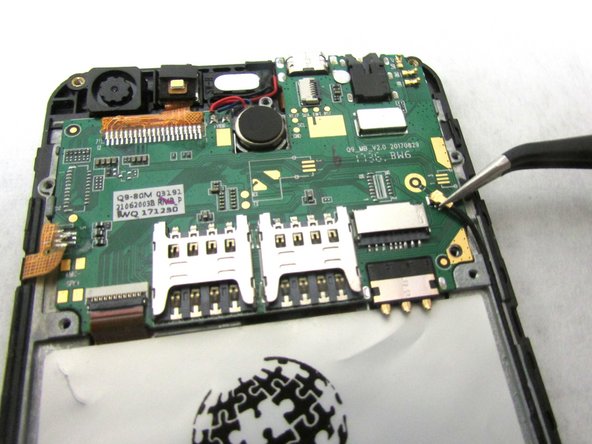
- Unscrew the 2mm screw at the bottom right of the motherboard.
- Remove the internal antenna casing from the motherboard.
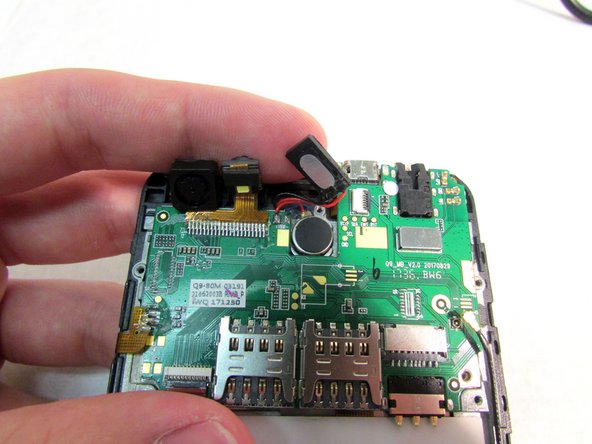
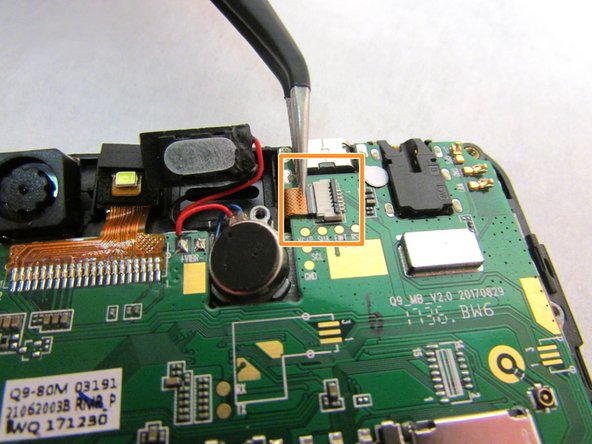
- Unplug the speaker at the top of the motherboard.
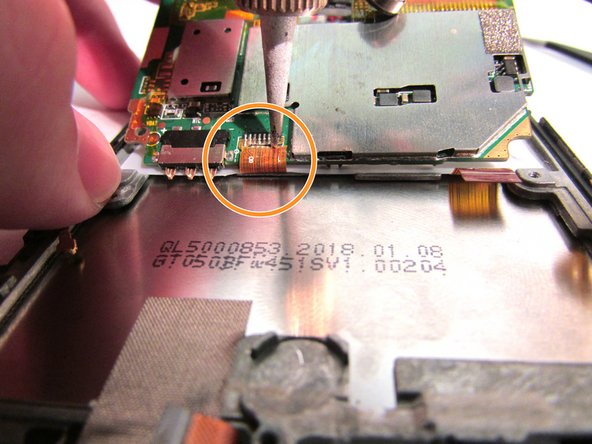
- Desolder the gold ribbon that is connected to the motherboard at the bottom left corner.
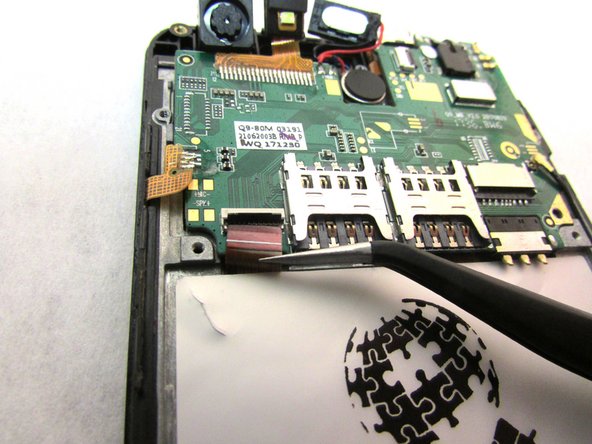
- Use tweezers to remove cable from the ZIF connectors located at the bottom left of the motherboard.
- Use the tweezers to remove the second cable from ZIF connector located to the right of the speaker that you unplugged in step five.
- ZIF connector stands for Zero Insertion Force. Flip the small locking tap before removing the cable.
- At this point, the motherboard should be able to be lifted up from the bottom.
- Use the tweezers to dislodge the speaker.
- After the speaker is dislodged, flip the motherboard up so that you can see the cable.
- Using a soldering tool, desolder the cable from the back of the motherboard.
- Remove the motherboard from the back.
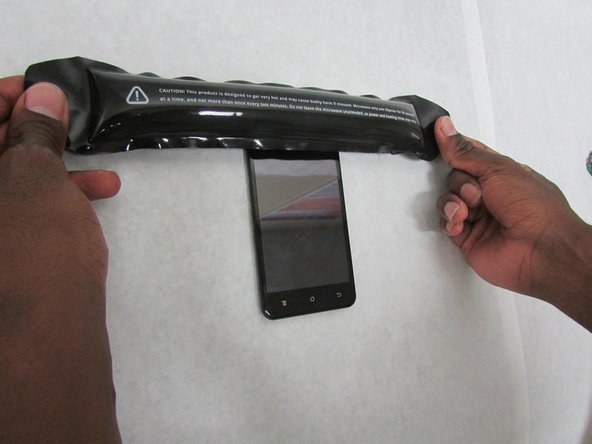
- Apply the heated iOpener to all sides of the screen (left, right, top, and bottom) for 90 seconds (or more if necessary) to soften the adhesive.
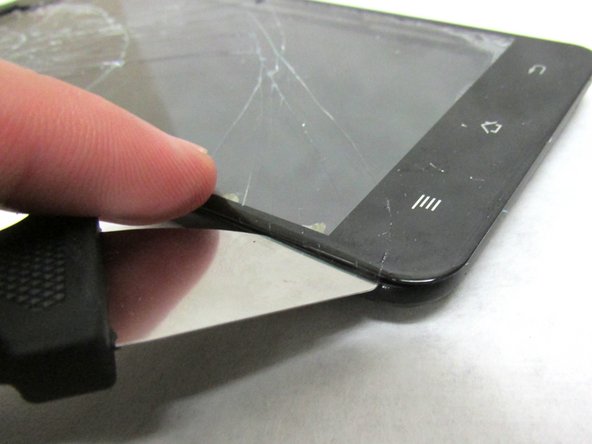
- Use a Jimmy's flexible steel blade to separate the screen from the frame. Insert the blade between the frame and screen then carefully lift using the blade.
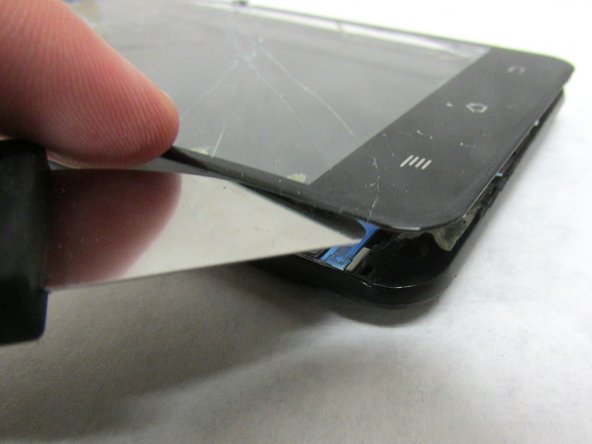
- Gently lift the glass screen and remove from the frame.
- There will be a thin flat cable at the top of the screen in which you need to carefully peel back.
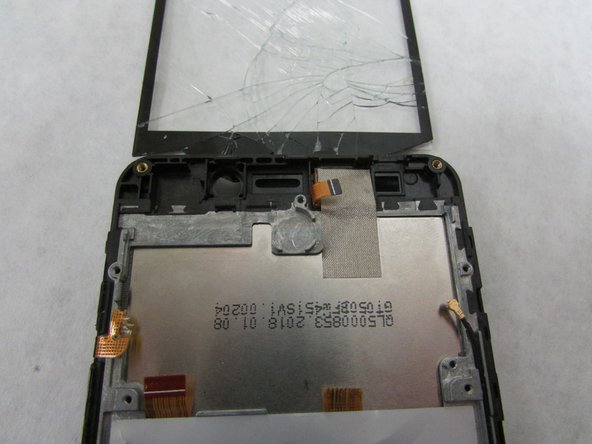
- Move the connecting wire through the hole at the top frame.
- Then, remove the glass screen and replace with the new one.