Sony Xperia Z5 Rear Camera Replacement
ID: 127699
Description: Use this guide to remove or replace a broken or...
Steps:
- Before you begin, switch off your phone.
- Apply a heated iOpener to the edges on the back of the phone to loosen the adhesive beneath the rear glass. Apply the iOpener for at least two minutes.
- Secure a suction handle to the bottom of the rear glass, as close to the edge as possible.
- Pull up the suction handle to generate a gap.
- Insert an opening pick into the gap to further separate the rear glass from the phone assembly.
- The adhesive of the Xperia Z5 is fairly weak and it is possible to remove the rear glass without the use of an opening pick. In case you‘re having trouble you can have a peek at the opening procedure of the Xperia Z4.
- Carefully lift and remove the rear glass.
- After installing the rear glass, apply strong, steady pressure to your phone for several minutes to help the adhesive form a good bond—a stack of heavy books works well.
- Use a spudger to pry up and disconnect the battery flex cable.
- Use a spudger to pry up and disconnect the rear camera flex cable.
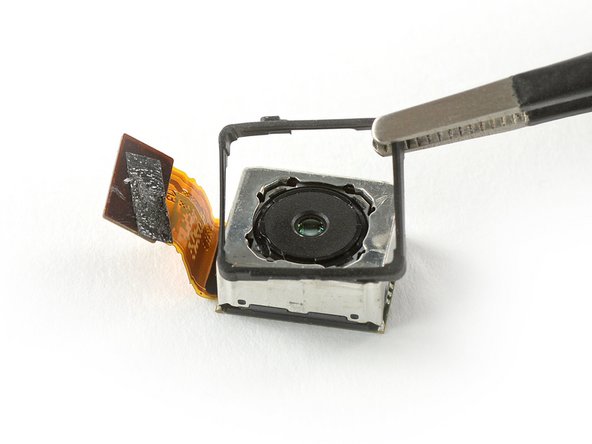
- Remove the rear camera with a pair of tweezers.
- Compare your new replacement part to the original part — you may need to transfer a rubber gasket to your new part before installing.