HTC Desire 826 Headphone Jack Replacement
ID: 127825
Description: Take five minutes to replace a damaged...
Steps:
- Find a seam in the back of the device.
- Insert the plastic spudger into the seam and pry off the back panel.
- There will be glue, so keep prying until it comes off or you may need to heat up the edges of the device to loosen the adhesive with the iOpener.
- Remove the 4.0 mm screw above the battery with a T5 Torx screwdriver.
- Remove the metal bracket with the tweezers.
- Disconnect the battery cable from the motherboard with the tweezers.
- Lift the battery with a plastic spudger and remove it from the device.
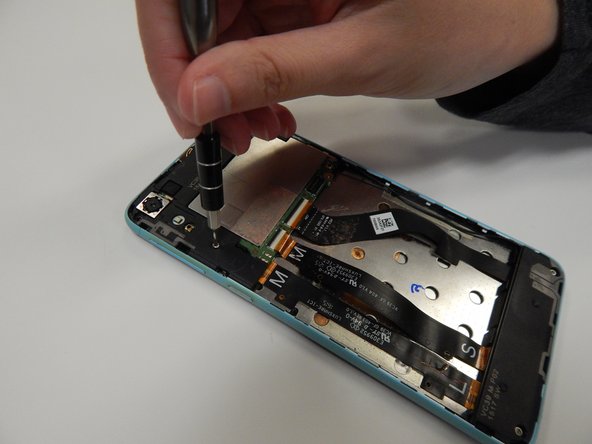
- Use the T5 screwdriver to remove the three 4.00 mm screws as shown.
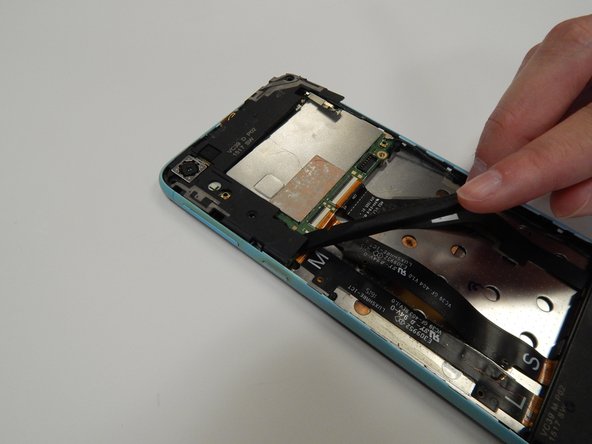
- Once the screws are removed, pry up the top plastic panel using the black nylon spudger.
- Unscrew the two 4.00 mm screws attaching the bottom plastic panel using a T5 screwdriver.
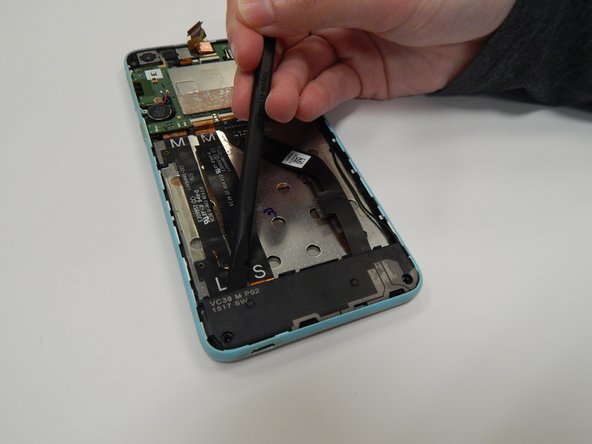
- Using the spudger, remove the bottom plastic piece.
- Using the spudger, remove the bottom part of the motherboard.
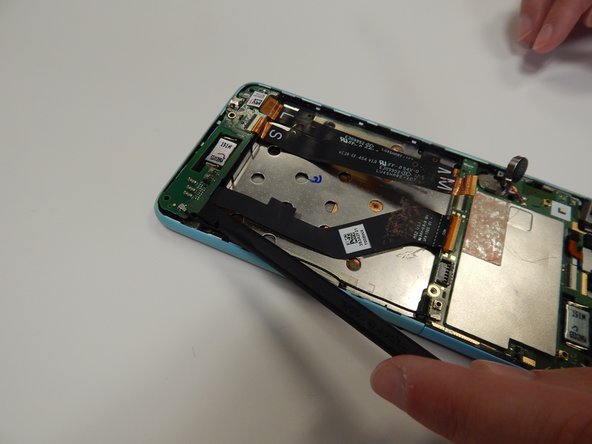
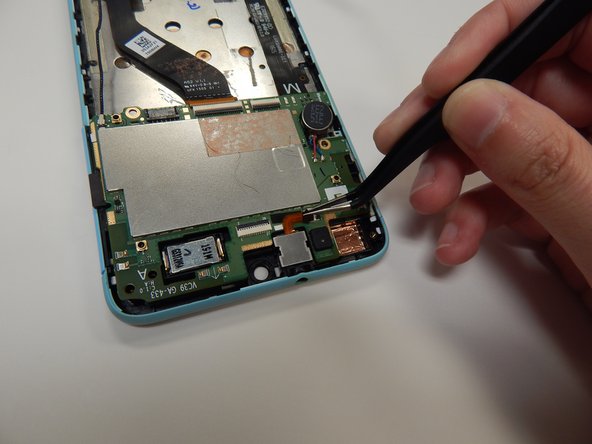
- Using the angled tweezers, disconnect the headphone jack from the motherboard.
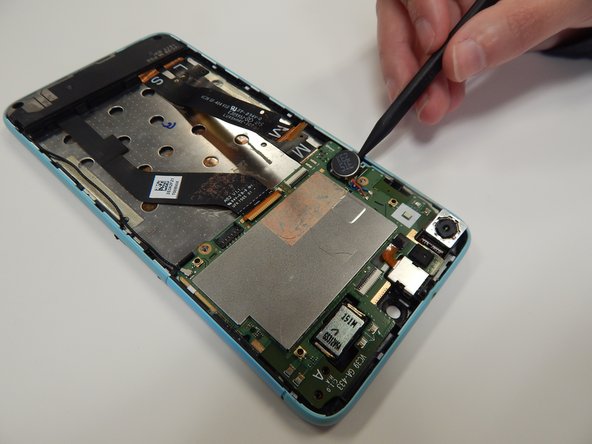
- Using the plastic spudger, pop out the circular silver piece and lift the top part of the motherboard.
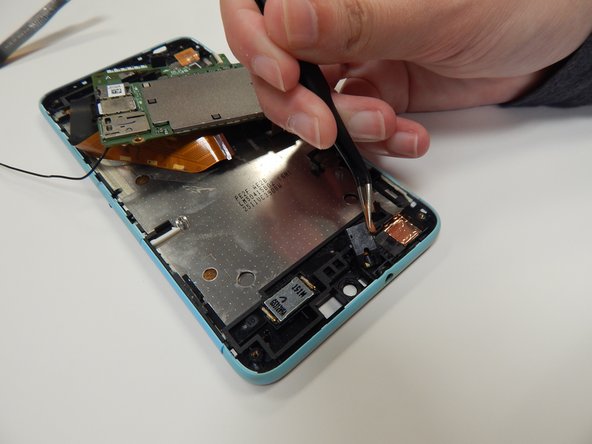
- Using the angled tweezers, pop off the metal piece on top of the headphone jack.
- Using the angled tweezers, remove the headphone jack.