AirPods Battery Replacement
ID: 127889
Description: The original AirPods were released in 2016,...
Steps:
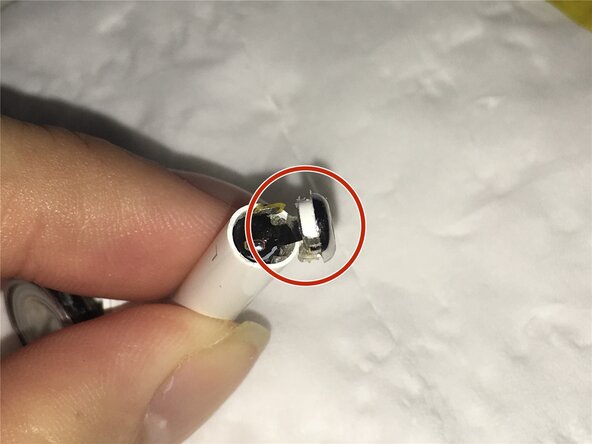
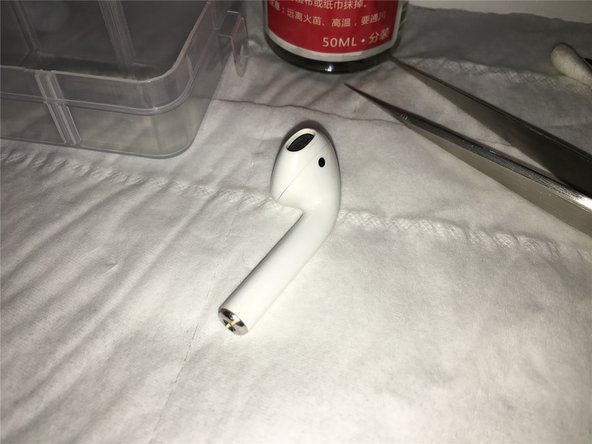
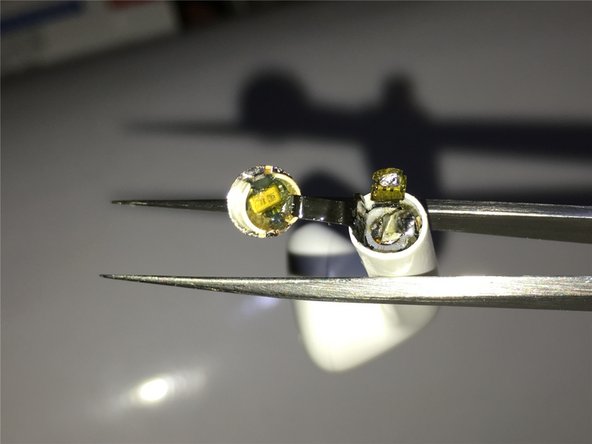
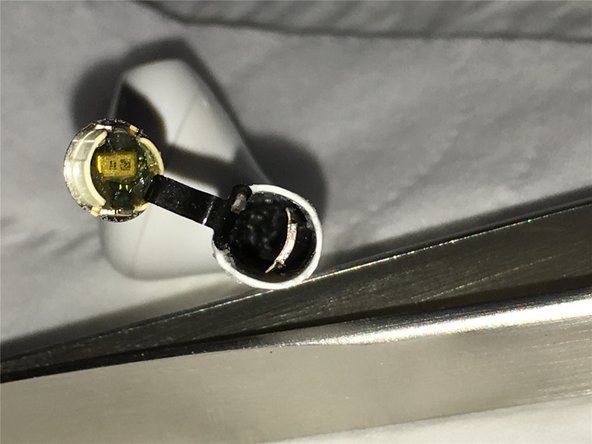
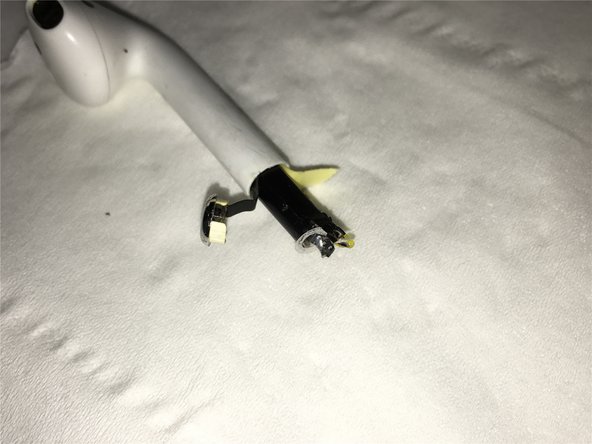
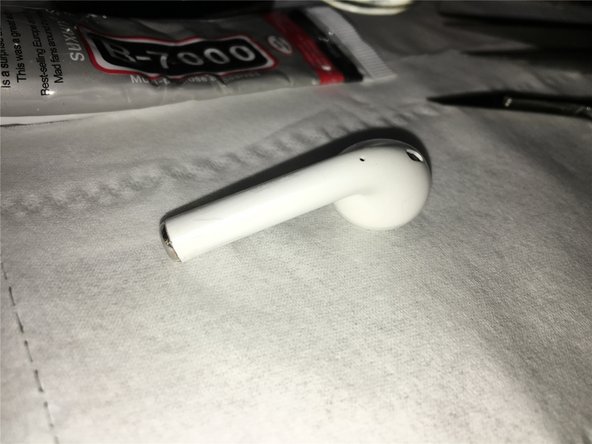
- Using our tools, we pried open the bottom (silver tip) of our AirPod.
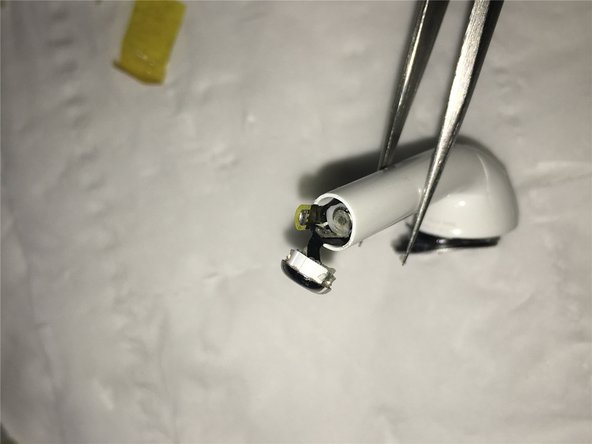
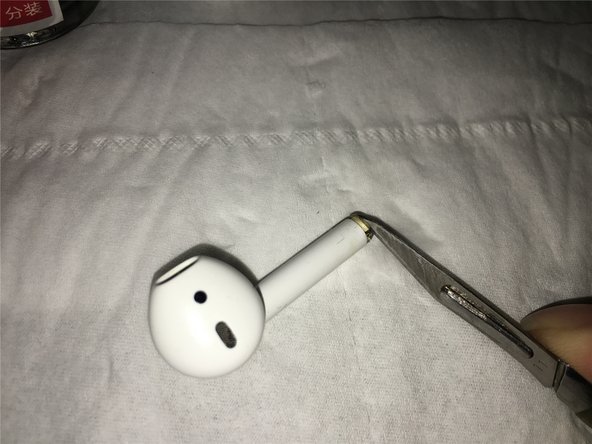
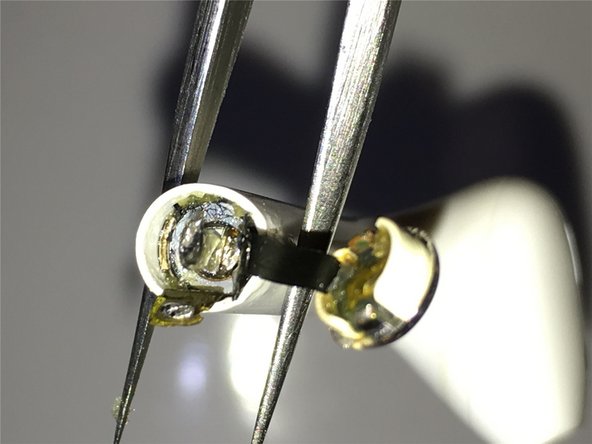
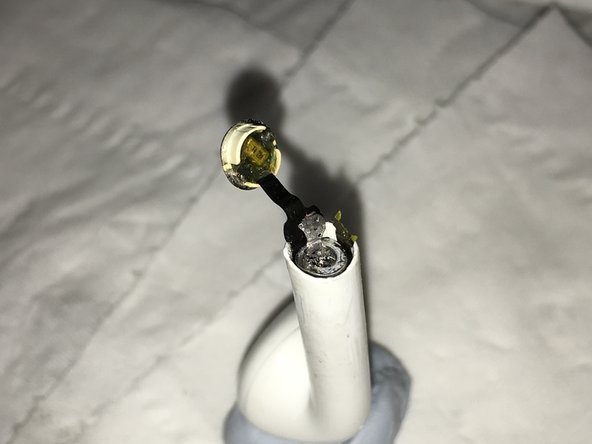
- The second and third images show what you should accomplish.
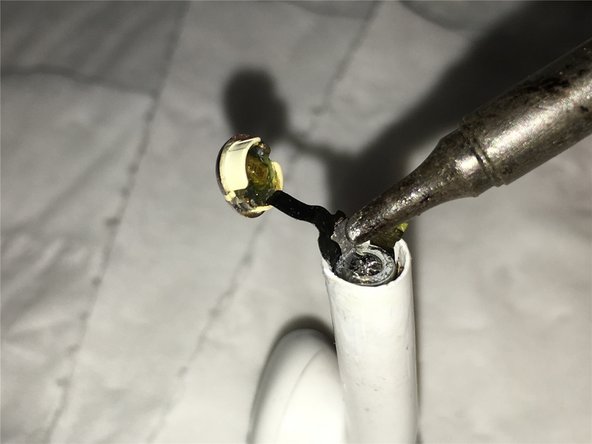
- Next: Detailed disassembly of charging contact parts at the base of the battery.
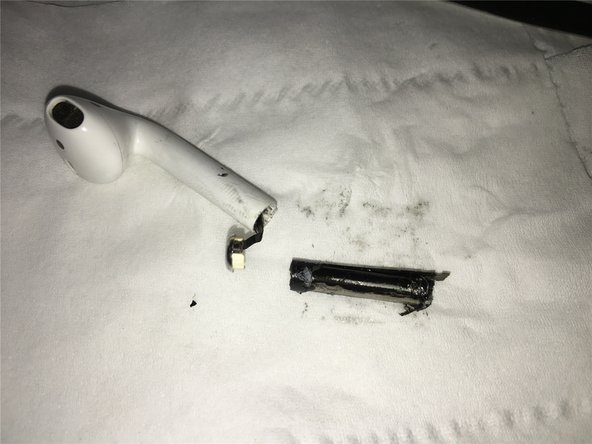
- We continued disassembly as shown.
- We heated the AirPod to make battery removal easier. The heat softens the adhesive.
- Do not overheat; the battery may explode.
- Excess heat, particularly on a faulty battery, may indeed cause it to catch fire or even explode.
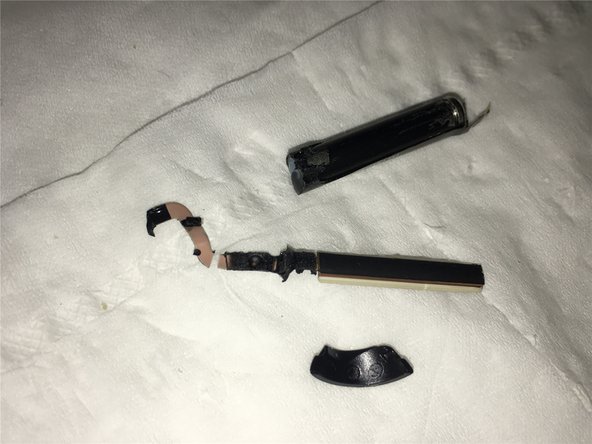
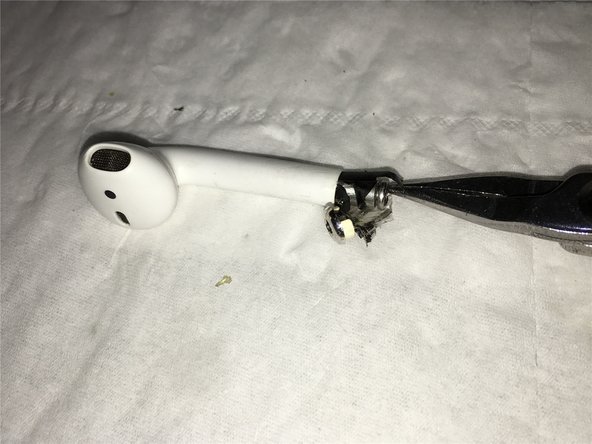
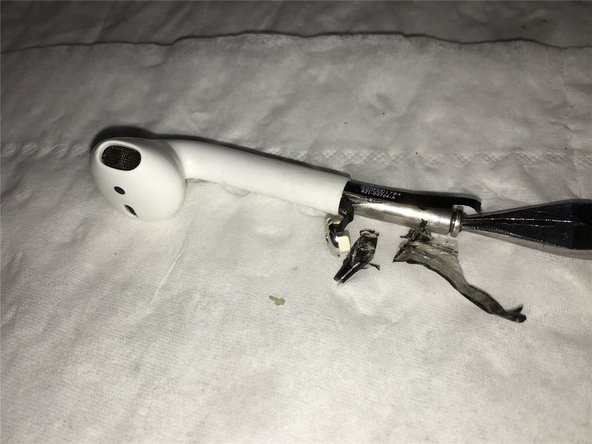
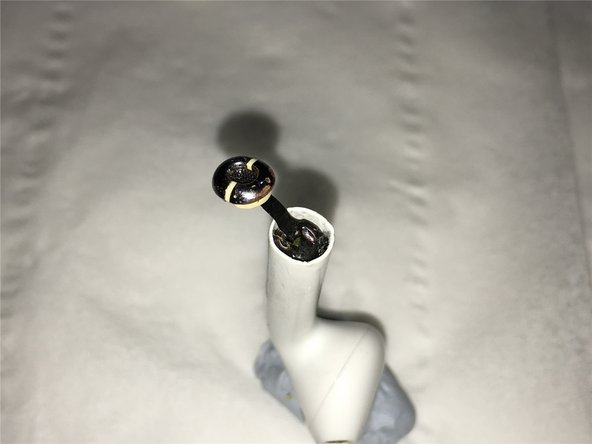
- You can see here that on the first try to remove the battery, the antenna components were pulled out, damaging them.
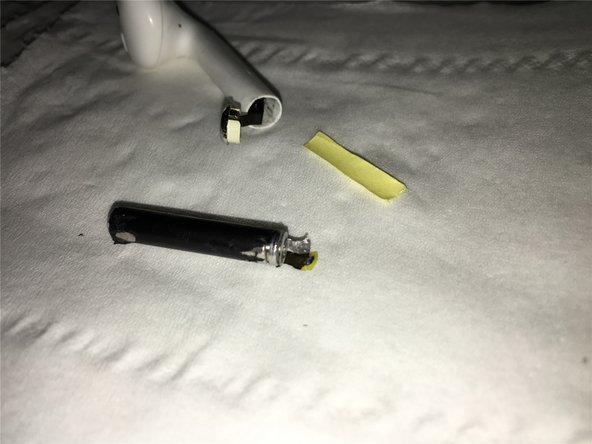
- Here you can see that the negative terminal of the battery is connected from the top to the base of the charging board, and the inner surface of the antenna is glued to the battery.
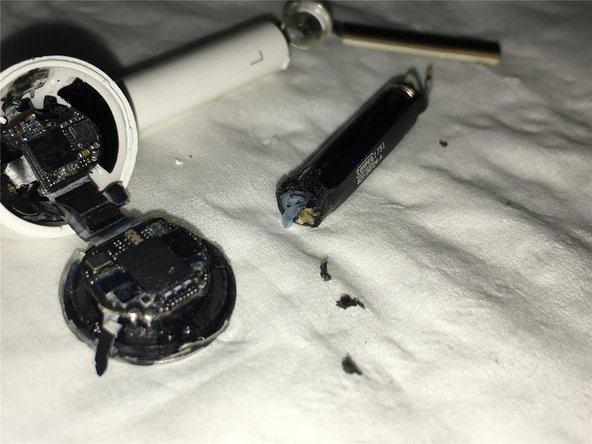
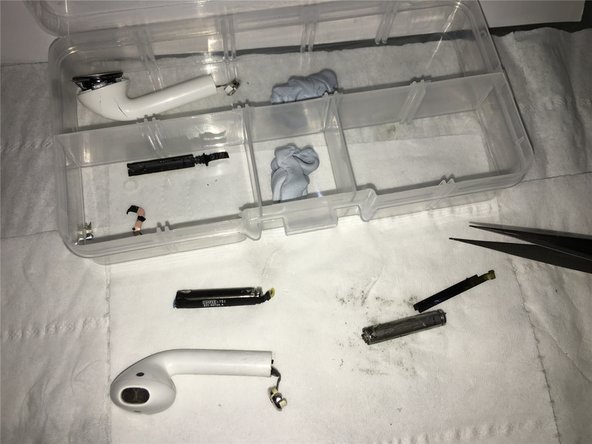
- For your reference: Close-up views of the original parts of the AirPods after completely removing the battery.
- Well! The official AirPods disassembly and battery replacement begins here. After heating, we will use a scalpel to pry open the bottom charging and microphone board.
- As you take it out, be careful of the short length and delicacy of the microphone lead, don't break it. Gently remove it. Then carefully clean the adhesive with fine-tip forceps or plastic tweezers and cotton bud wet with your solvent.
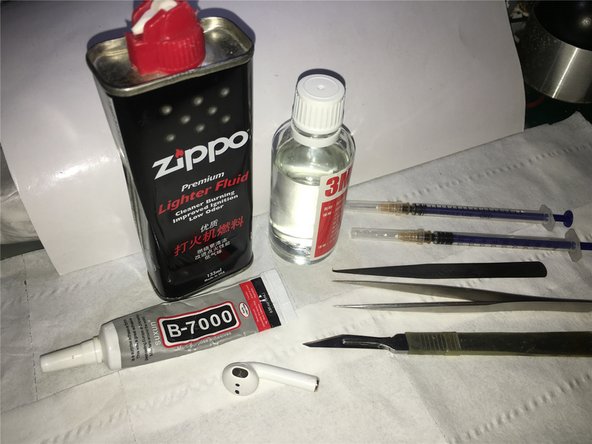
- The Zippo lighter fluid is an excellent solvent for adhesives, but OBVIOUSLY: IT IS HIGHLY FLAMMABLE!
- With your syringe draw up a small amount (about 3/10ths C. C. or 0.3 ml) of the Zippo fuel to dissolve and clean the adhesive inside.
- Though not mentioned in the tools, you can alternatively use the 3M adhesive remover/solvent in the photo.
- Prepare the required disassembly and soldering tools.
- Firmly secure the AirPod.
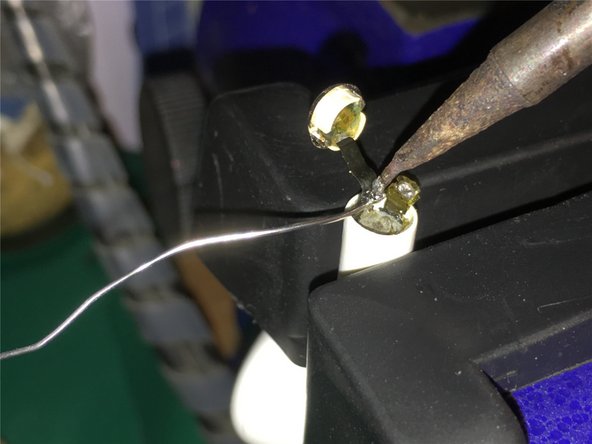
- Tin the tip of your iron, then add a small amount of solder. This makes for faster heat conduction, which makes it easier to remove the bottom battery lead. (and helps to avoid overheating the battery)
- These are close-up views while disconnecting the negative lead from the battery.
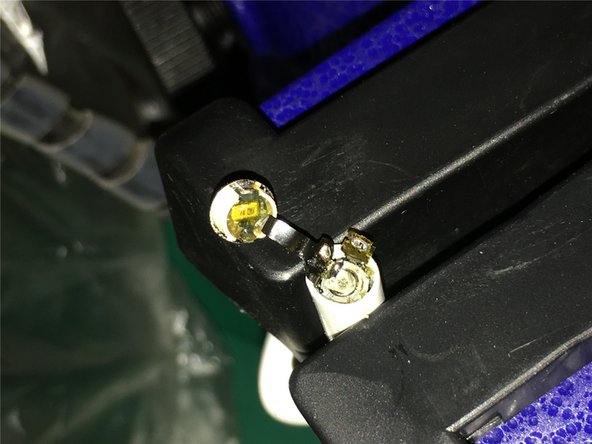
- Reposition the AirPod as shown, and bend the connector to better access the positive terminal. We will repeat the steps to de-solder the positive lead with a soldering iron.
- Close-ups of positive electrode disconnection.
- Use the syringe you drew up earlier to inject the solvent around the outside of the battery. Wait for the (foamed rubber?) adhesive to soften.
- Use a pair of tweezers to wiggle the antenna glued on the outside of the battery left and right, then reapply the solvent.
- Next we will insert a thin, piece of plastic between the battery and the inner surface of the antenna, vertically, to loosen and separate the battery and antenna.
- Next, heat the upper area of the outer casing of the earphone with a heat gun to soften the adhesive foamed rubber on the inside. After heating, inject the Zippo solvent again. Finally, use the hook and pliers to slowly pull the battery out.
- At last the battery is perfectly removed, you can see the bottom of the charging and microphone board and antenna leads in the AirPod.
- Prepare to replace the old battery. Ready the adhesive sticker backing by cutting it to the appropriate size.
- Insert the cut piece of backing paper between the battery lead and the antenna cable to facilitate battery insertion and to reduce friction.
- Then use the old battery that you removed to push the new battery down into place.
- Next, solder the positive electrode of the battery.
- Be careful not to apply heat for too long a time: Solder it quickly, (Remember tinning your iron and adding a bit of solder to the terminal first allow faster heat transfer—so do that) otherwise it will damage the battery.
- Next we solder and secure the negative electrode of the battery.
- We used B-7000 glue, but if you want a more secure bond (and thus make fixing it again impossible?) it is recommended to use ab glue or epoxy glue.
- Clamp the glued AirPods with the C-clamps, wait for the glue to set, (or increase the temperature to accelerate the glue setting).
- Install them, test charging, play some music, check the Bluetooth connection is stable, and finally, verify that they can be used for at least three hours.