Nook BNRV300 Display Replacement
ID: 127955
Description: This guide describes the replacement of the...
Steps:
- Power off your Nook before working on your device. Hold the power button for about 5 seconds and select the “Power Off” option.
- Turn the Nook over to find the power button along the back upper edge.
- Wedge the spudger between the top of the power button and the upper edge of the device.
- Push the tool down to pry the button up and off.
- Using your fingers, take off the power button.
- Peel off the white sticker that is covering the screw head.
- Remove the one 2mm-long screw using a size T5 Torx screwdriver.
- Slide the back cover down towards the USB port to release the back cover.
- The pictures show the case being pried open, but do not do this unless it is necessary.
- Use a spudger or your fingers to gently pry the connector out of the white socket.
- The back cover is now fully detached.
- Use tweezers to remove the brass-colored threaded fastener from the Nook plastic casing.
- Use an anti-static mat to prevent electric shock from damaging the motherboard and its components. Be careful when using metal tools on your device.
- Using a T5 Torx screwdriver, remove the eleven 3mm screws.
- Place the spudger through the loop of the display cable. Lift the tool up, which will unhook the display cable.
- Do not put force on the motherboard with the spudger. This could damage components on the motherboard.
- Using your fingers, lift up the display cable.
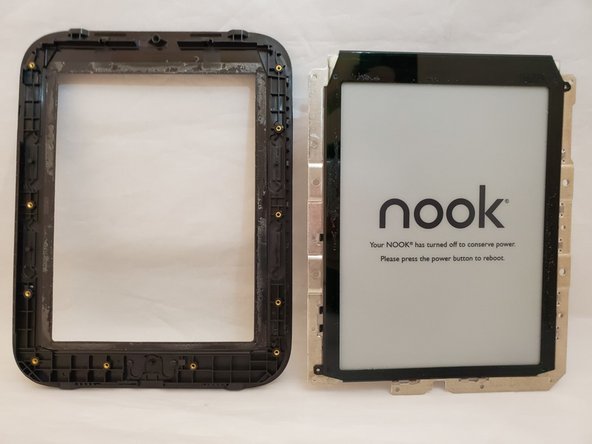
- Using your fingers, gently lift the motherboard from the display.
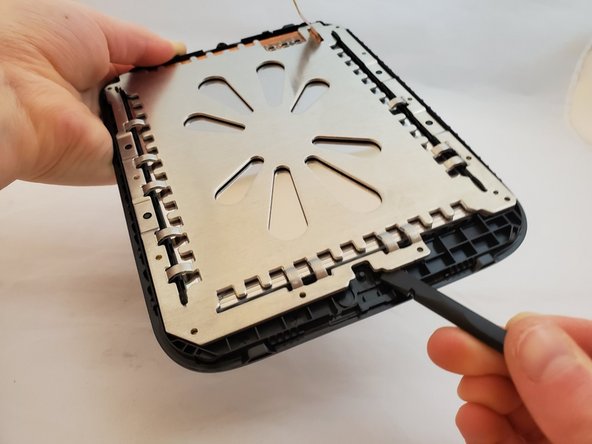
- Insert a nylon spudger between the display's metal backing and the front cover plastic.
- Gently pry the display away from the front cover by moving the spudger up and down.
- During reassembly, align the small black plastic peg at the bottom right of the plastic frame with the inner hole at the bottom right of the metal display backing.
- Press down on the fastener tab with your finger.
- The display cracks very easily. If this happens, there will be glass shards that could potentially cause injury. You may want to wear protection for hands and eyes while completing this step.
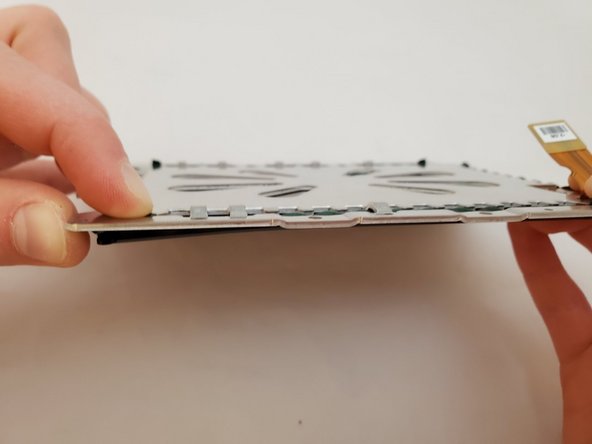
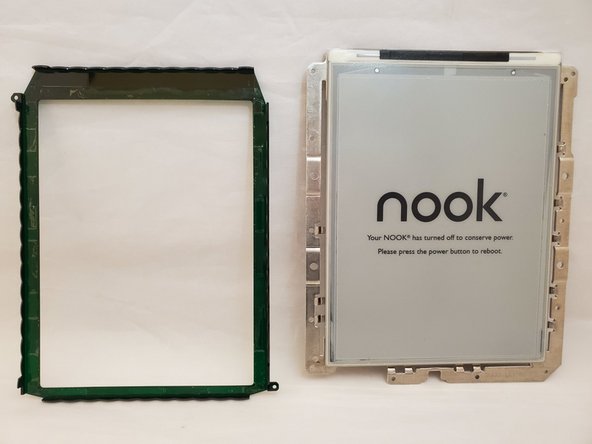
- Insert a nylon spudger between the plastic frame on the display and the metal casing on the display.
- Gently pry the display away from the plastic frame. Place the display on a hard, flat surface to support it when prying it off the metal backing. The screen may crack anyway.