LG Phoenix 2 Charge Port Replacement
ID: 128019
Description: Overtime, dust and other dirt particles may...
Steps:
- Place a fingernail in the notch at the bottom edge of the phone.
- Pull on the back cover with one hand while keeping the rest of the phone steady, and run your fingernail along the edge.
- Place a fingernail in the notch at the bottom edge of the battery.
- Pull the battery out.
- Remove all nine of the 3.0mm screws on the back of the phone using a Phillips #0 screwdriver, including the one attaching the camera lens.
- With the plastic opening tool, pry between the screen and the outer chrome edge to remove the bottom shield from the rest of the phone.
- With a plastic opening tool, disconnect all three ribbon connectors from the motherboard: one for the front camera, one for the rear camera, and one for the screen.
- Using a plastic opening tool, separate the motherboard from the back frame and remove it from the device.
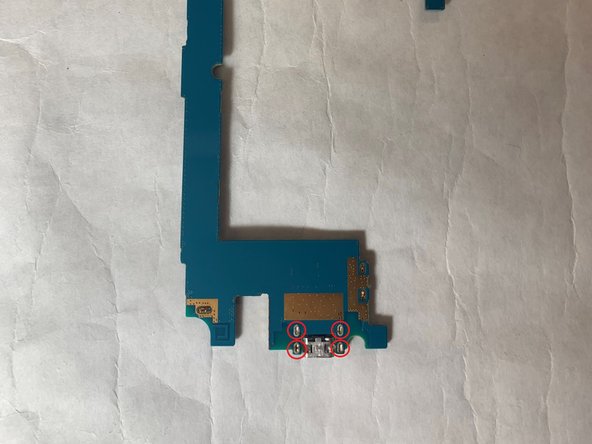
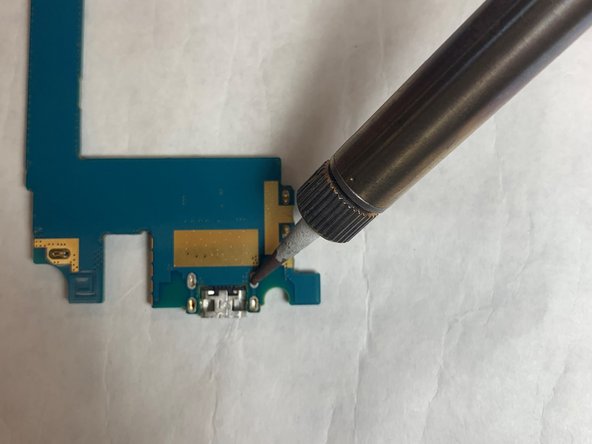
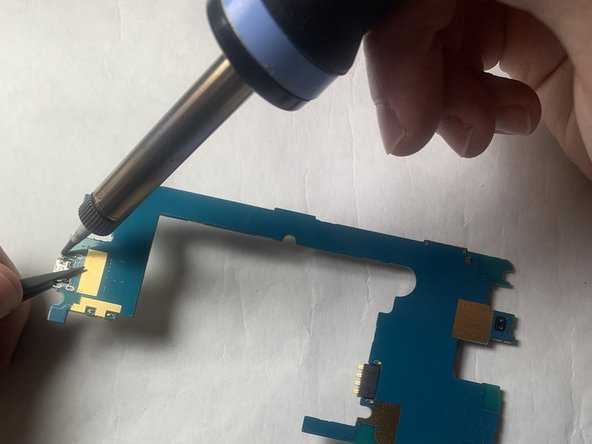
- Desolder the USB port from the motherboard.
- For more instructions on soldering an desoldering connections, please read the How to Solder and Desolder Connections guide.
- Desolder the USB port from the motherboard and remove it from the device.