2010-2014 Ford Mustang Reverse Light Bulb Replacement
ID: 130299
Description: Burned out tail lights may have severe effects...
Steps:
- Open the trunk by either pushing the button to the left of the gear selector, or clicking the button twice on the keyfob.
- Open the trunk.
- Remove the plastic trim inside the trunk by unscrewing the top plastic retainers by hand (1 on each side).
- Pull the bottom plastic retainers out with your hand (1 on each side).
- If you are having trouble with the bottom retainer, you can use a flathead screwdriver to pry it out.
- Replace the bottom retainers with new ones when reassembling.
- To remove the plastic trim, simply pull it up and out.
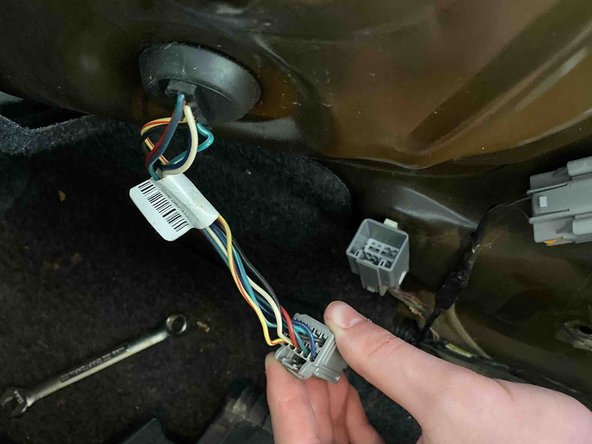
- Although these connectors are shock resistant, you should disconnect the battery to be safe.
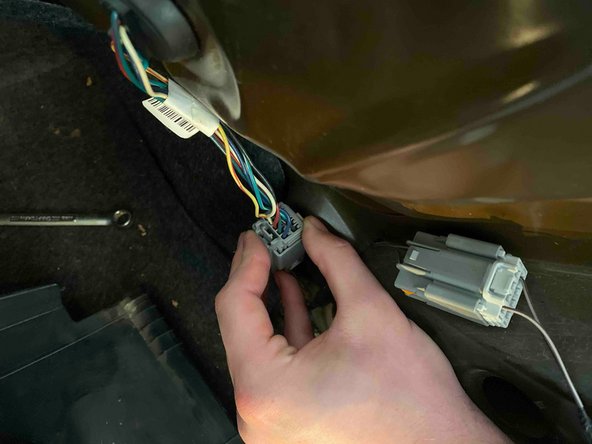
- Unplug the tail light from the wiring harness by simultaneously pressing and holding the clip on the top of the harness and pulling apart.
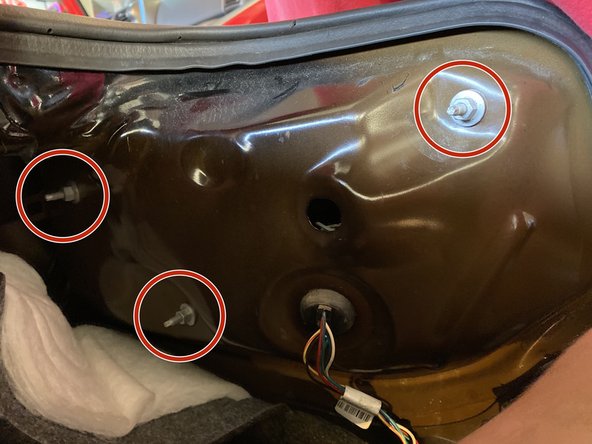
- Use the 11 mm socket and socket wrench to remove the nuts from the 3 bolts.
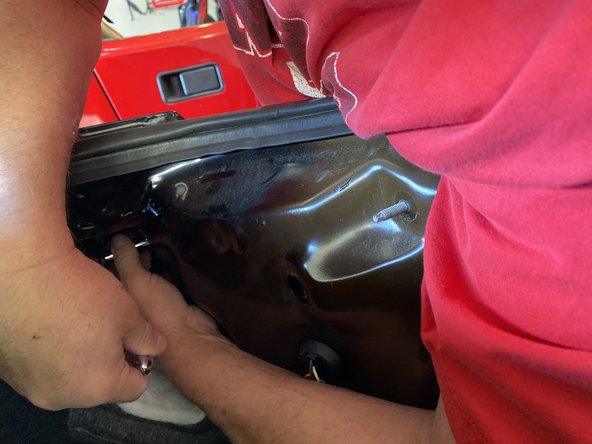
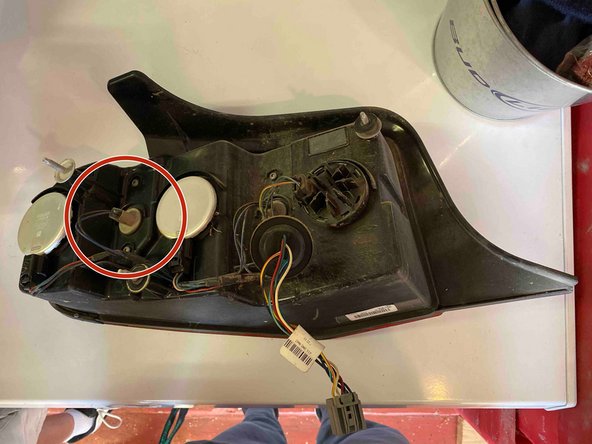
- Remove tail light assembly.
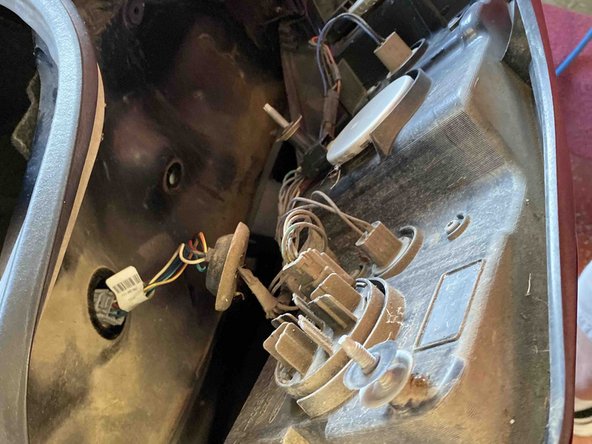
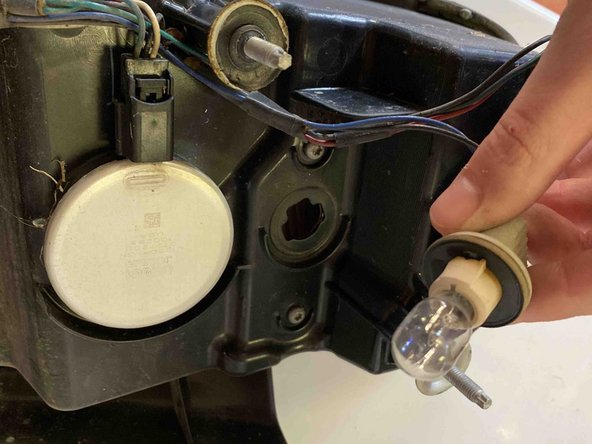
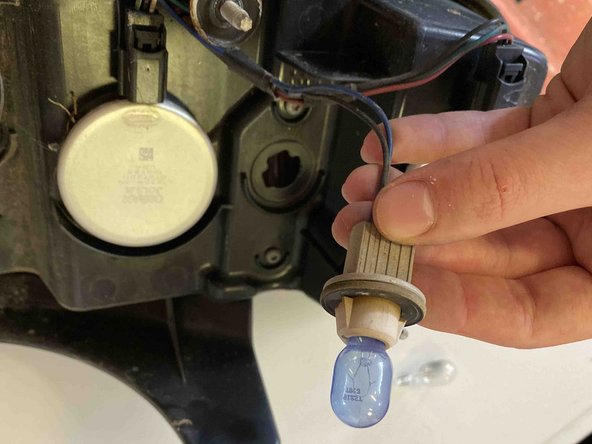
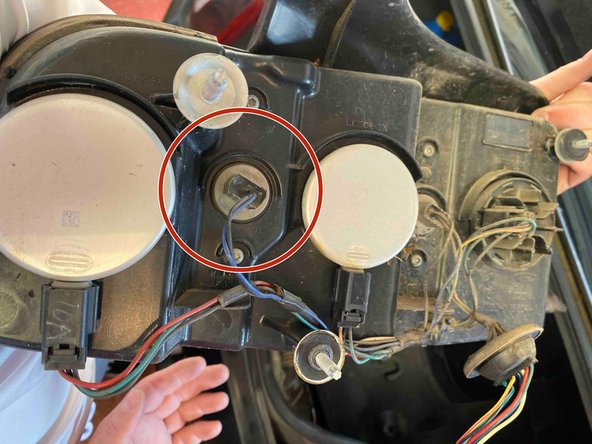
- Twist the reverse light bracket 90 degrees to the left, and pull the light bulb assembly out.
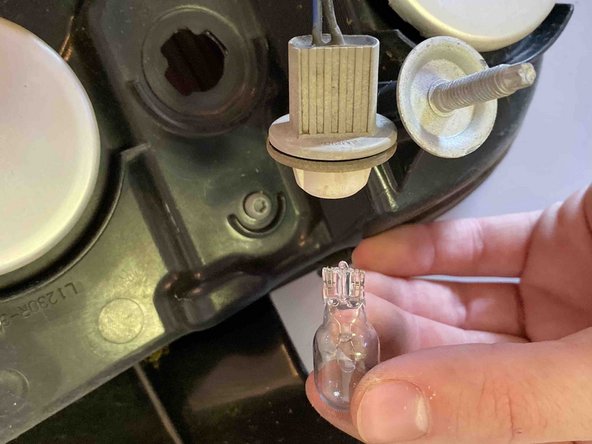
- Pull the burnt out light bulb out of the socket.
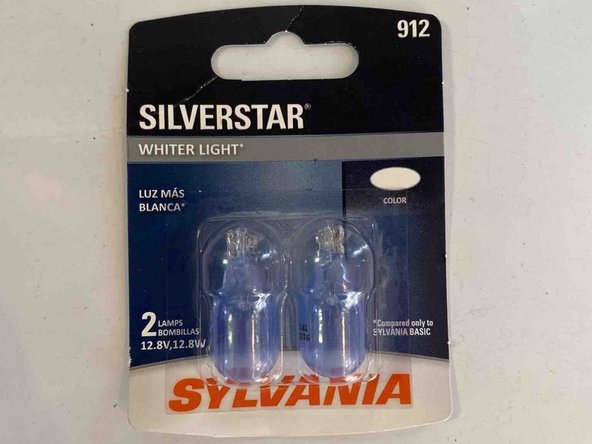
- Push the new light bulb into the socket.
- Twist the light bulb assembly 90 degrees to the right to reinsert the light bulb assembly into the slot.
- To reattach the taillight to the wiring harness, do the reverse of step 4.
- If you disconnected the battery in step 4, make sure to reattach it before testing.
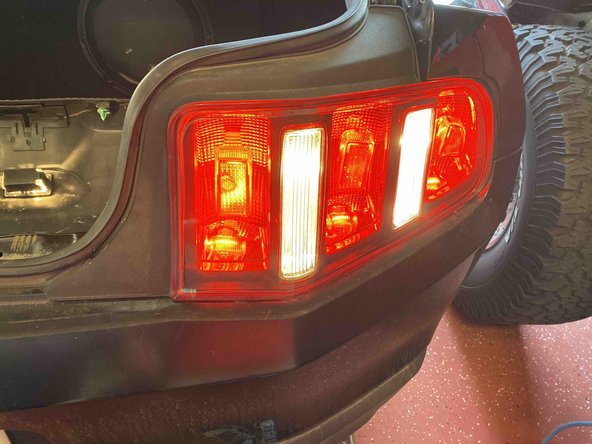
- Turn the car on, press the brake, and put it in reverse to test the reverse light.
- Make sure to engage the parking brake before getting out to look at the taillight.
- If the light turns on, continue to the conclusion.
- If the light does not turn on, repeat steps 3, 5, and 6 to make sure the bulb is inserted correctly.