Acer Aspire R R5-471T-51UN Trackpad Replacement
ID: 130652
Description: If your Acer Aspire R R5-471T-51UN trackpad is...
Steps:
- Flip your laptop over so the bottom is facing you.
- Remove the twelve 5 mm screws with a Phillips #0 screwdriver.
- Insert the Jimmy between the back cover of the laptop and the base of the laptop and then slowly use the Jimmy to pry off the back cover of the laptop.
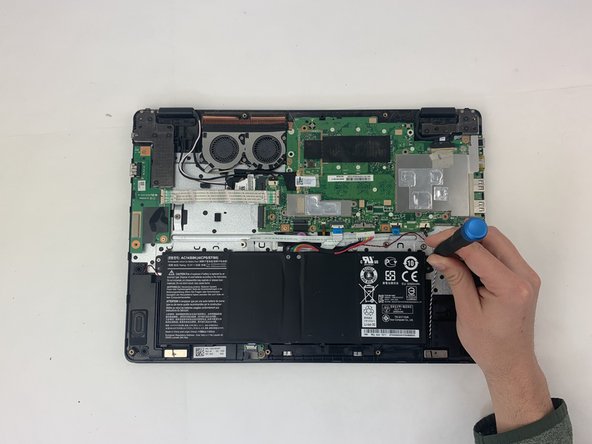
- Use your Phillips #0 screwdriver to remove the two 3mm screws on the battery.
- Gently and cautiously pinch the white ends of the battery connector cable and slowly pull it from the motherboard.
- Gently lift the battery out of the laptop.
- Be cautious with the lithium ion battery as you remove it.
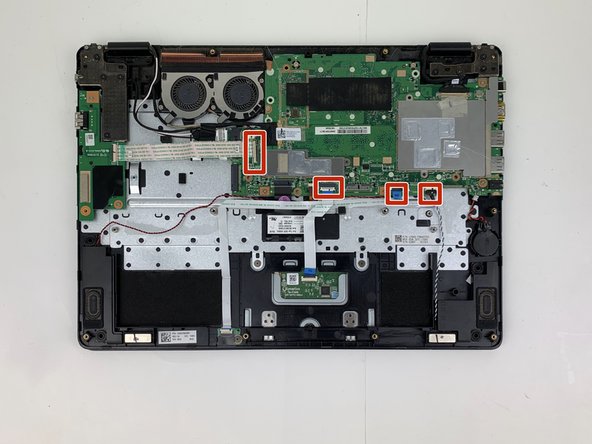
- Use the spudger to flip up the locking tabs on each of the four ZIF cable connectors.
- Remove each of the ribbon cables from their connectors.
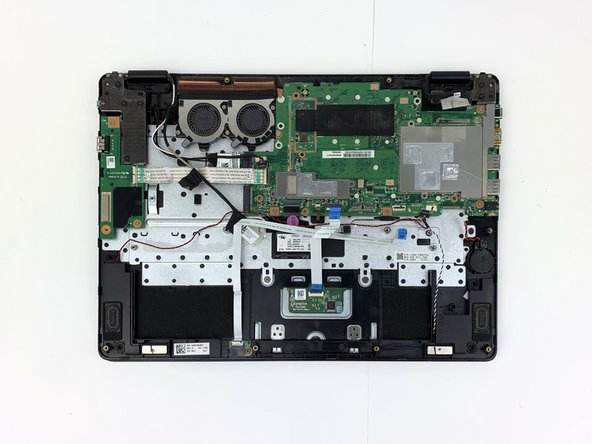
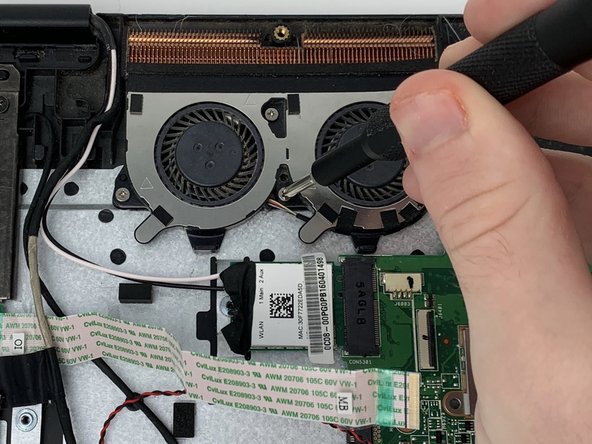
- Using the Phillips #0 screwdriver, remove the eight 3 mm screws holding in the motherboard and the three 3 mm screws holding down the fan.
- Remove the motherboard and the fan by gently pulling them out of the assembly.
- Using the Phillips #0 screwdriver, remove the three 3 mm screws holding down the daughterboard and gently pull it up and out of the assembly.
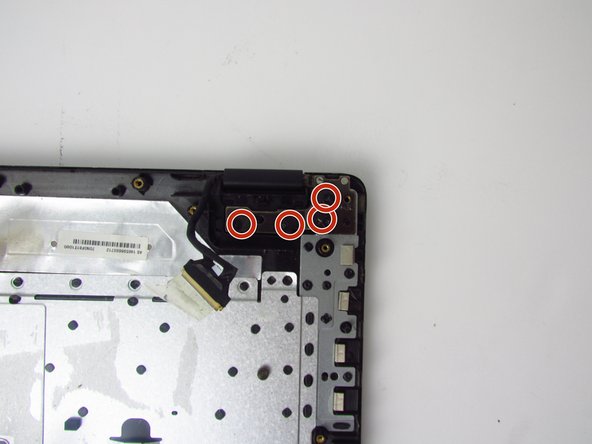
- Using the Phillips #0 screwdriver, remove the eight 5 mm screws from the display brackets on either side.
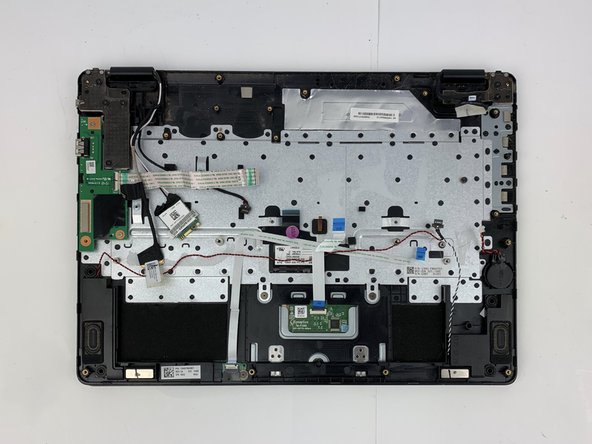
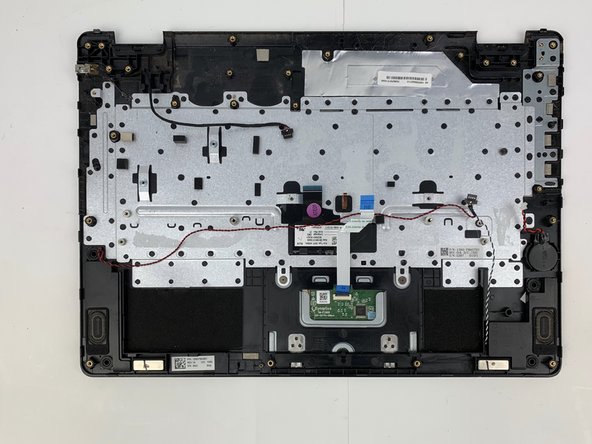
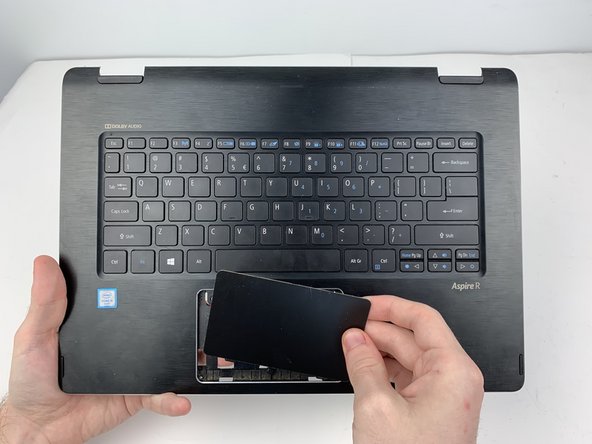
- Remove the keyboard assembly by gently pulling it up.
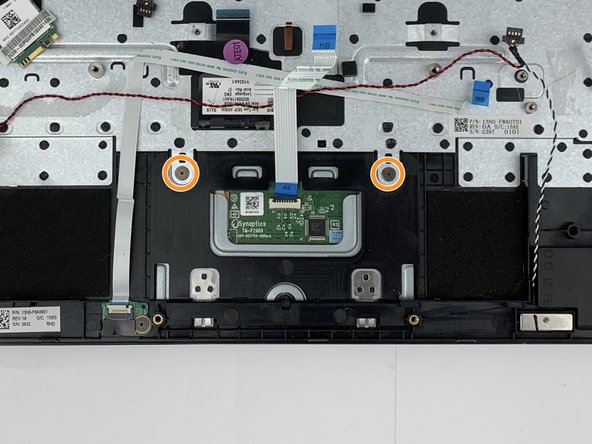
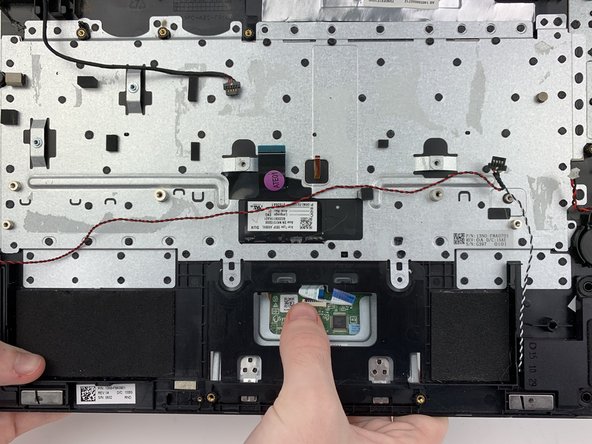
- Use a spudger to flip up the locking tab of the trackpad ZIF connector and remove the ribbon cable from it.
- Remove the two screws holding the trackpad to the frame with a Phillips #0 screwdriver.
- Gently remove the trackpad from the keyboard assembly by pushing out the trackpad lightly from behind.