Lenovo Yoga 910-13IKB Fingerprint Reader Replacement
ID: 130656
Description: Follow this guide to replace the fingerprint...
Steps:
- Before you begin, be sure to turn off your laptop and unplug it from the outlet.
- Turn the laptop over and remove the ten Torx T5 screws along the perimeter of the bottom panel.
- Remove the panel.
- Use a Phillips screwdriver to remove the four M2 x 1.7 mm screws securing the battery to the laptop.
- Remove the battery.
- Remove the six Phillips screws that attach the trackpad to the device.
- Use a spudger to disconnect the ribbon cable connector from the trackpad.
- Remove the trackpad using a spudger.
- Use a Phillips screwdriver to remove six screws attached to the USB ports on both sides of the device.
- Detach both ribbon cables attached to each USB port with a spudger, then detach the USB ports.
- Use a small Phillips screwdriver to remove all single screw securing the SSD stick to the motherboard.
- Slide the SSD stick from the port on the motherboard.
- Use a small Phillips screwdriver to remove four screws from the fans.
- Remove the back connector strip using a spudger to pry it off of the device.
- Remove the fans.
- Now, only the bottom panel should remain.
- Remove the four 3 mm Phillips #0 screws holding the battery in place.
- Disconnect the battery cable from its motherboard socket by gently pulling it towards the battery. The spudger tool may be needed to lift the flap seal.
- Pull parallel to the battery, not straight up.
- Pull evenly on the width of the cable so that no individual wire is overly strained.
- Lift the battery out.
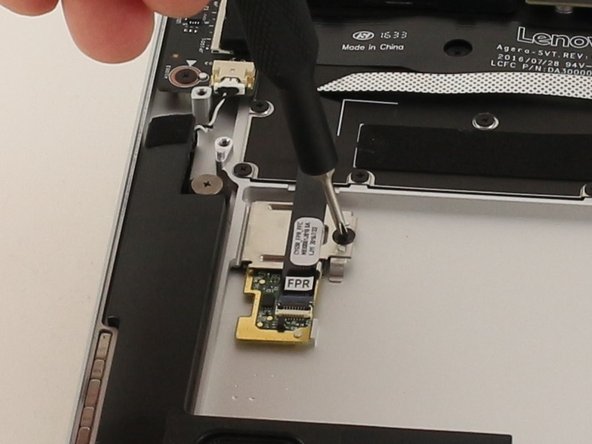
- Remove the one 3mm JIS #00 screw on the right side of the silver component.
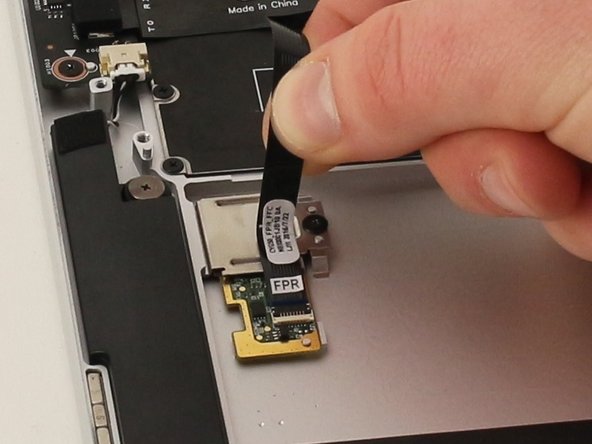
- Gently pull up on the ribbon cable to detach it from the metal housing.
- Lift the metal housing out and set it aside. This component holds the reader in place.
- The left side of the component is tucked under the lip of the computer, so lift from the right side of the component.
- Remove the fingerprint reader from its place.