Fujifilm FinePix Z33WP Teardown
ID: 132447
Description: This is a detailed teardown guide of the...
Steps:
- Take a picture of the product untouched. Front and sides.
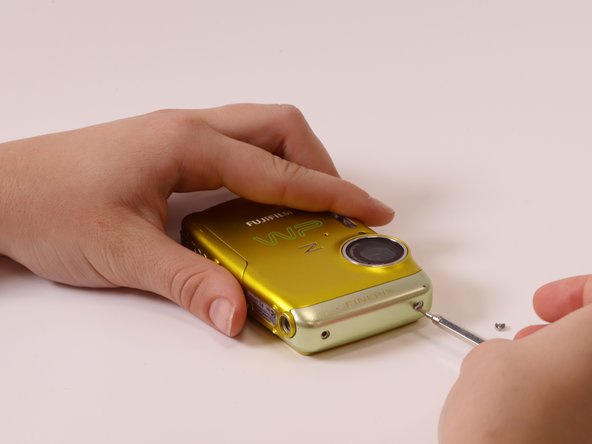
- Screw ‘A’ out. (hex screw). Finepix casing off
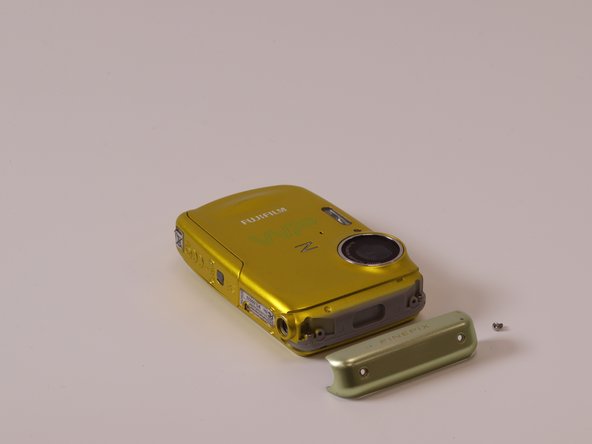
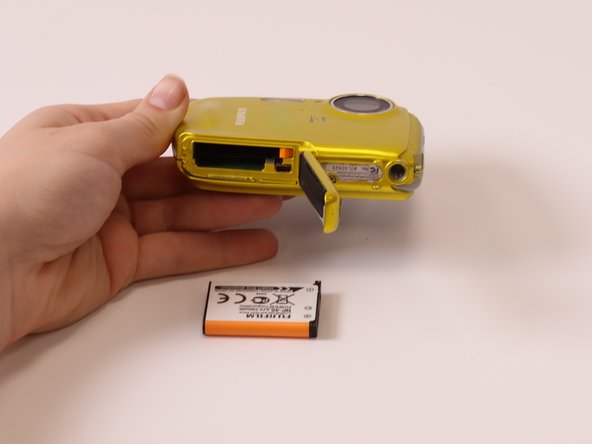
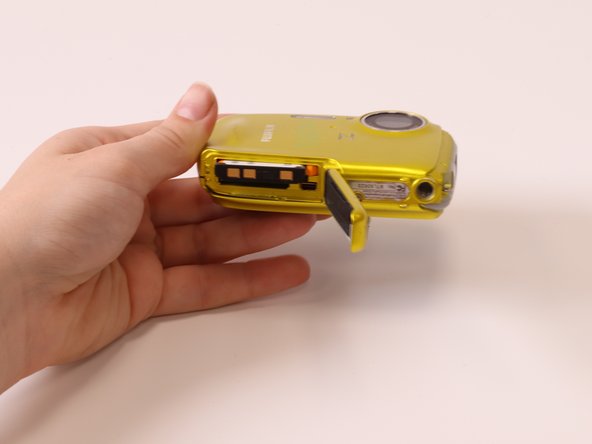
- Screw ‘B’ out + memory card + battery casing - Phillips pan head
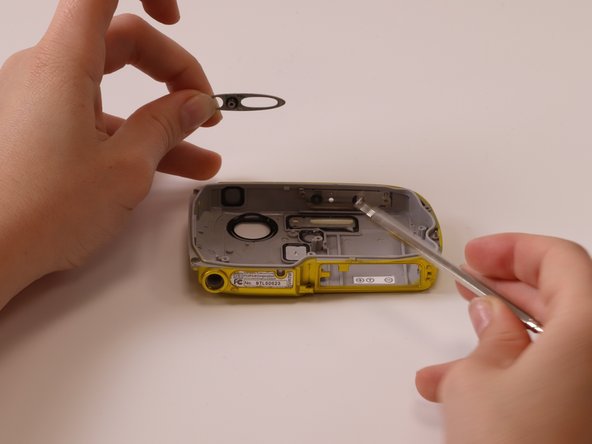
- Screw ‘C’ out (Phillips head)
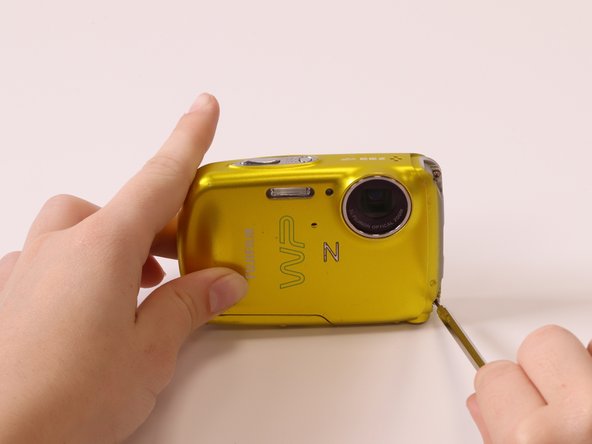
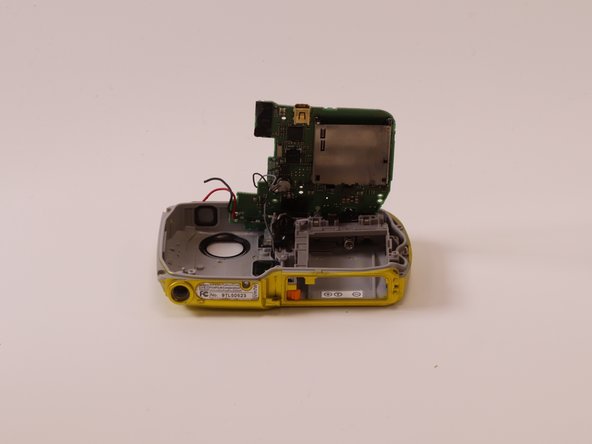
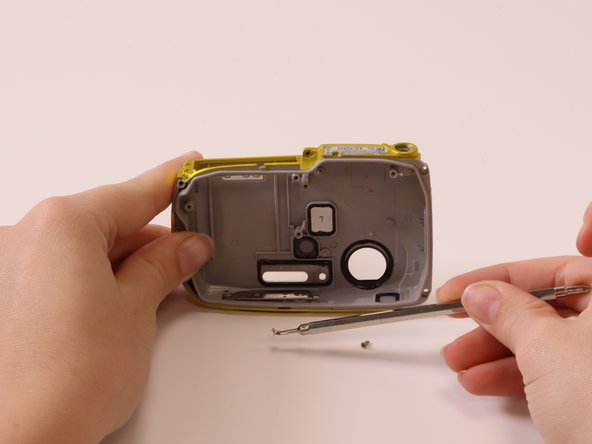
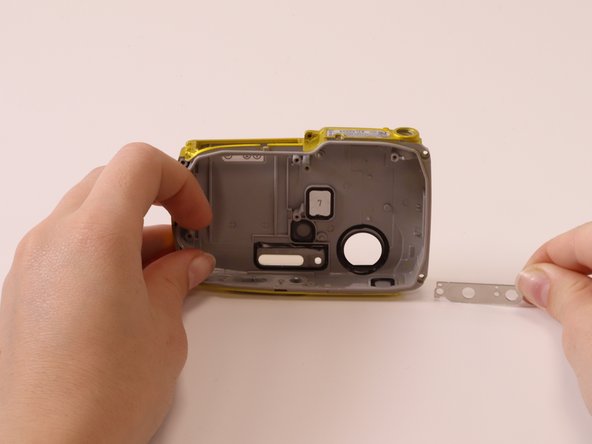
- Screw ‘D’ out. Back casing off, revealing internal components
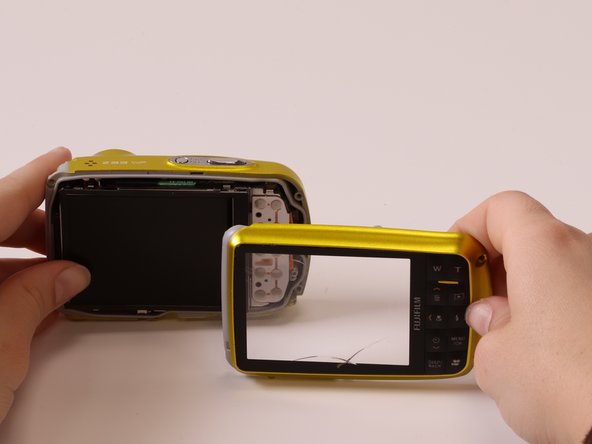
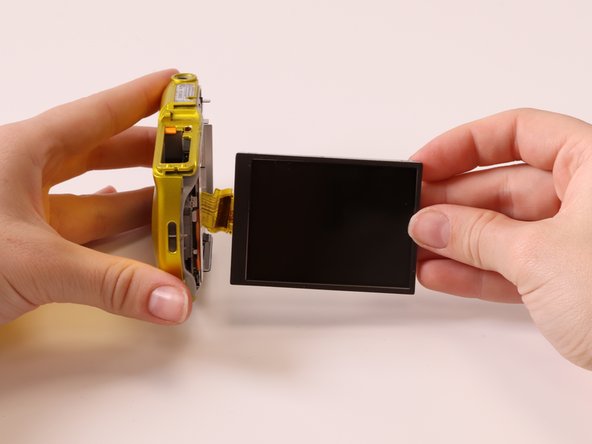
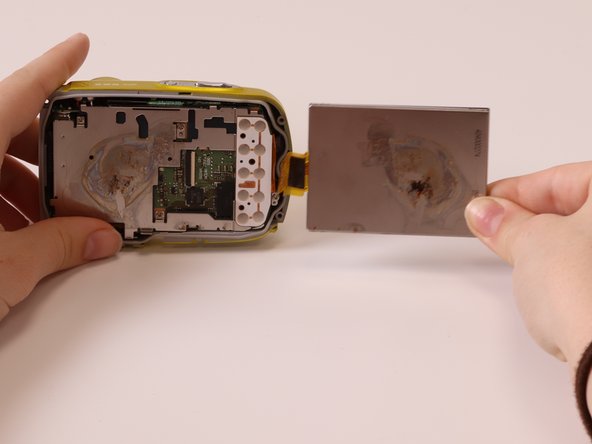
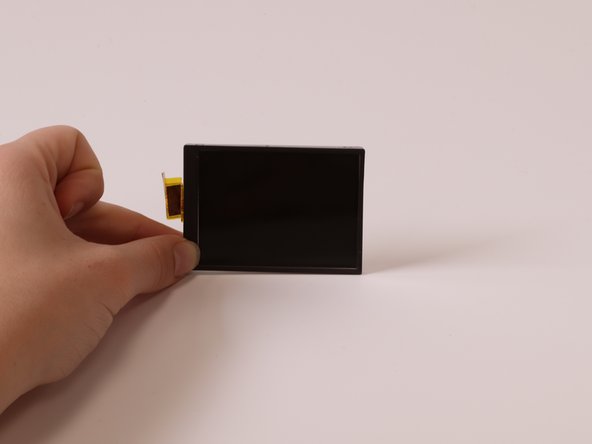
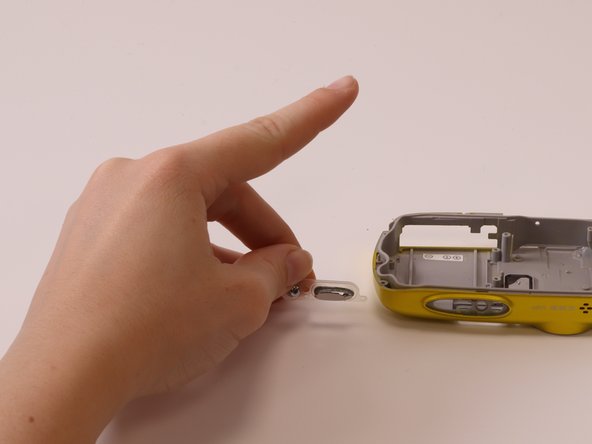
- Screen off. (adhesive)
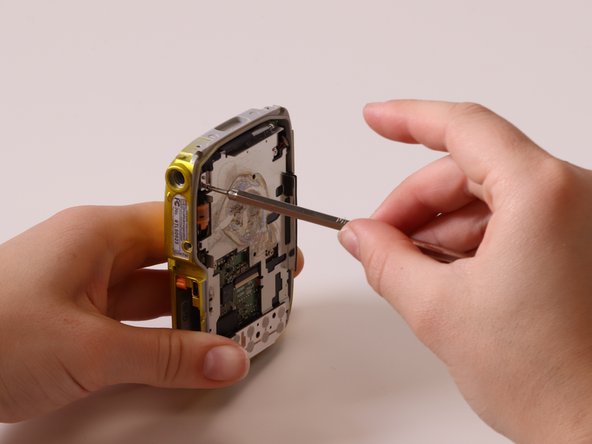
- Screw ‘E’ x 5 (Phillips head)
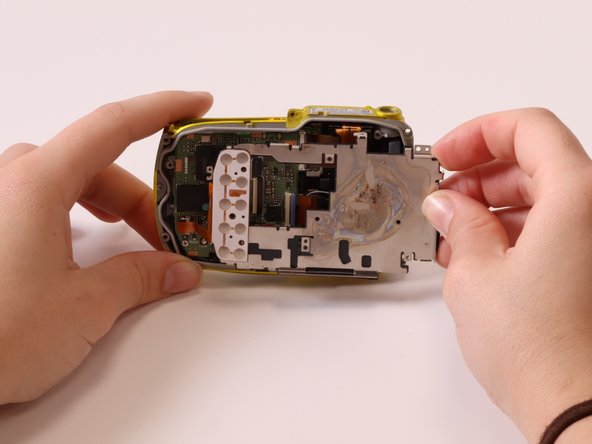
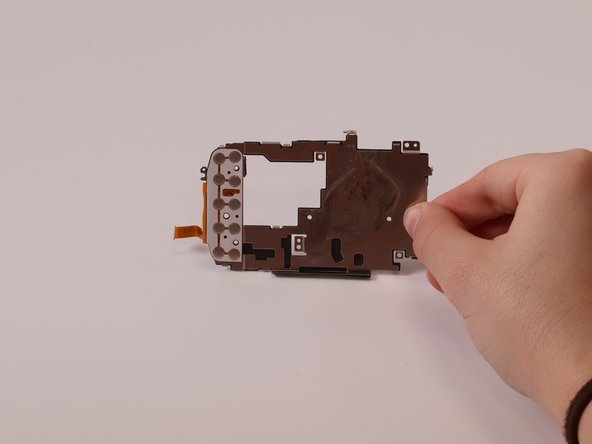
- Metal board out.
- Capacitor out.
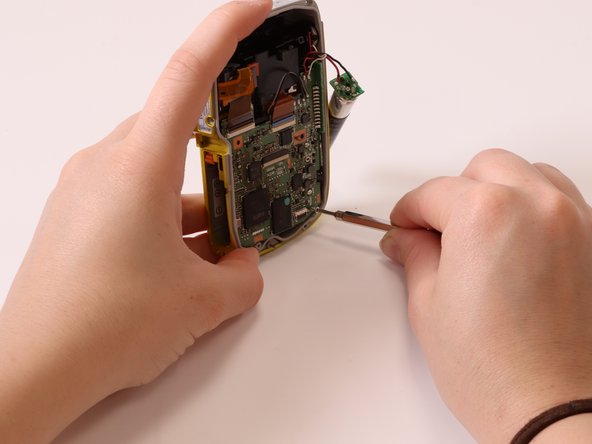
- Screw ‘F’. Circuit board.
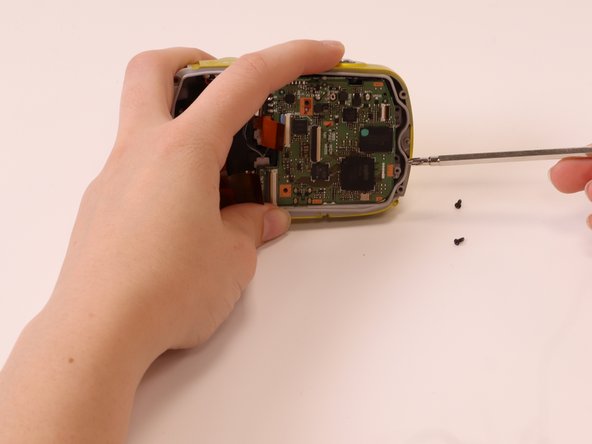
- Screw ‘G. Black. Underneath circuit board.
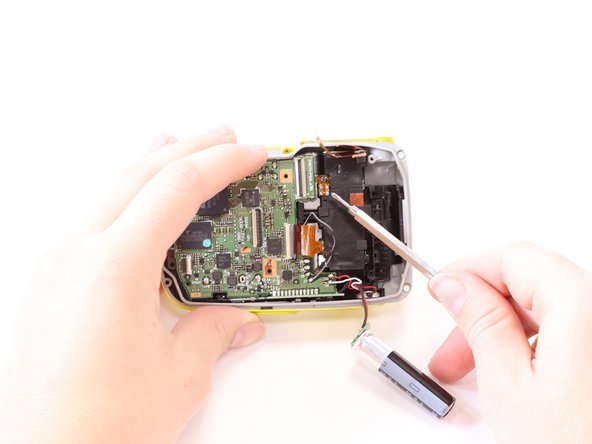
- Screw ‘H’ for capacitor.
- Screw ‘I’
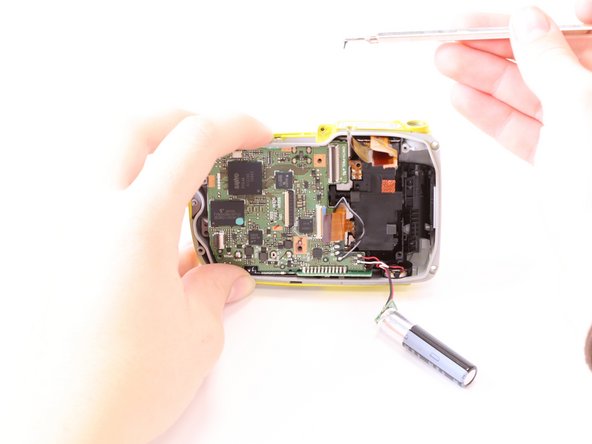
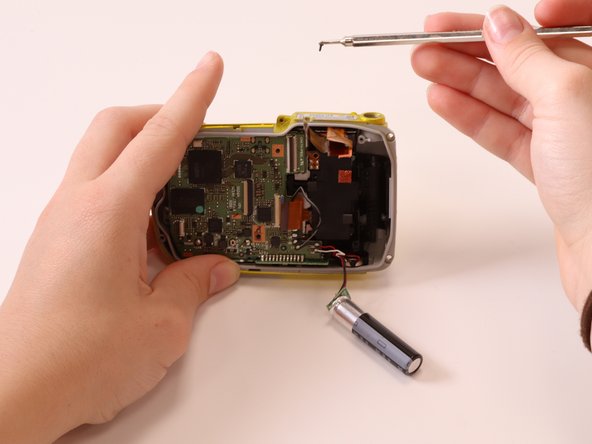
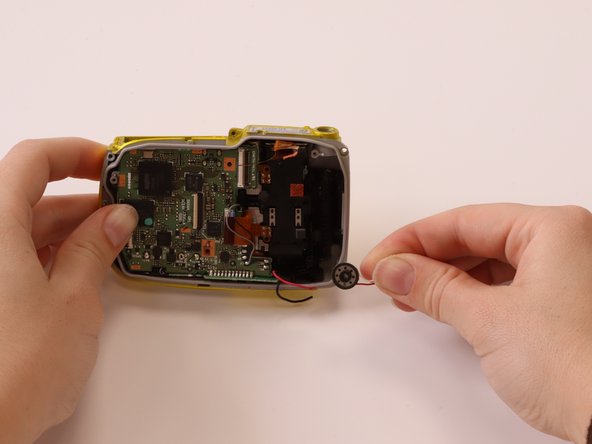
- Speaker bit out.
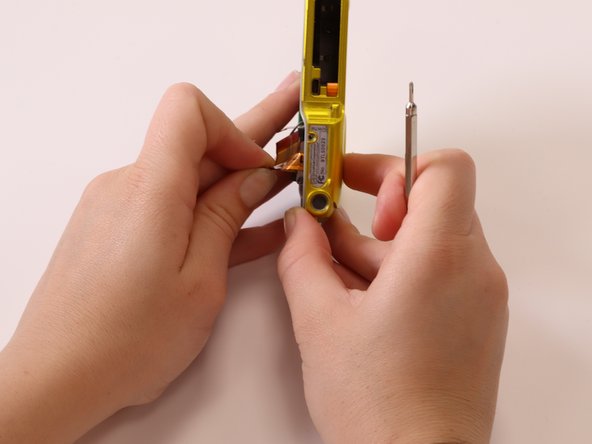
- Screw ‘I’ and ‘J’ Plastic battery casing out.
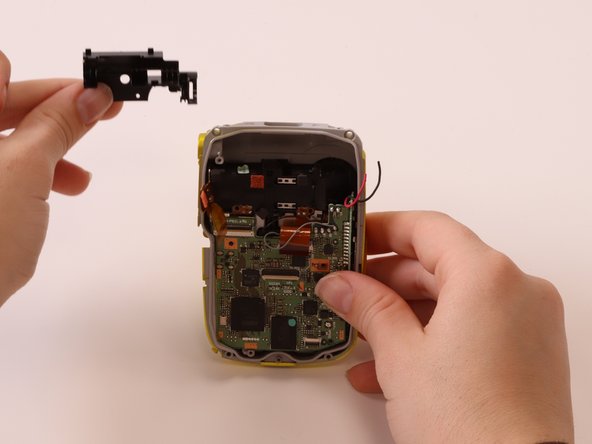
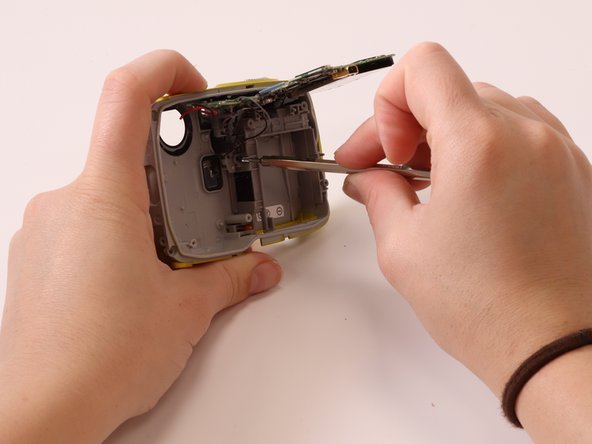
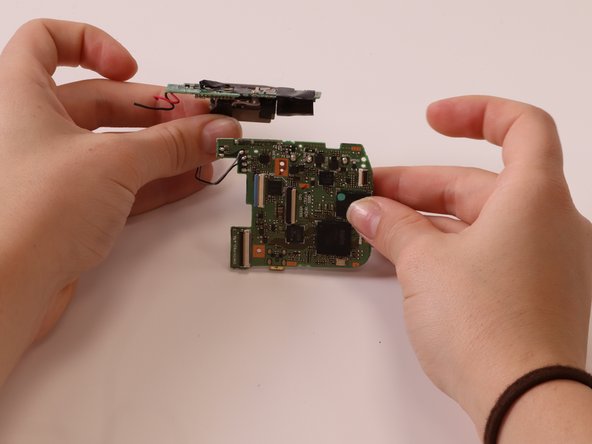
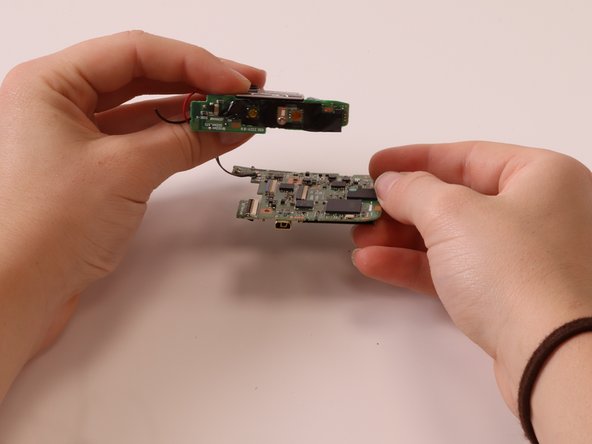
- Camera out.
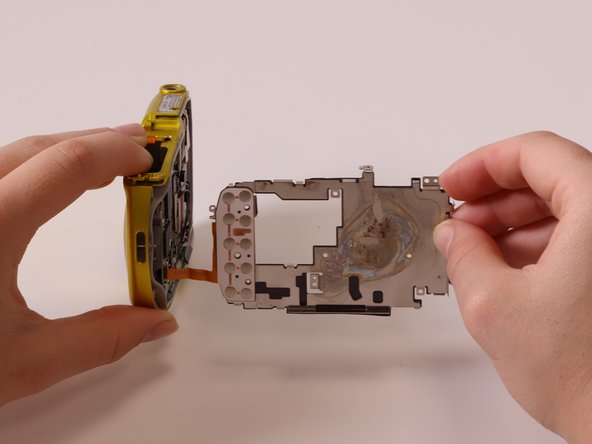
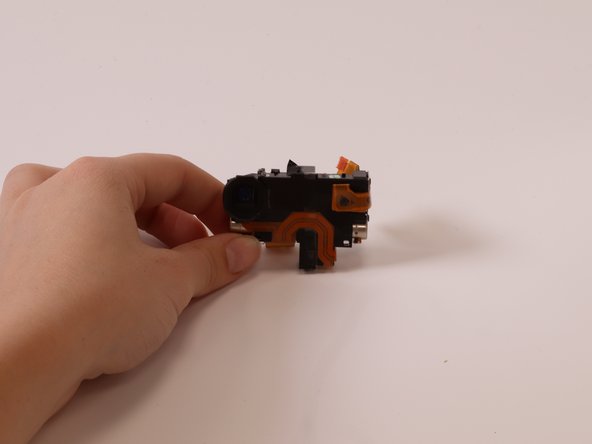
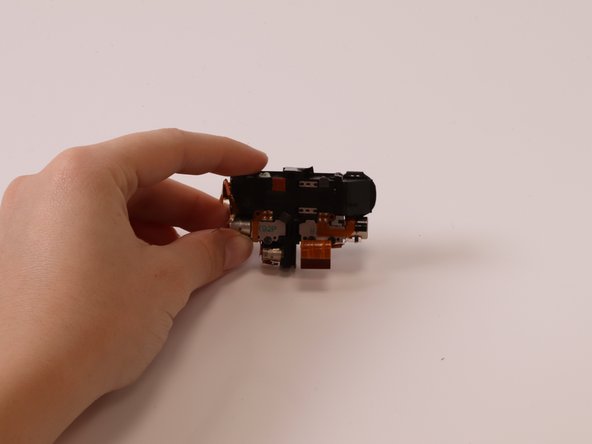
- Detach injection moulded casing that held circuit board and memory card slot.
- Detach injection moulded casing that held circuit board and memory card slot. (continued step 17)
- Detach injection moulded casing that held circuit board and memory card slot. (continued step 17)
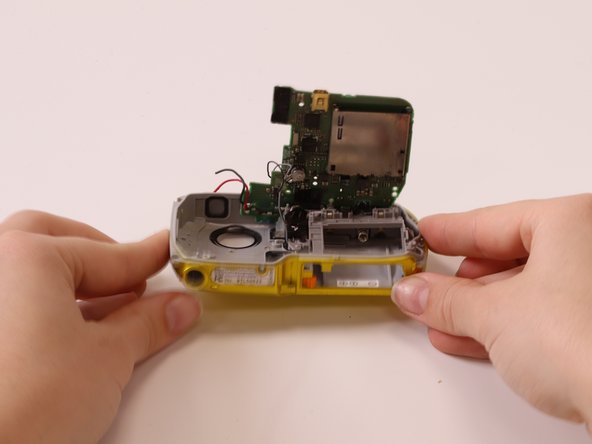
- Screw ‘K’ casing for on and off button.
- Screw ‘L’ and ‘M’ screws for on and off buttons + picture buttons (silicone water seals for waterproof type)
- Screw ‘L’ and ‘M’ screws for on and off buttons + picture buttons (silicone water seals for waterproof type). (continued step 21)
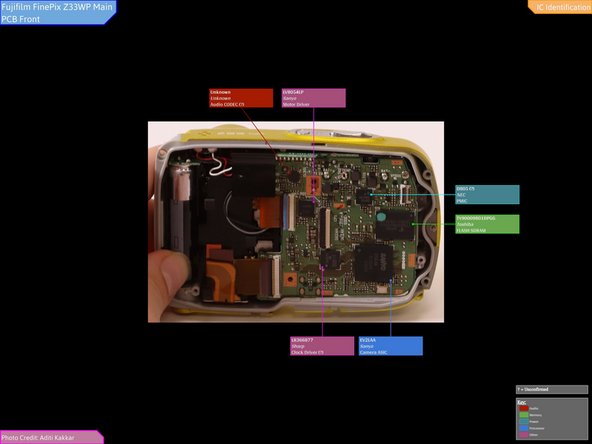
- Front Main PCB IC Identification:
- You may need to enlarge it to view the text.
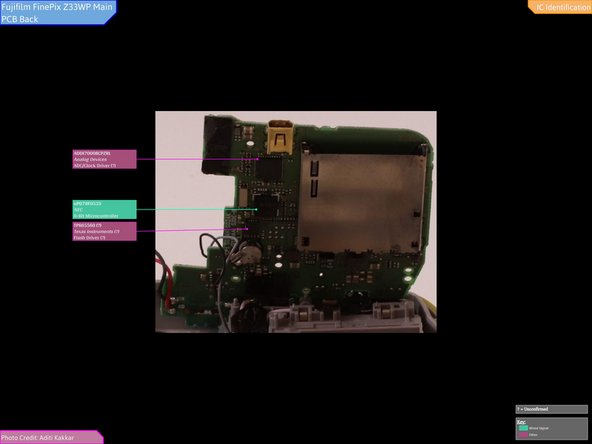
- Back Main PCB IC Identification:
- You may need to enlarge it to view the text.