Bissell ION Rechargeable Vacuums Lithium Ion battery pack schematic
ID: 132533
Description: Schematic and instructions for replacing...
Steps:
- Push the silver button to disconnect the dirt dish from the handheld vacuum.
- Remove the four 4 .4cm screws using your P0 screwdriver head and screwdriver.
- Remove the Bissell sign to remove the two 4.4cm screws, using your P0 screwdriver head and screwdriver.
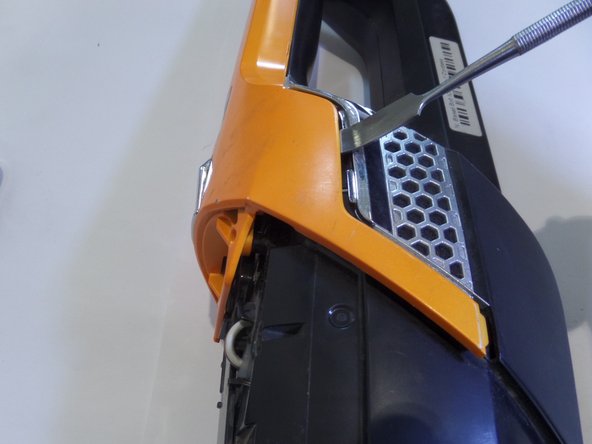
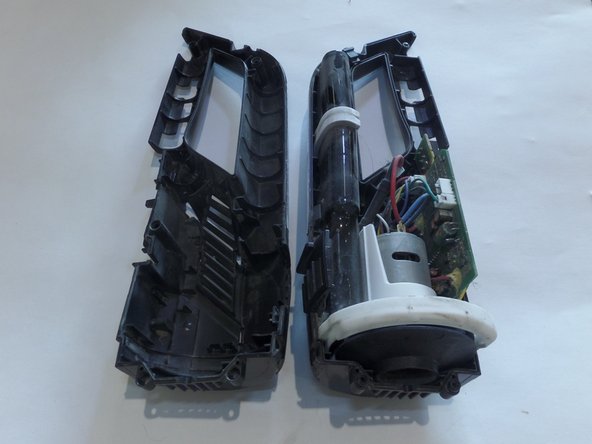
- Using the metal spudger, insert and lift up to remove the frame from the body.
- Move along the line and repeat on the other side.
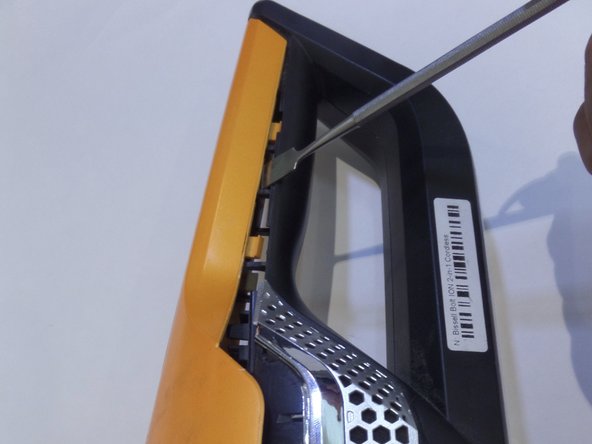
- Remove the orange frame
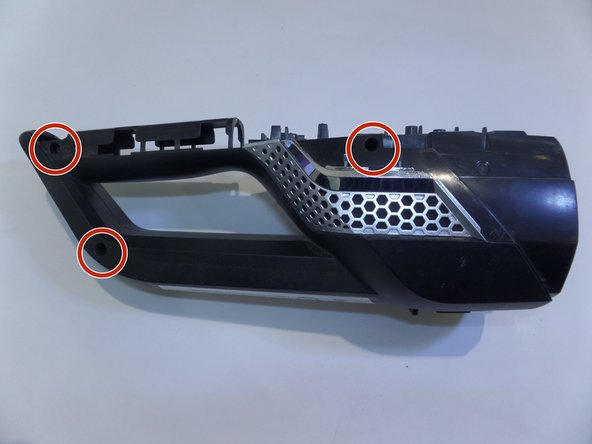
- Remove the 3 screws on the right side of the vacuum.
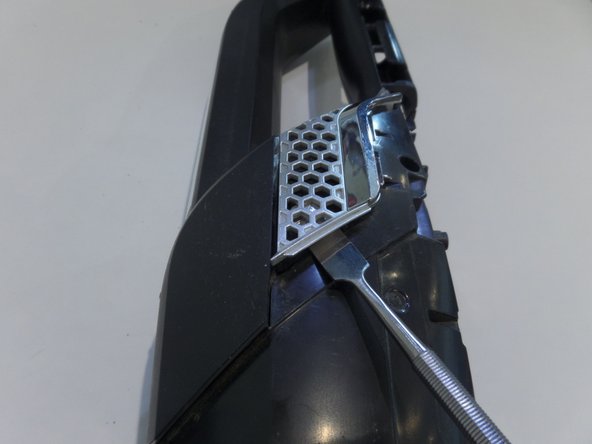
- With metal spudger remove the metal clip on both sides.
- Pull device apart using great force
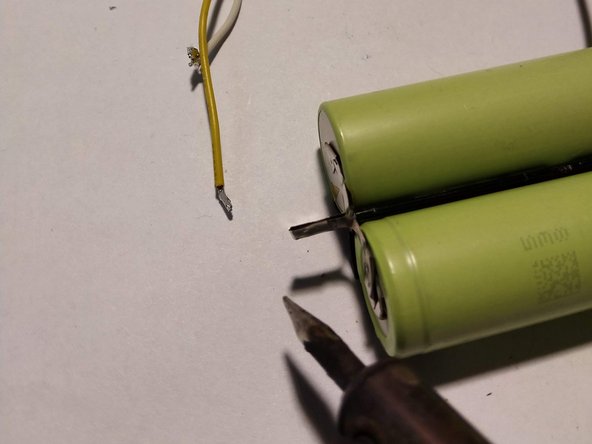
- Three wires lead to a female connector, probably for cell balancing, voltage sensing, etc. They are blue, yellow and white (the black wire in this schematic.)
- The batteries are 18650 Li-Ion, LG MG1: 2850 mAh, 10A 3.62v
- The inline fuse on the (+) positive lead is F16AH250VP
- Detach old battery pack (photo 1) from circuit board. My power leads were crimped, and easily de-crimped with a needle nose pliers.
- Gently pry 3-wire female plug from circuit board.
- Disassemble/desolder old pack. Loose assemble the new batteries. I used the old holding bracket (photo 2) and wires.
- Solder batteries together according to schematic (photo 3.) Wrap completed pack in shrink wrap or electrical tape.
- Connect (+) and (-) leads with crimps, solder, or small wire nuts. I used wire nuts.
- Reconnect 3-wire plug to circuit board.
- Place battery pack in handle location, and reassemble vacuum.