Pac-Man Connect and Play Teardown
ID: 132577
Description:
Steps:
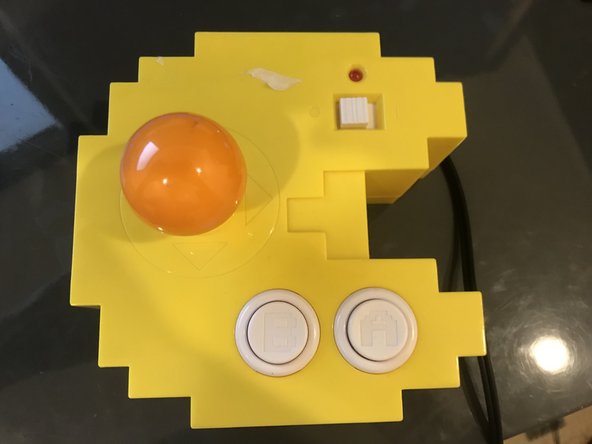
- I start by flipping over the device.
- I remove 5 Phillips head screws for the case
- And one more to remove the batteries
- Inside, all I see are glorious Phillips Head screws!
- Finally! Something repairable!
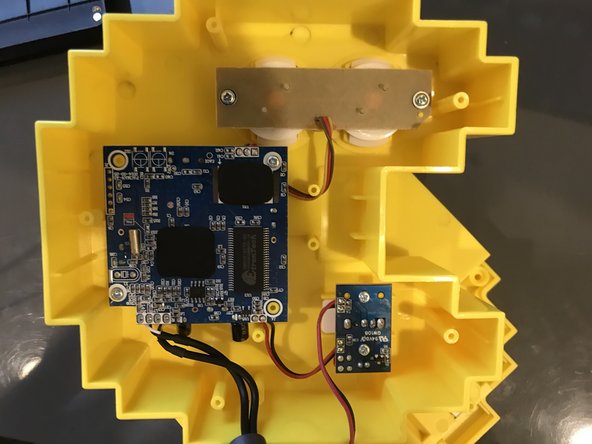
- Battery Compartment
- Power Switch and LED board
- Mainboard/Joystick board
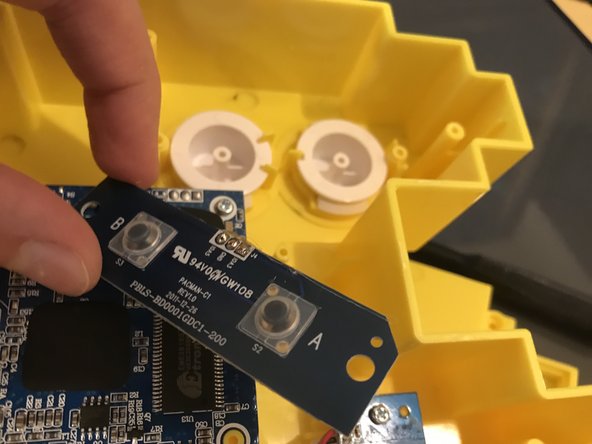
- A and B button board
- I start with the buttons.
- They were very, very easy to get to and remove.
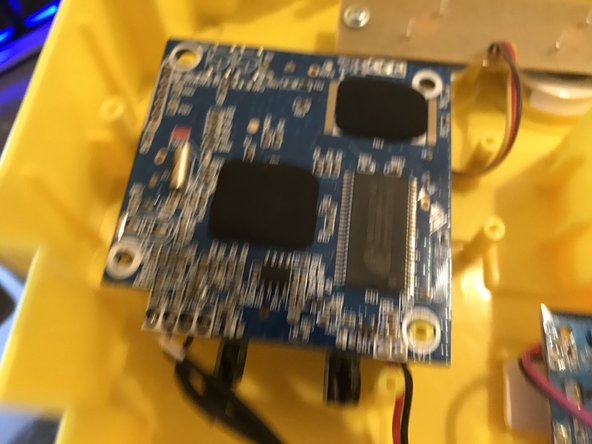
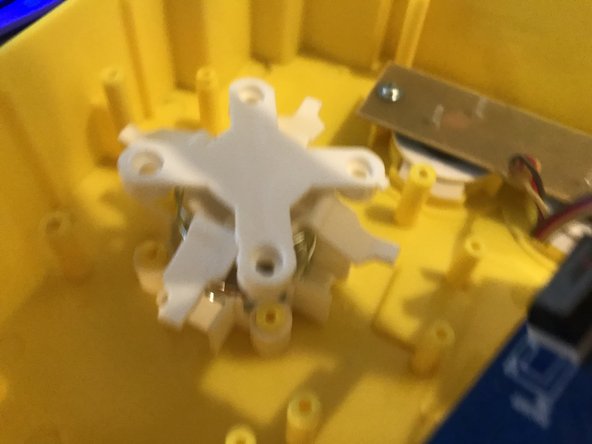
- Now, for the mainboard.
- 2 screws get me underneath.
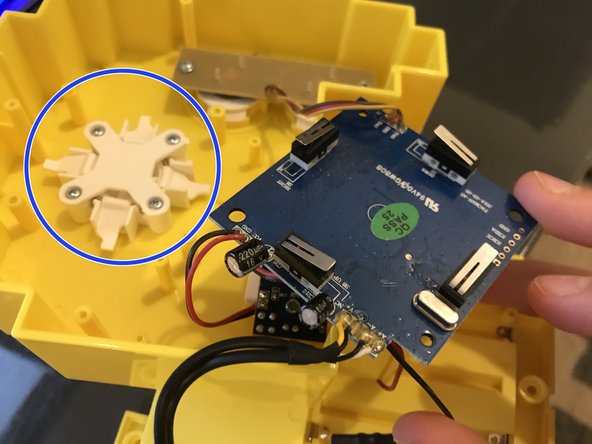
- But, what's this?
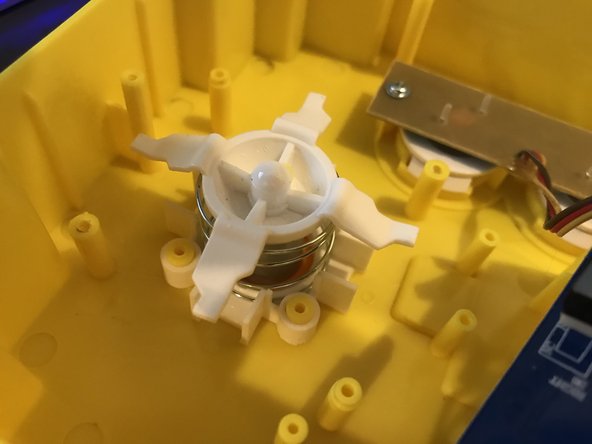
- Another 4 screws, and POP! it is holding a spring down, for the joystick.
- There did not appear to be an easy way to get the joystick out, however.
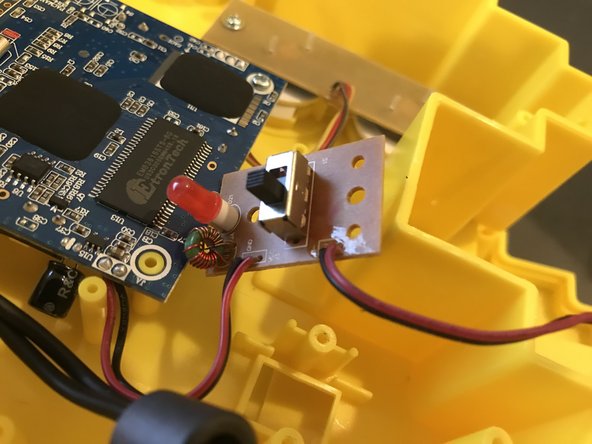
- Finally, I see a power regulator?
- Nope! It's just the power switch and LED.
- Back Main PCB IC Identification:
- You may need to enlarge it to view the text.
- In conclusion, I LOVE how it's all the J1 Phillips Head screw, throughout the entire device.
- It's easy to get under every board.
- There are, unfortunately, no plugs, and so everything is soldered on. This removes the possibility of replacing any electrical internals.