2005 Toyota 4Runner V6 Spark Plugs Replacement
ID: 132717
Description: This guide will provide you with all the...
Steps:
- Before getting started, remove the key and pop the hood. To pop the hood, pull on the hood pop handle under the driver's side dash.
- To open the hood, find the hood release latch toward the front/center of the vehicle, under the partially popped hood. Once this is released, the hood will pop and you are ready to start working.
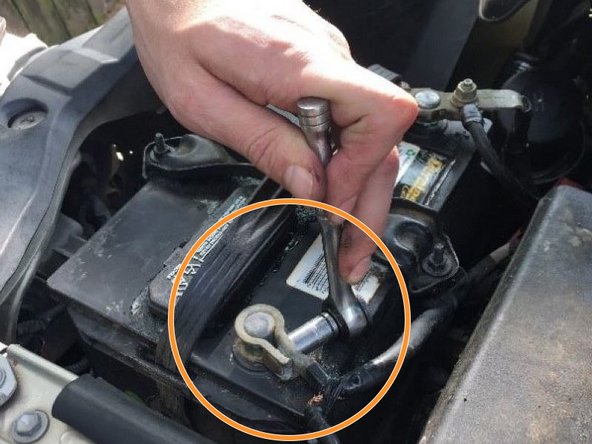
- Turn off the vehicle before operating on the battery.
- Disconnect the battery using the 10 mm socket and ratchet, starting with the negative terminal.
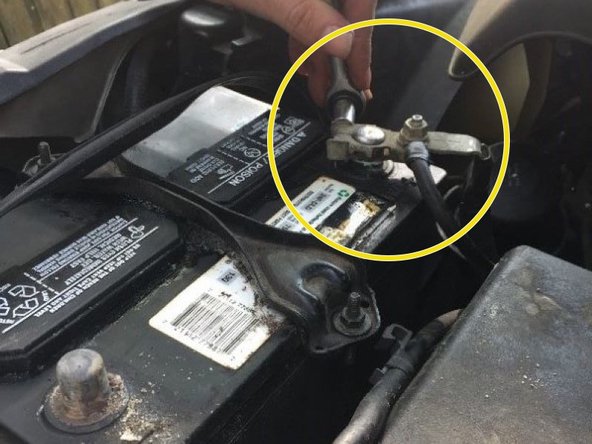
- Then, remove the positive terminal using the 10 mm socket and ratchet.
- Be sure to avoid touching any metal on the vehicle while removing the positive terminal to prevent arcing.
- The alarm may go off when installing or removing the battery so keep the key fob (the clicker) handy.' If the alarm is triggered, simply hit the unlock button on the key fob to turn the alarm off.
- Remove the plastic intake breather tube by disconnecting the pressure clamps on the air-filter housing.
- Using the Phillips #2 screwdriver to loosen the clamp connecting the air breather tube to the air dam.
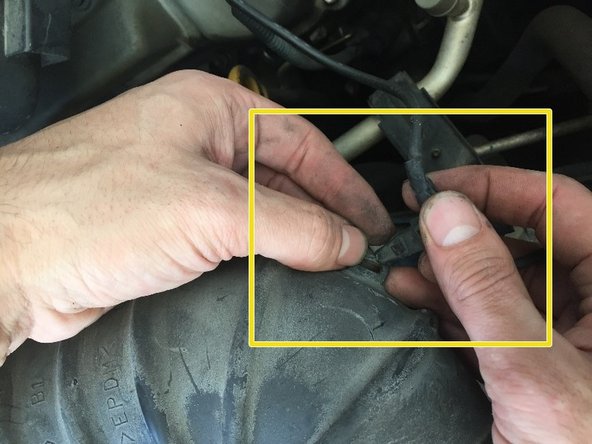
- Remove the wiring harness clip from the side of the breather tube by pulling up on the plastic clip. Set the breather tube aside.
- Remove the plastic intake air dam cover:
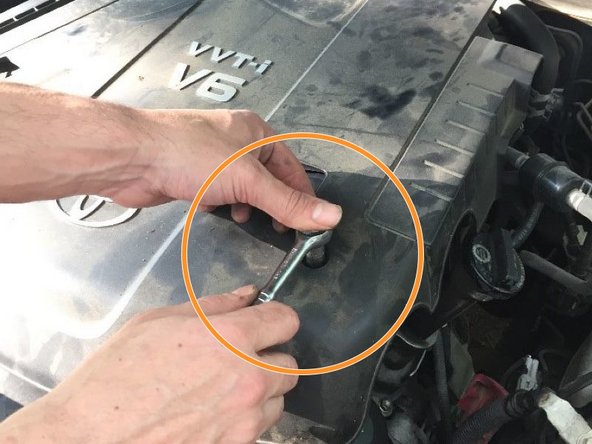
- Remove the plastic intake air dam cover by removing the two 10 mm nuts from the cover and then lift up and forward to remove.
- Remove the plastic intake air dam by removing the two 10 mm bolts with your 10 mm socket and ratchet. Set the bolts aside.
- Use the Phillips #2 screwdriver to loosen the rear air-dam clamp that connects the air dam to the throttle body.
- Disconnect the mass airflow sensor connector.
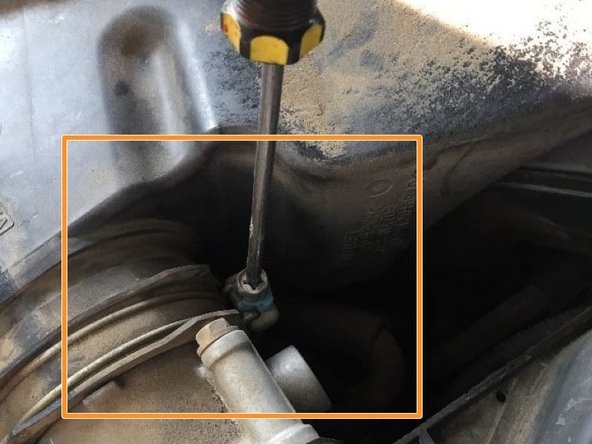
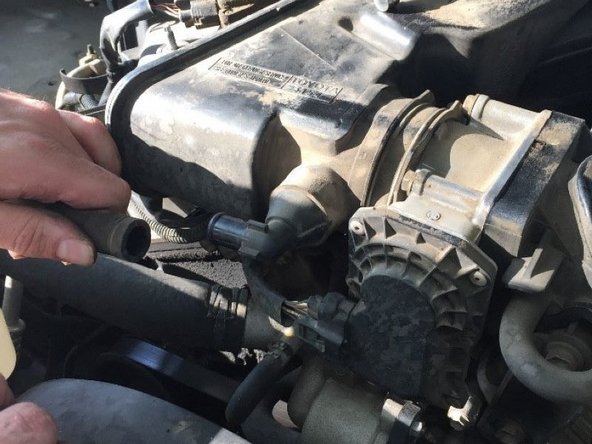
- Pinch the clamp on the positive crankcase ventilation tube and then slide the tube downward with the clamp firmly pressed.
- Lift the air dam up and toward you, and before removing completely, disconnect the fuel regulator vacuum supply hose from the back of the air dam by twisting and pulling. Then, remove the air dam completely. Set the air dam aside.
- DO NOT forget to reinstall the fuel pressure regulator vacuum hose. Failure to do so will cause running issues.
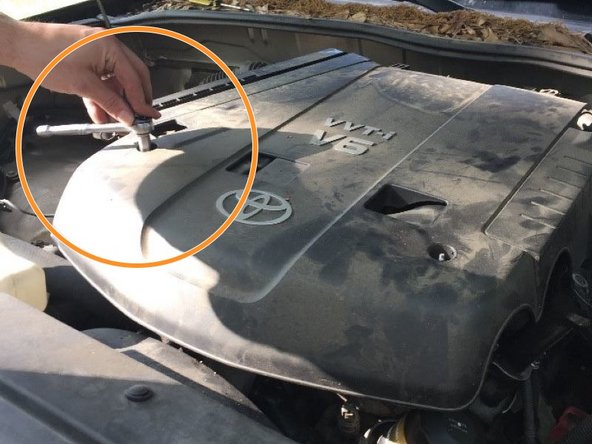
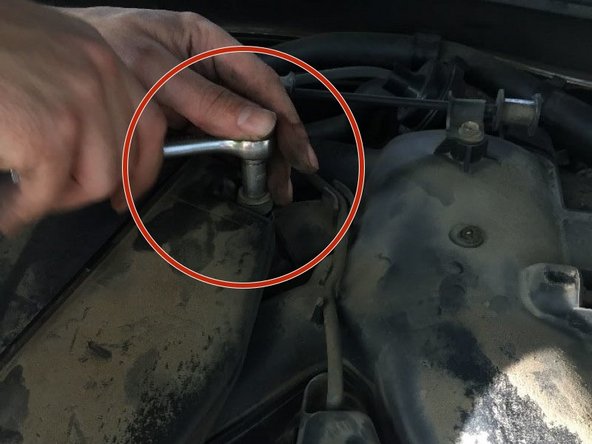
- Remove the intake brace support bracket by removing the two 12 mm bolts from the brace. Start by loosening the top bolt about halfway, then remove the bottom bolt completely. Now, loosen the top bolt the rest of the way and set aside.
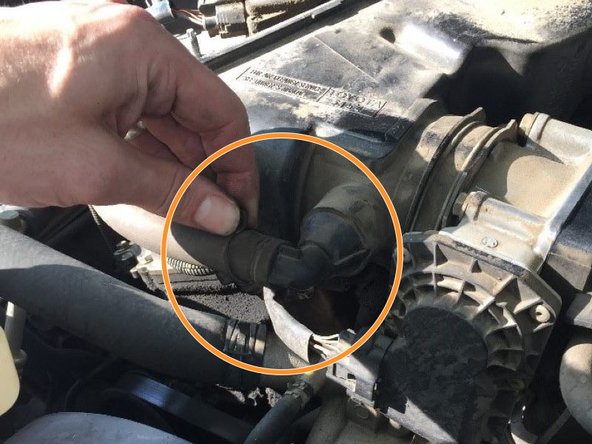
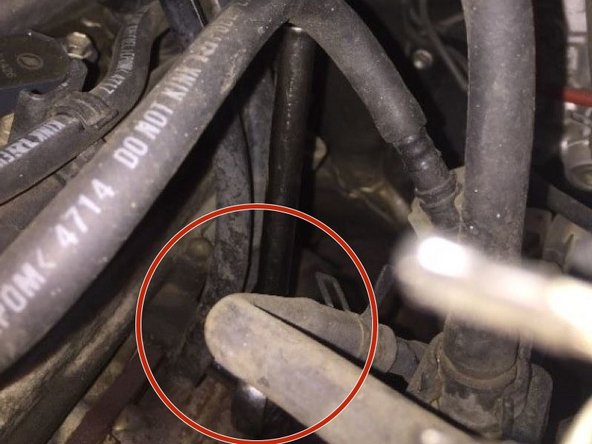
- Remove the PCV valve hose by pinching the clamp and sliding the hose downward while twisting gently. Position the hose out of your workspace.
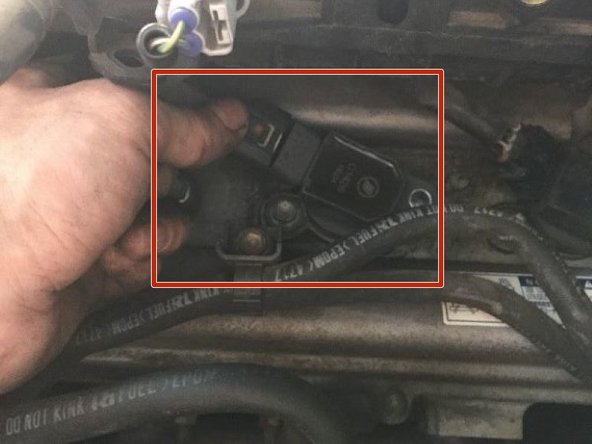
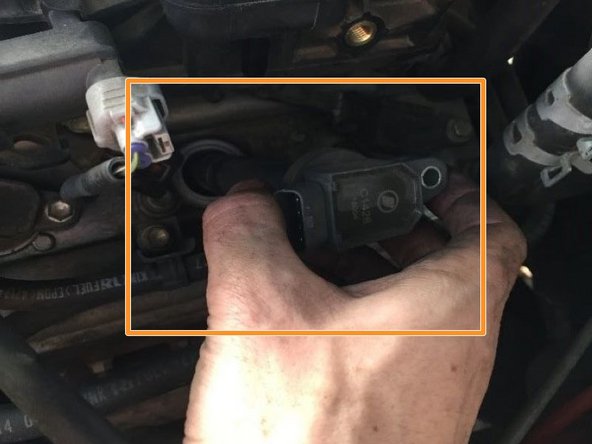
- Partially remove the six ignition coil connectors by applying pressure to the connector tabs and pulling the connectors off of the ignition coils. The connectors will remain attached to the engine harness; push them aside so that they are out of your way.
- Using your 10 mm socket and ratchet, remove the six 10 mm bolts from the ignition coils (each ignition coil will have only one bolt for a total of six bolts). Set the bolts aside.
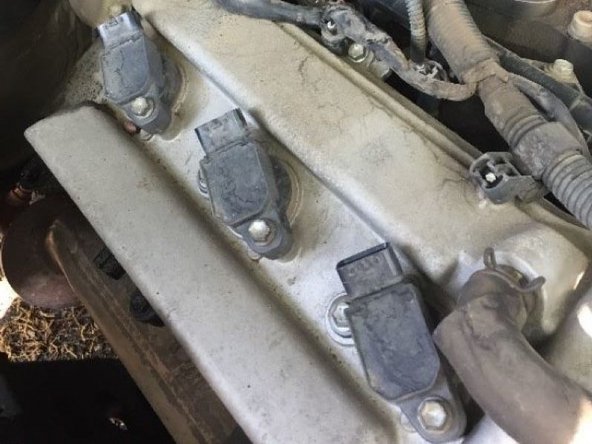
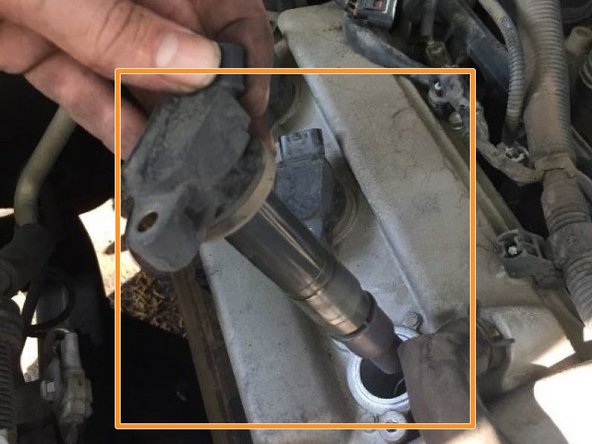
- Remove the ignition coil packs from the spark plug tubes. Set the removed ignition coil packs aside.
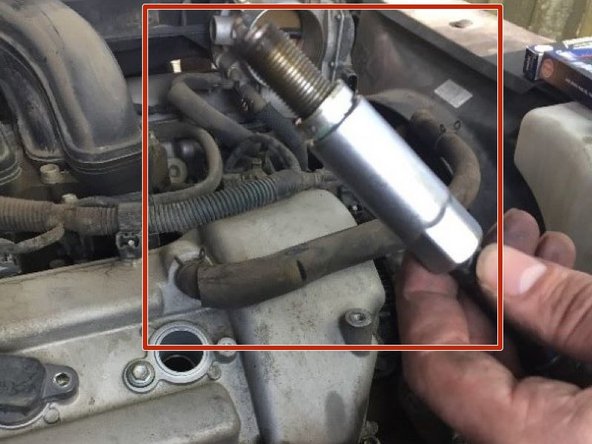
- Remove the spark plugs by using the spark plug socket and the ratchet to loosen the spark plugs, pulling them upward and outward to remove. The spark plug socket has rubber grips to aid in removal. Recycled the removed spark plugs.
- Put a new spark plug in the spark plug socket
- Put the new spark plug in the spark plug tube and use the spark plug socket and extension only to turn the spark plug in a clockwise rotation by hand until the spark plugs feel tight. Repeat for the other five new spark plugs.
- Once the spark plugs are partially set, use the ratchet to tighten the spark plugs until they feel sufficiently snug. Once snug, complete one final 1/4 turn with the ratchet to completely seat the new spark plugs.
- Be very careful with the new spark plugs and be sure not to drop them. If the porcelain housing of the spark plug is damaged, running issues such as a misfire can occur. Also be sure not to bend the metal piece on the end of the spark plug because if this metal piece is too far or too close to the electrode, running issues will occur.