Karcher Pressure Washers 15209900 2018 Capacitor Replacement
ID: 132903
Description: Follow this guide to remove and replace the...
Steps:
- Before you begin, make sure to power off and unplug the device from the outlet.
- Unscrew the output hose from the pressure washer.
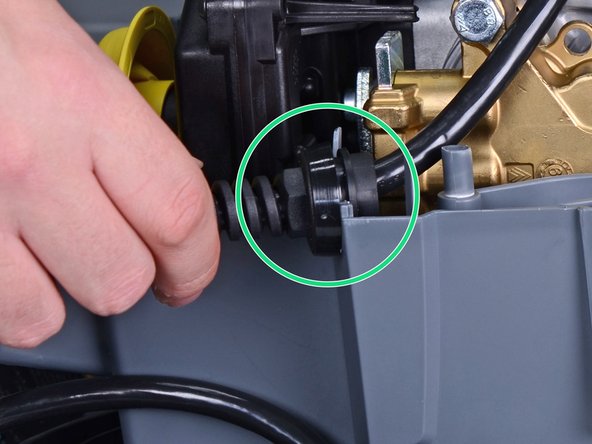
- Unlatch and remove the yellow rubber strap.
- Use a T20 driver to remove the two 55mm-long screws securing the hand grip.
- Remove the hand grip from the extension bars.
- Use a T15 driver to remove the six screws securing the top black plastic panels on either side of the device.
- Remove the two plastic panels.
- Remove the two T15 screws securing the plastic feet—one screw on either side.
- Unclip and remove the plastic feet.
- Use a T15 driver to remove the ten screws securing the housing halves together.
- Remove the T15 screw underneath the wheel axle.
- Set the device on its side.
- Lift the housing half away from the body.
- If the housing half does not separate, check to make sure you removed all the body screws.
- Remove the housing.
- Screws may get stuck inside the plastic housing. Be careful not to lose any screws.
- Slide the power cord strain relief out its notch on the plastic housing.
- Lift the motor assembly out of the plastic housing and set it aside.
- Reassembly tip: Use these images to help reassemble the housing back around the motor.
- Make sure that all five bushings are in place.
- In order for the housing to fit properly, the bushings must fit in their respective mounts.
- Make sure that the yellow tube is properly notched onto the housing.
- Make sure that the power cord strain relief sits correctly in the housing notch.
- Use a T20 driver to remove the four screws securing the electrical box cover.
- Lift the cover off of the electrical box.
- Tilt the capacitor upward slightly to gain access to the connectors.
- Use your fingers to pull each capacitor connector directly off of their spade plug.
- Remove the capacitor.
- Reassembly note: The wires are non-polarized and can connect into either plug on the capacitor.