Apple Watch Series 3 Glass Replacement
ID: 139421
Description: As a wearable device launched by Apple, the...
Steps:
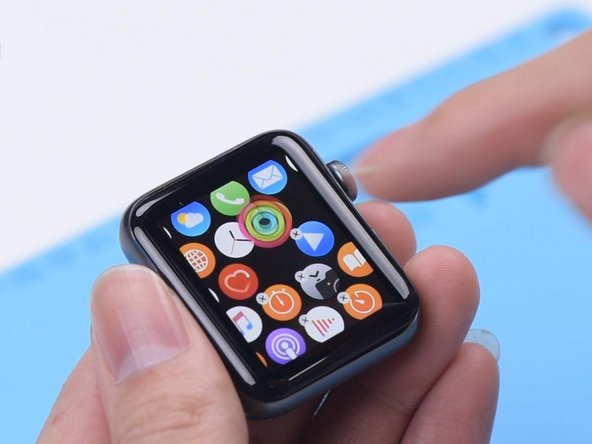
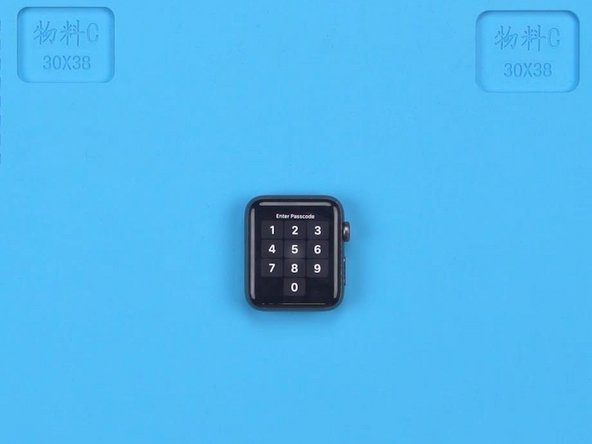
- First of all, test the screen. The touch, display, and Force Touch function well.
- Turn the watch off and pry the screen open with a Razor Blade slowly.
- Please pay attention to the screen flex cables to avoid damage. It can be seen that three flex cables are connected to the motherboard.
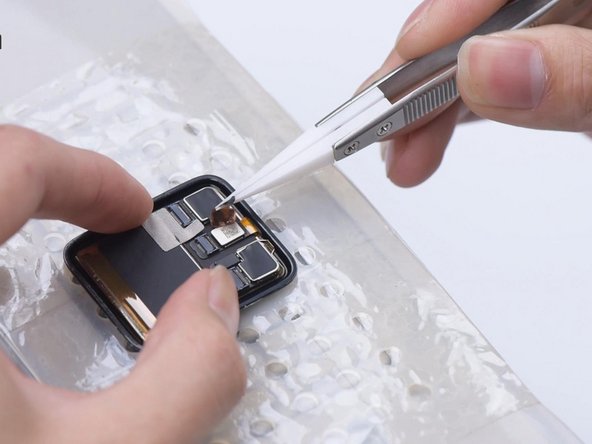
- Peel off the tape covering the display flex cables with tweezers. Please do not damage the flex cables while peeling off. Then disconnect the flex cables.
- Next, we need to pry up the connector of the touch flex cable.
- Put the screen on the Heating Platform at 120℃ for 30 seconds.
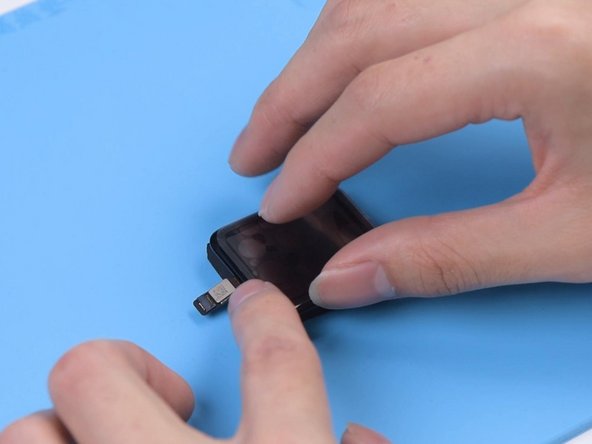
- After heating, peel off the tape with tweezers and pry up the connector.
- Then we use the Cutting Machine to cut the glass. We need to cut both sides of the glass to get the cutting wire in. Please be careful during the operation.
- We can see that a side of the glass has been cut off and the bottom has broken too.
- Then we cut the other side. Lastly, polish the corners.
- A point well mentioning is that the difficulty of replacement will be reduced if the glass is broken.
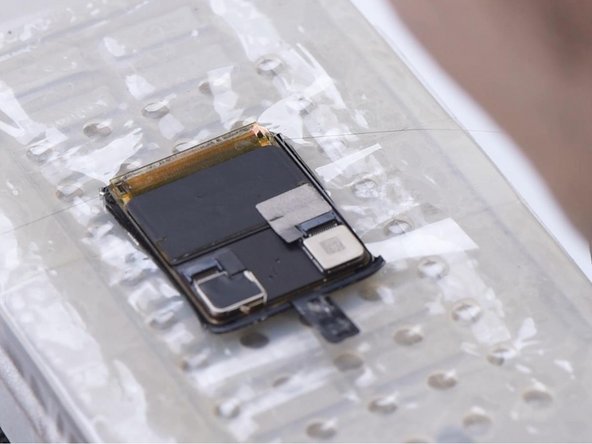
- Tape the screen. Then put the screen on the Heating Platform and start the suction.
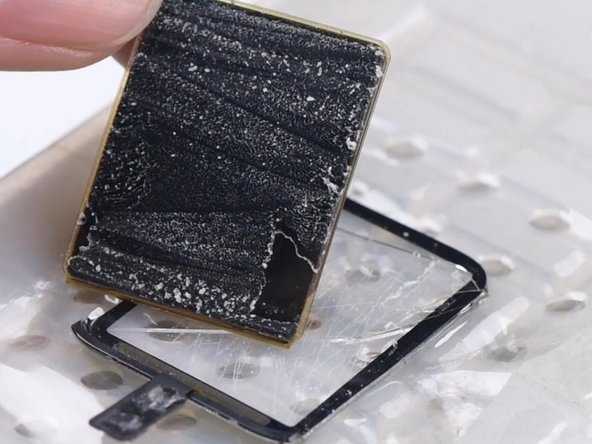
- Next, separate the glass with Cutting Wire. Pull the Cutting Wire slowly and the glass is successfully separated.
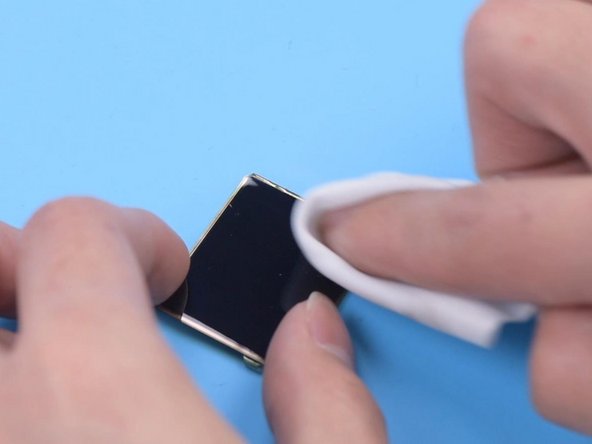
- Then we remove the OCA adhesive with the Electric Adhesive Removing Tool and clean the OLED with N-hexane.
- Install the OLED to test. Since the touch panel has been separated, we only need to test the display function. The display function is normal. Clean the OLED completely with N-hexane.
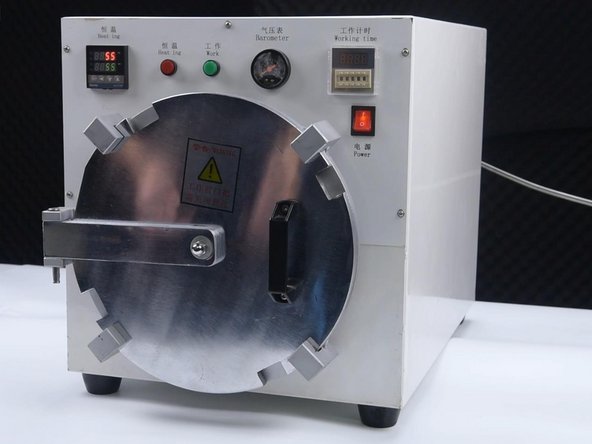
- Attach the OCA adhesive to the OLED with Laminating Roller and put the OLED into the Bubble Removing Machine for 3 minutes.
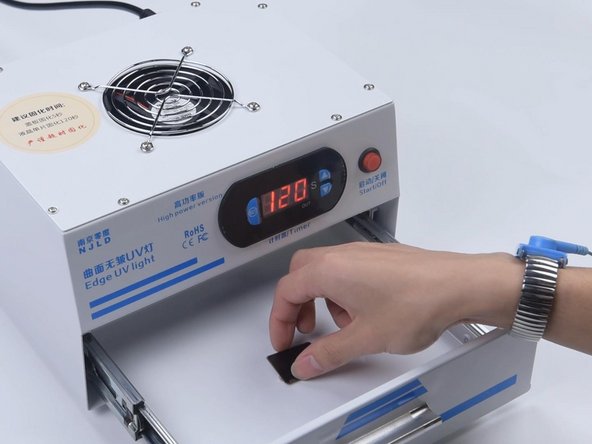
- Take the OLED out and put it into the UV Lamp for Curing OCA Glue for 5 seconds.
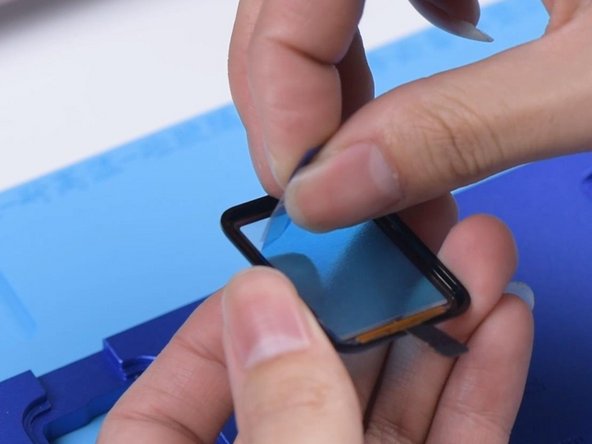
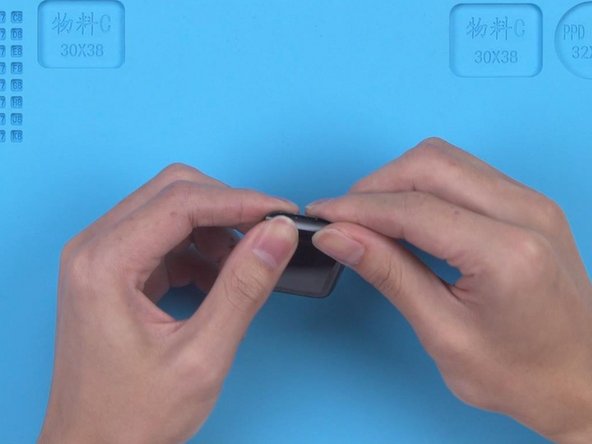
- Stick a corner of the OLED with Easy Tear Sticker and peel off the OCA protective film.
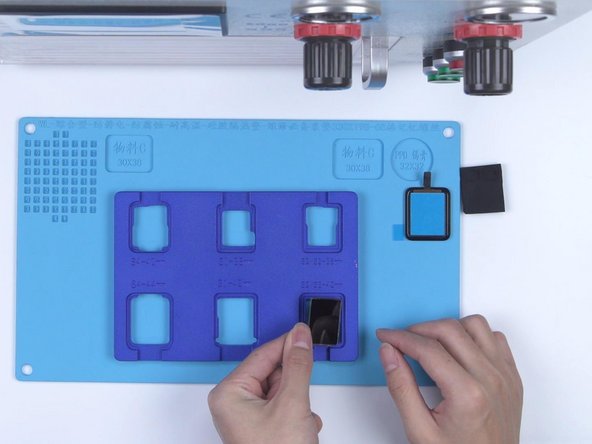
- Attach the OLED to the Laminating Mold. Stick a corner of the digitizer and peel off the OCA protective film.
- Align the digitizer with the OLED.
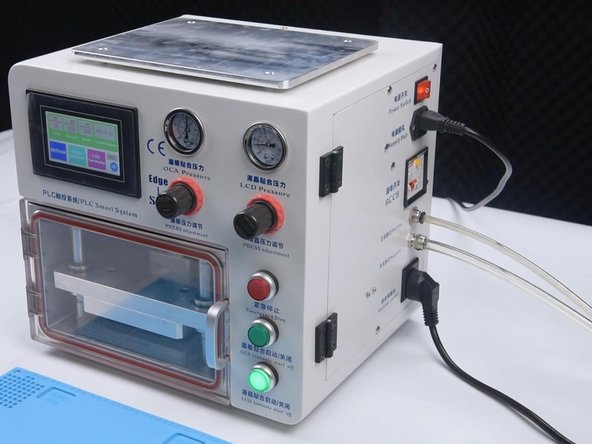
- Detach the screen and put the screen on the Laminating Sponge. Then put the screen into the Laminating Machine and press “LCD laminate start”.
- Take the screen out and there are still bubbles on the screen. Put the screen back into the Bubble Removing Machine for ten minutes and the bubbles are gone.
- Put the screen back into the UV Lamp for two minutes. Then we connect the screen to test. The function of the display and touch is good.
- Lastly, we install the screen on the watch. Attach the adhesive strip to the frame and peel off the protective film.
- Connect the screen and turn on the watch. The watch is turned on and all functions work well.