DeLonghi ECAM series water leak on the left side
ID: 139770
Description: Unfortunately, this issue occurs often with De...
Steps:
- Unplug the power cord!
- Remove all attachments such as water tank, pulp drawer, brew group.
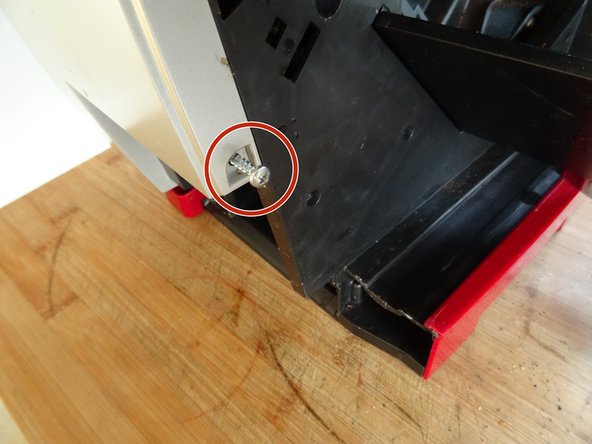
- Turn the machine with the back facing you.
- Remove five Torx T20 security screws.
- A small hurdle: These screws have a pin in the middle, so the screwdriver must have a hole.
- Lift out the back.
- The following components are immediately visible:
- grinder
- pump
- flowmeter
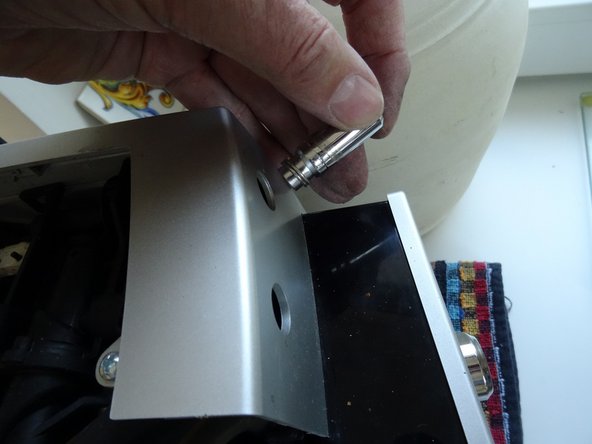
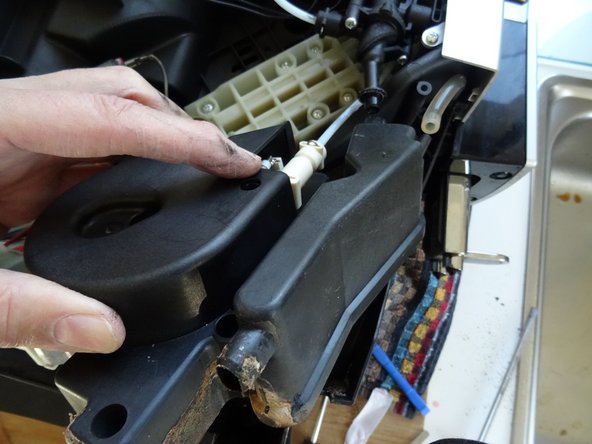
- Push the side panel back about 1.5 cm.
- Lift off the panel.
- The following compononents are exposed:
- Heater
- Expansion chamber
- Gear drive
- Steam valve
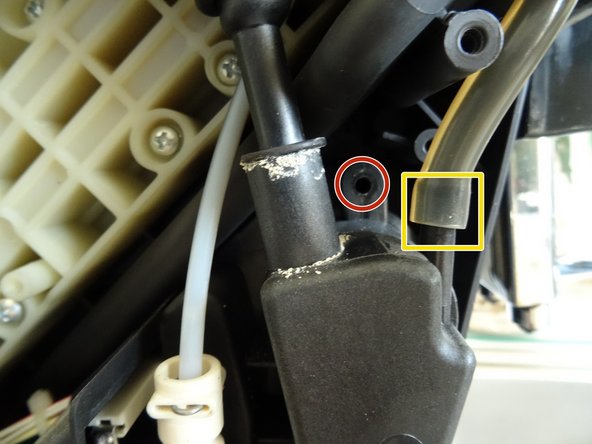
- The leak is easy to recognize from the traces of lime under the heater.
- A leaking expansion chamber is usually the cause. But also check whether the connections on the heater are not leaking. The water may also come from above, e.g. from the upper brewing flask.
- If too much water is running in/through the expansion chamber to the drip tray outlet or next to it, you can check where it's coming from by unplugging the silicone hoses. You may need to replace one of the following components:
- from a defective pressure relief valve in front of the heater
- from a leaking steam valve
- from the upper brew piston if it is defective/leaky
- If you start the machine - with all caution - you can observe where the water comes from. Immediately pull out the power plug.
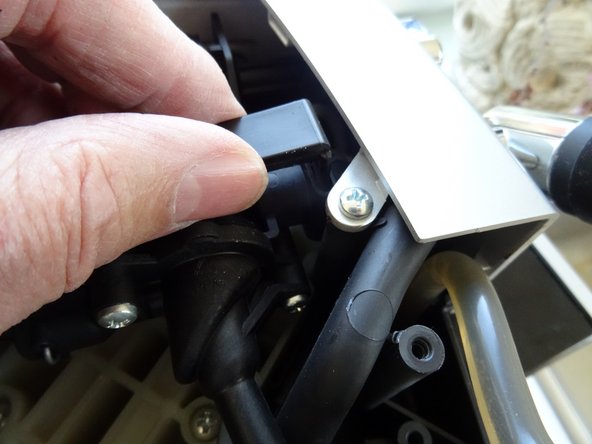
- The lower front panel still has to be removed. To do this, loosen the two Phillips screws on both sides.
- The bezel is still snapped in at the bottom left vertical inner side. Release the catches and carefully lift the panel past the coffee spout.
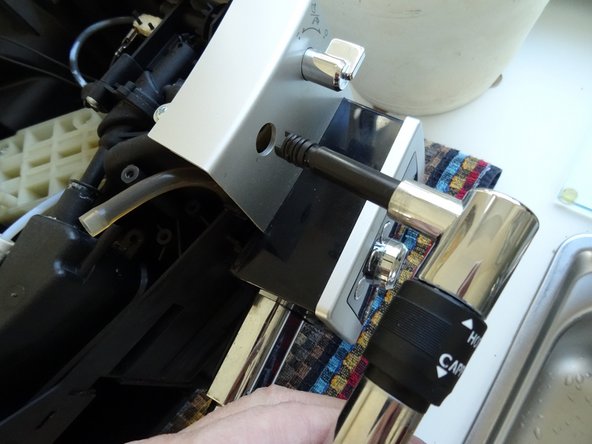
- Carefully pull off the steam valve toggle. Only use a plastic tool to pry to avoid damaging the bezel.
- Pull out the plastic clip on the steam nozzle. It may be stuck and you will have to pull hard.
- Pull the steam nozzle out to the front.
- Unscrew the two Phillips screws that hold the steam valve in place. Note the washer on the right screw.
- The steam valve is now loose so that the expansion chamber can be lifted out in the next step.
- Unscrew the three Phillips screws on the expansion chamber and the heater. There may be differences on other models.
- Pull off the two silicone hoses.
- The expansion chamber and heater unit is basically free. But it's still pretty stuck. Try prying it loose at the spout.
- When it's loose, you can gently pry it out.
- This is what the chamber and heater look like from below. There is no rubber seal, the chamber is simply snapped on. In many cases this is not enough and the water leaks out. There is no special seal, but the seal DeLonghi #535750 should fit. Optionally you can try to seal them with a piece of household rubber, for example.
- Note: In the meantime there are ready-made seals, e.g. at amazon.
- Clean the chamber and remove any traces of lime.
- Get household rubber rings of the appropriate length. If you can't find a single one that's longer, two shorter ones will do.
- Cut the rings and place them in the groove on the edge of the expansion vessel as a test. If they fit, stick them in place with a few drops of all-purpose glue.
- Carefully reinsert the expansion chamber, assemble everything and then test whether everything is tight.