Kraft Pocket stroller Back wheel Replacement
ID: 139982
Description: This is a guide for replacement of the back...
Steps:
- You'll need: parts: from Bearingboys(.co.uk): one OBF101320 Flanged Oilite Bearing Bush (Flange Dia 17mm; Flange Width 2.5mm; Inside Dia 10mm; Outside Dia 13mm; Total Length 20mm; from Oilite Bearings), and one OB101310 Plain Oilite Bearing Bush (Inside Dia 10mm; Length/Width 10mm; Outside Dia 13mm; also from Oilite Bearings);
- from Toolstation(.com): one 6x1.5'' wheel (code 17980) as pictured (as I assembled the wheel including the bearing bushings already you will see this on the picture).
- You'll also need: tools: handsaw; hammer; ideally also a digital caliper but can also do without; possibly also a flat file (might be able to do without but that depends on the actual version of the wheel you received from Toolstation -- more on this below); optionally External Circlip Pliers.
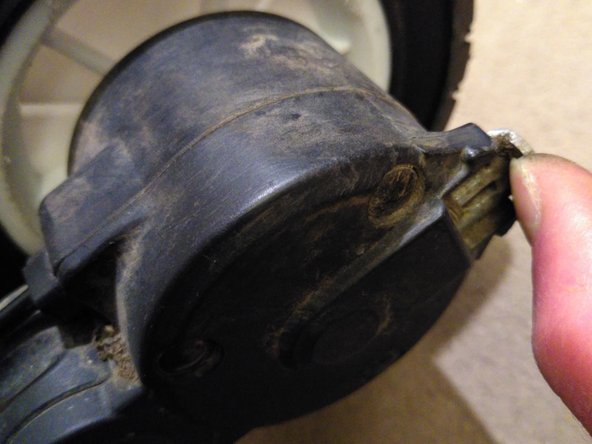
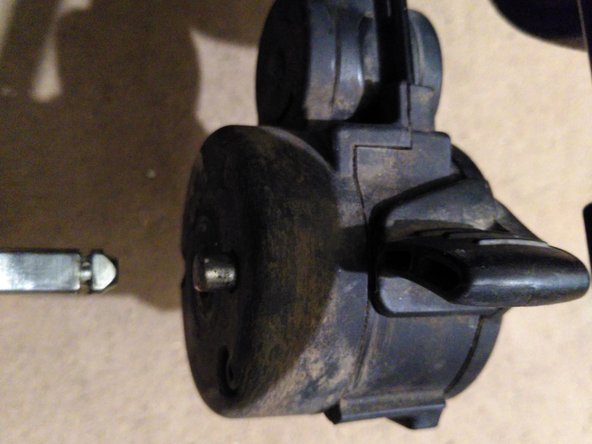
- Take out the old wheel + axle while pushing down the lever on the stroller as shown.
- Take the old wheel and any washers off the axle after removing the circlip, but don't throw the washers and circlip yet as you may need them still.
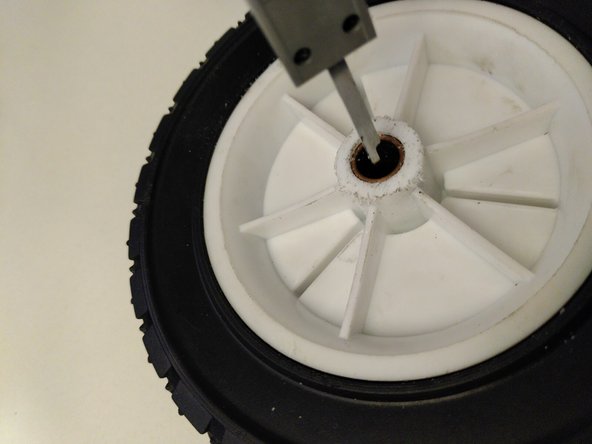
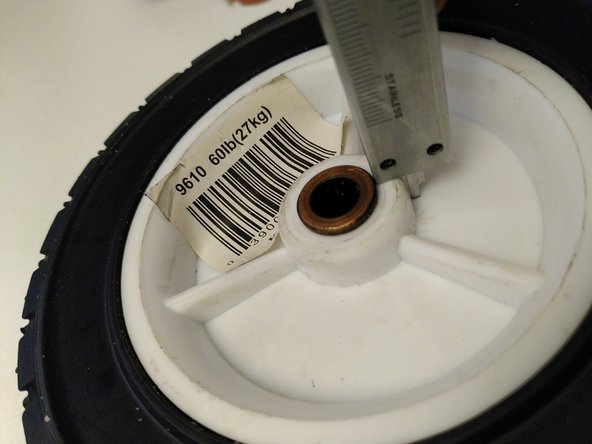
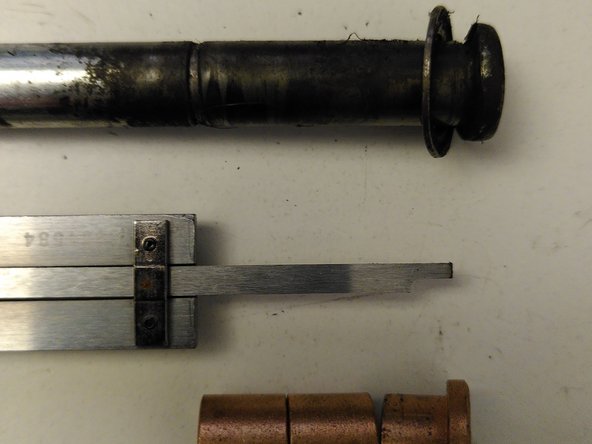
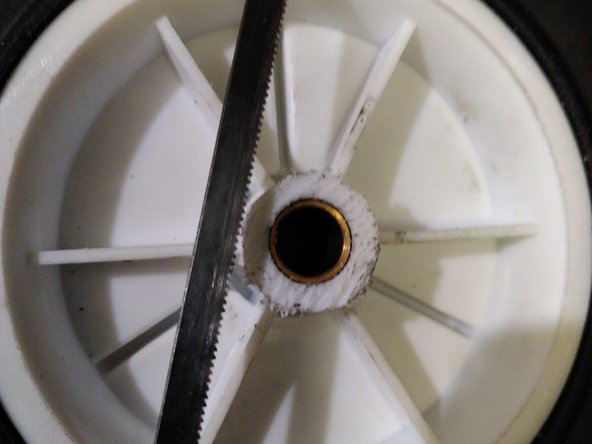
- Using the caliper, measure how much you need to saw off the wheel 'hub' -- basically this will need to be anything that would make the hub's width exceed the combined length of the bushings, or equivalently the distance between the inside of the head at the end of the axle and the ridge where the circlip used to sit.
- Beware: the design of the Toolstation wheel we're using here can vary from one specimen to another, so it will definitely be better to do this measurement for each wheel that you're replacing separately!
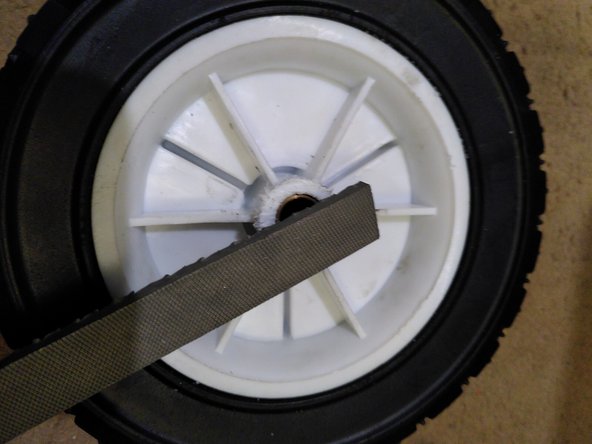
- Saw off any excess material off the wheel's hub until it has the desired width. If needed, use the file for the final bits as shown.
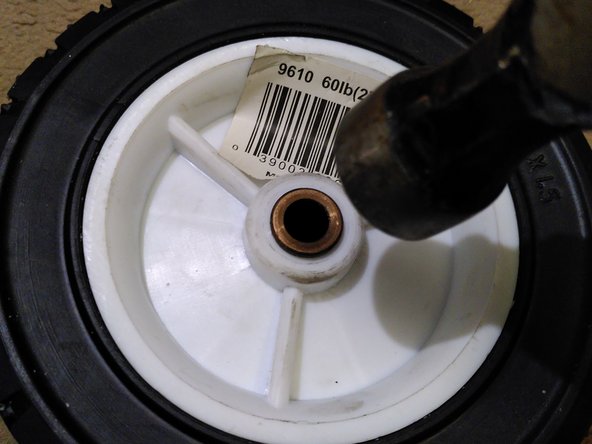
- Use the hammer to work the bushings into the new wheel's hub.
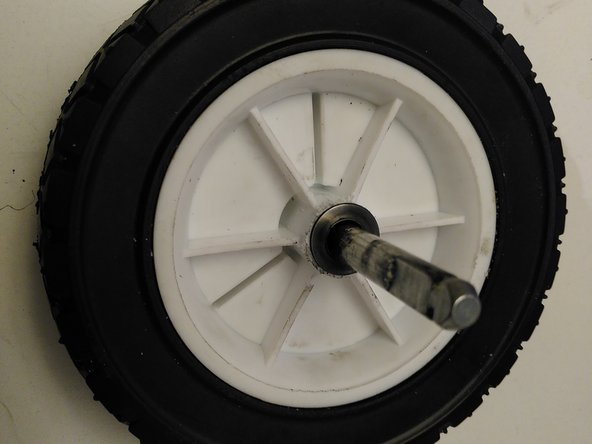
- Mount the new wheel onto the axle. It might be a good idea to insert washers both between the flange of the bushing and the inside of the axle's head, as well as between the wheel and the stroller.
- Mount the axle + wheel onto the stroller by aligning the recessed part of the axle with the stroller such that it 'clicks' and keeps the axle in place on the stroller. Done!