Canon PowerShot SX170 IS Disassembly
ID: 139997
Description:
Steps:
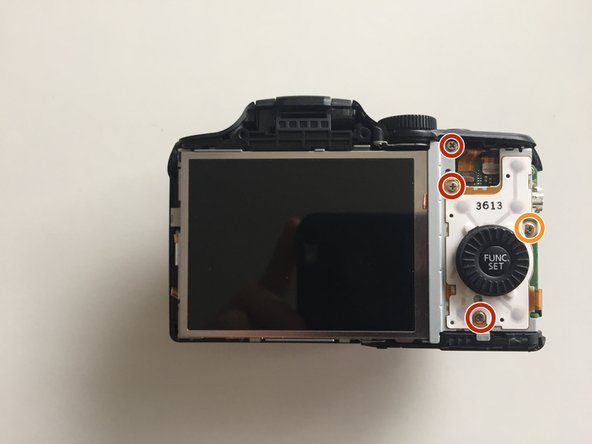
- Remove the screws that secure the back panel using a Phillips screwdriver.
- Remove screws on the bottom, left and right sides of the camera using a Phillips screwdriver.
- Pull back the rubber facing to access the screw.
- Once all screws are removed, open up the back case with a plastic opener from the left side.
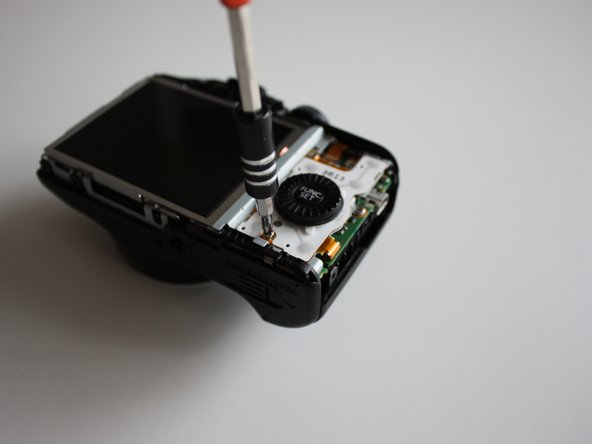
- Remove the screws that secure the small metal plate using a Phillips screwdriver.
- Gently flip up the flex ribbon lock and remove the flex ribbon.
- Gently flip up the flex ribbon lock and remove the flex ribbon.
- Lift the screen to the left.
- Gently flip up the flex ribbon lock and remove the flex ribbon.
- Remove the screws below the flash and on the left sides of the camera using a Phillips screwdriver.
- Leave the flash unfolded.
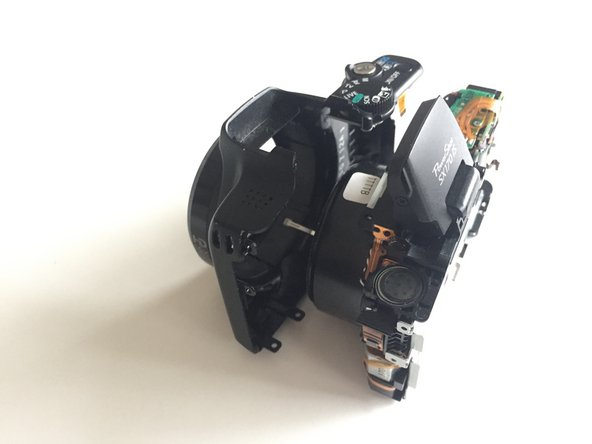
- Pull the front case forward.
- Remove all marked screws using a Phillips screwdriver.
- Remove the small metal part.
- Remove the microphone.
- Remove the flex ribbon.
- Remove the flash switch.
- Remove the screw using a Phillips screwdriver.
- Lift the flash a little to remove the metal frame.
- Gently flip up the flex ribbon lock and remove the flex ribbon.
- Remove flex ribbon and light sensor.
- Remove the screws using a Phillips screwdriver.
- Lift up the back case.
- Now you can clean the lens.