Zojirushi Rice Cooker NP-HMH10 Internal Battery Replacement
ID: 140146
Description: This guide walks through the disassembling of a...
Steps:
- Flip the device over and remove the four screws on the base using the Phillips #0 screwdriver.
- Be aware, one of the four screws is a security Torx screw.
- Using a Torx T9 screwdriver remove one screw from the bottom of the rice cooker.
- Gently lift the base from the device.
- Be aware, DO NOT damage the cables that connect the base part and device.
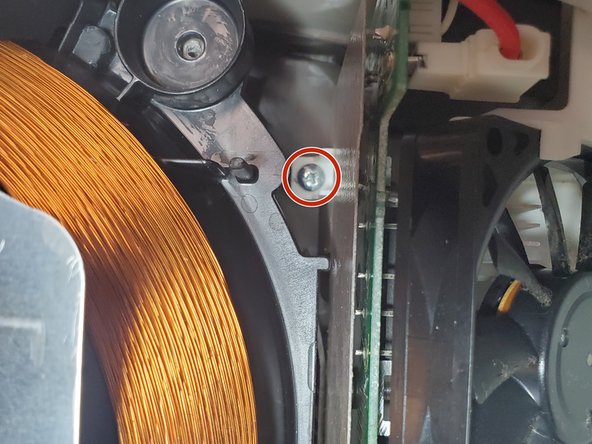
- Remove the five screws connecting the heatsink to the device.
- Remove the screws that connect the thick black and orange cables to the heat sink.
- Gently unplug the white-head pins with red and white cables on the other side.
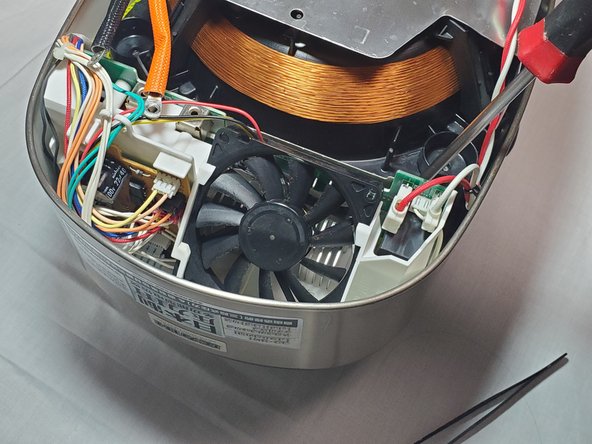
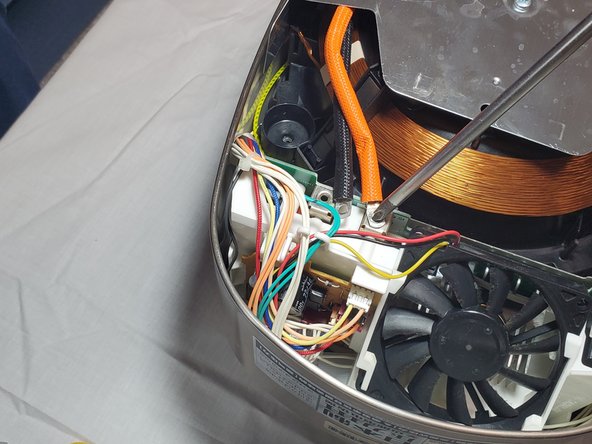
- Now switch to the fan of the heatsink. Using a tweezer carefully lift the four clips around the fan.
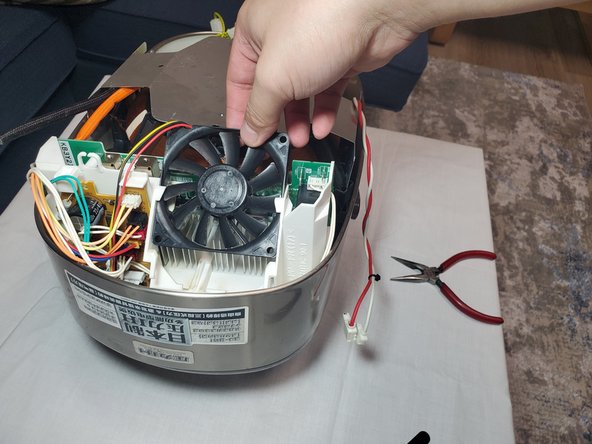
- Pull out the fan.
- After removing the fan now you can take out the whole heatsink and access the below part.
- Be careful about the cables that are still connected to the heatsink.
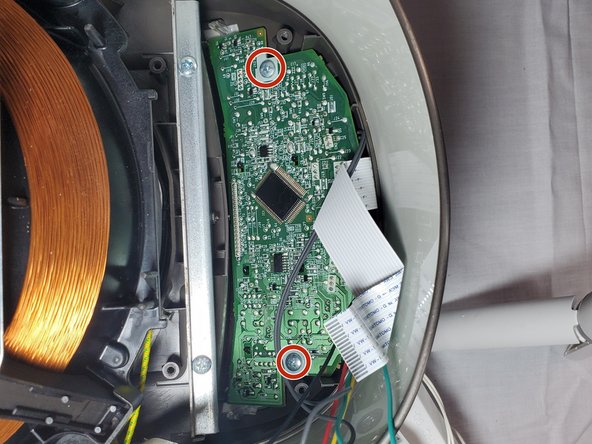
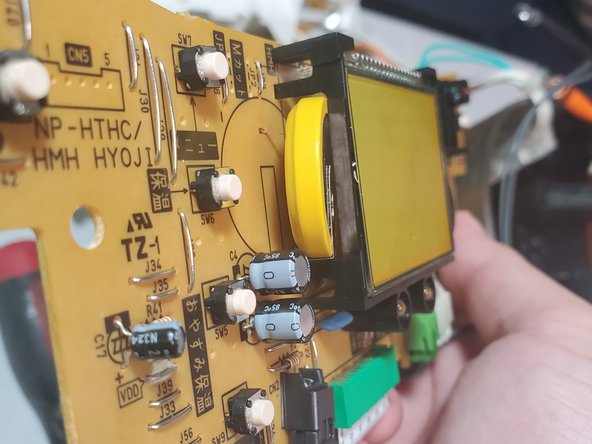
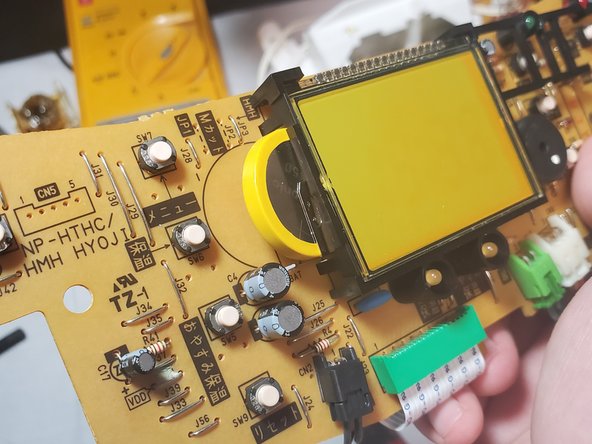
- Above the PCB (Printed Circuit Board) is an isolated-plate. Take it away and unscrew the PCB below it.
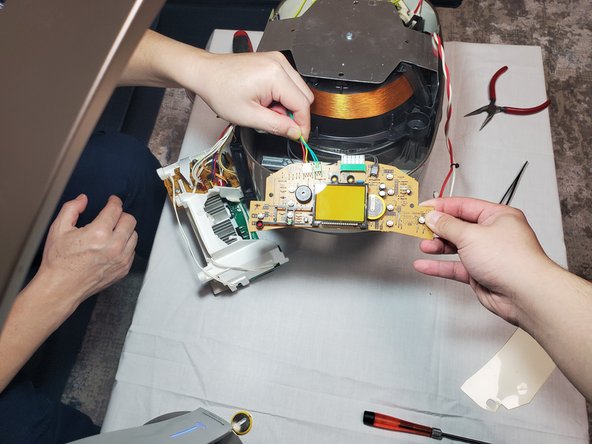
- Now you can have the access to the battery.
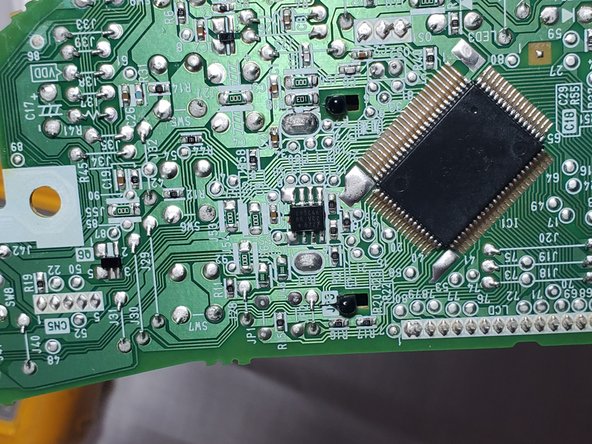
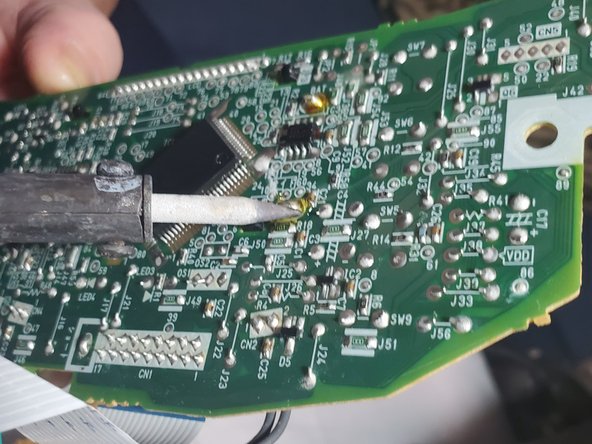
- Turn the PCB to the other side. Find the soldering point of the battery as in the picture.
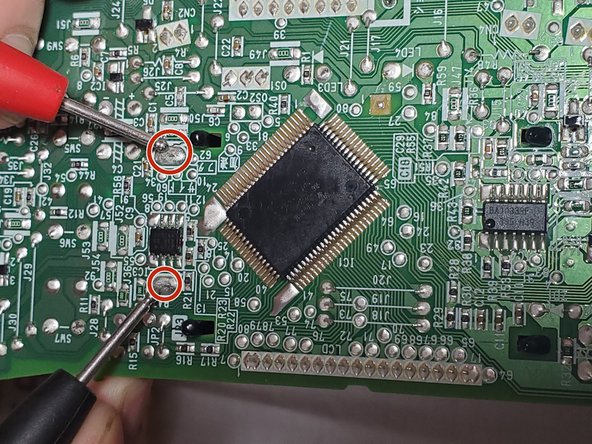
- Desolder the two tabs then unplug the old battery.
- Take out the new battery. Install it onto the PCB and solder it.
- When you install the battery, be sure to put the positive and negative tabs into the right hole.
- After soldering, you can check your result by making sure the front screen is displayed properly.
- To reassemble your device, follow these instructions in reverse order.
- Set the device to the correct time and save the setting. If the time is displayed properly, then congrats, you have successfully completed the replacement of the rice cookers battery! Go to make a delicious rice bowl to reward yourself.