GPU Replacement On a Deepcool Kendomen and MSI Z97 Gaming 5 Motherboard
ID: 140123
Description: GPU Replacement is something you do once your o...
Steps:
- Make sure your Computer is off before starting!
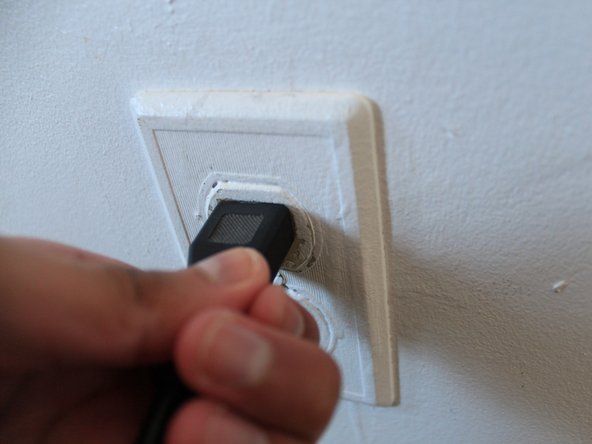
- Unplug your desktop from the wall outlet.
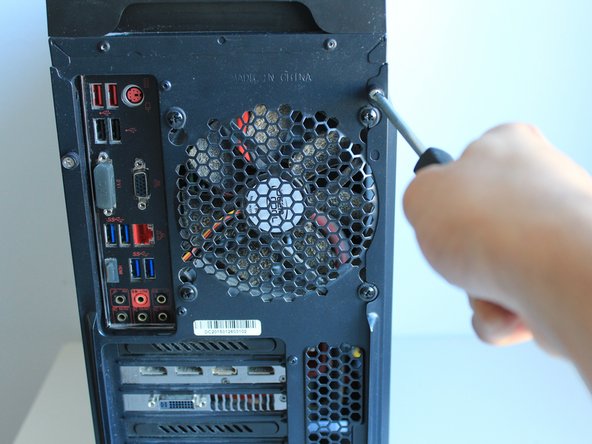
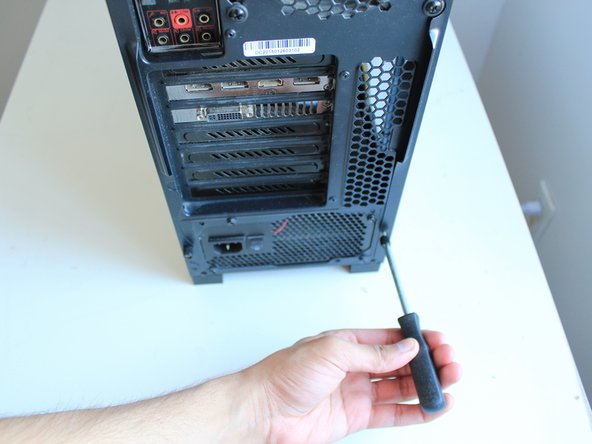
- Turn your desktop so you have access to the back of the device.
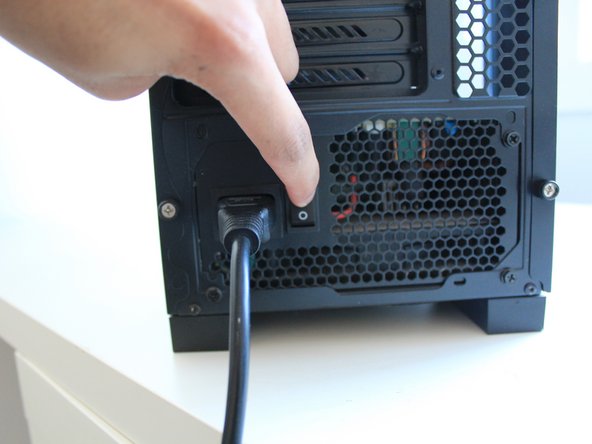
- Switch off the PSU to prevent power flow.
- Unplug your desktop to prevent any power flow.
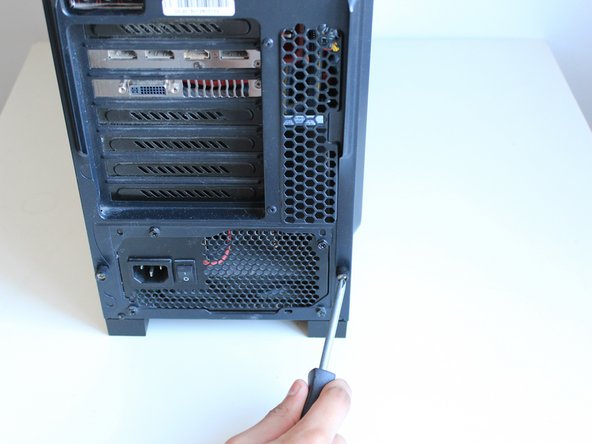
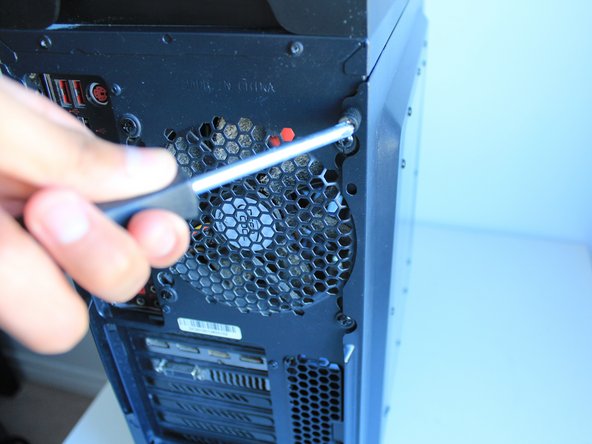
- Use the Phillips #0 screwdriver to remove the two 15 mm screws on the glass panel side and remove the panel.
- Gently remove the glass panel, by sliding it towards yourself.
- The panel contains glass so be gentle with it!
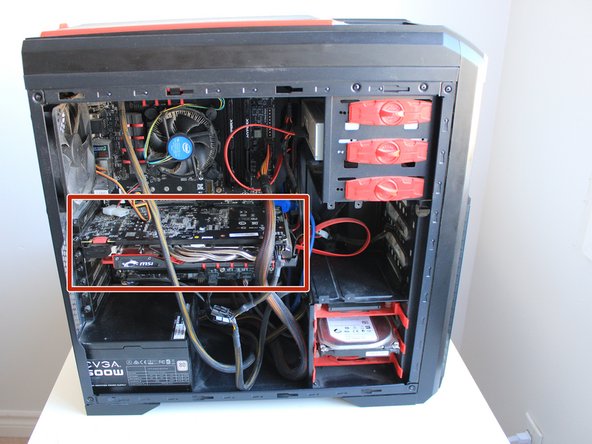
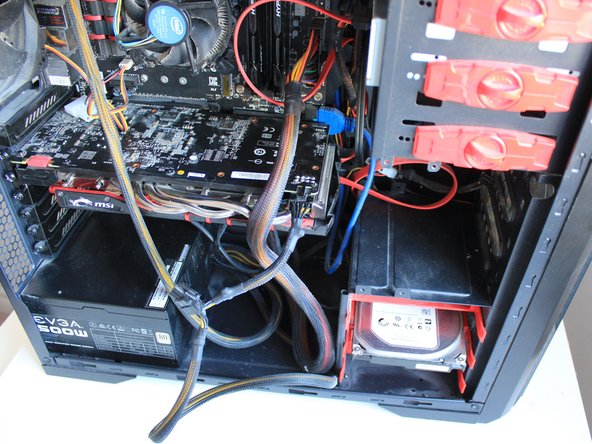
- The GPU is highlighted.
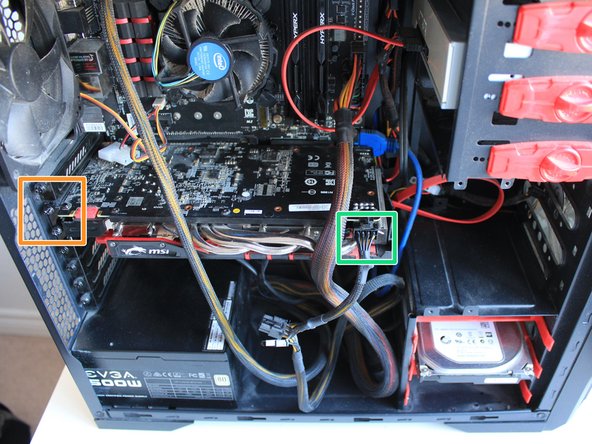
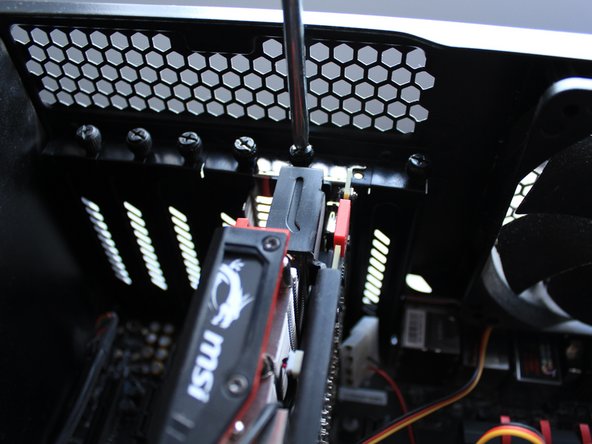
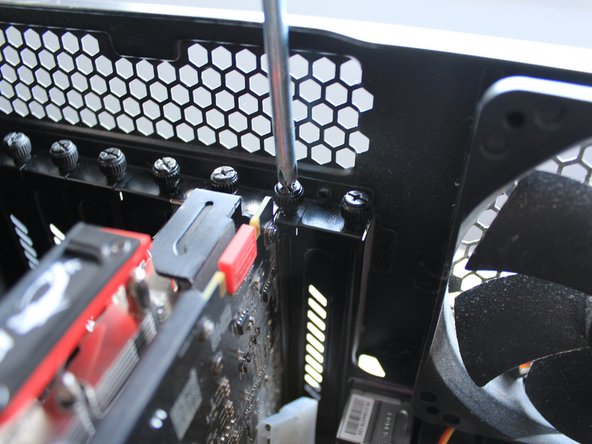
- Using the Phillips #0 screwdriver, remove the three 14 mm screws connecting the GPU to the case.
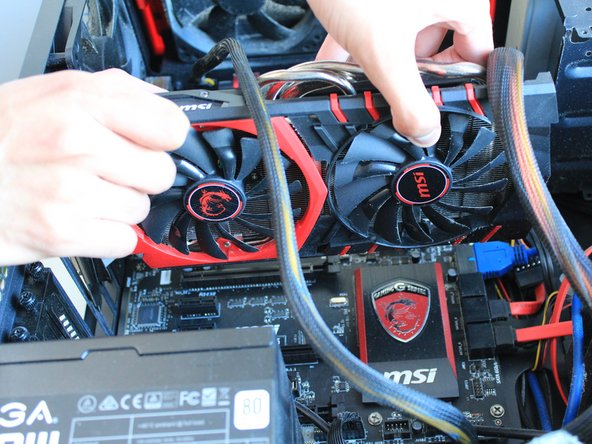
- Unplug the power cable on the GPU.
- Unplug the GPU from the power supply, since we need to remove anything connected to it.
- Use the Phillips #0 to remove the three 14mm Phillips screws from the GPU and motherboard so we can remove the GPU later.
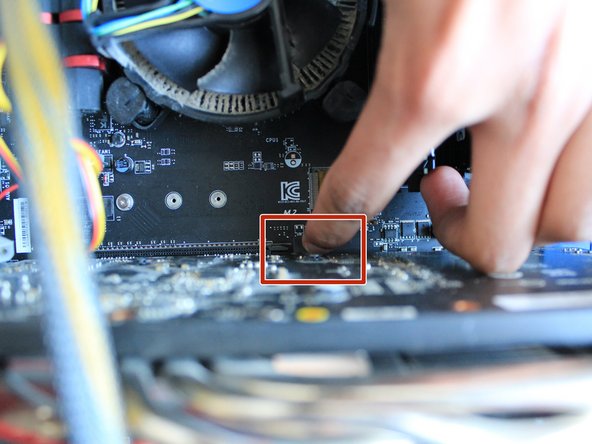
- Push down on the tab to unlock the GPU.
- The tab unlocks easily, so don't apply too much force.
- Gently pull the old GPU out.
- The PCI-E slot is now empty for a new GPU.
- Line up the GPU with the PCI-E Slot.
- Push the GPU in, make sure to line it up properly with the PCI-E and the rear end of the case.
- The tab will click in when you push the GPU in.
- Screw the three 14 mm Phillips screws back in using the Phillips #0 screwdriver.
- Reconnect the 8-Pin Male Cable from the PSU into the GPU to power it when we turn it on.
- Slide the glass panel back in.
- Using the Phillips #0 screwdriver, screw in the two 15 mm screws back into the case to lock the panel into place.
- Connect the female part of the power cord into the PSU.
- Turn on the switch and power on your PC.