Oven Heating Element Replacement
ID: 140247
Description: This guide will show you how to replace the...
Steps:
- Before purchasing your replacement element, make sure it matches the size of the first element.
- The element may not fit inside the stove if it is not the appropriate size.
- Go to your electrical panel and turn off the power to the stove.
- WARNING: Do NOT attempt any of these next steps with the power on.
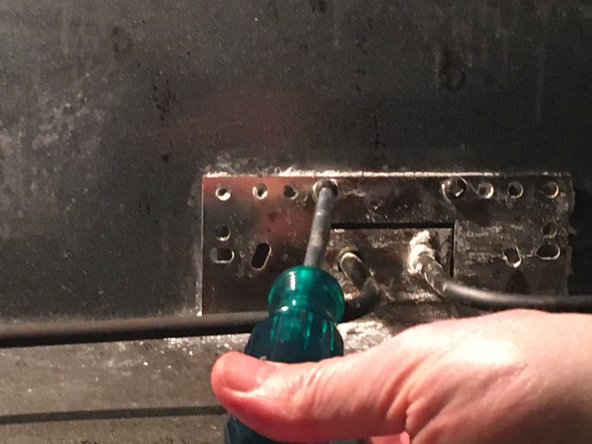
- Open the oven door and unscrew the 5 mm Robertson head screws that keep the element in place.
- In most cases, there will be two or three screws to remove.
- Make sure you check the screws thoroughly in case there are more.
- Using your voltmeter, place it on the two wires to make sure there is no electrical current.
- Gently pull out the element two or three inches to expose the connecting wires.
- Mark down the coloured wires and how they are connected. You will need to match them by color when you reconnect the element.
- It may be helpful to take a photo of the element with the wires still connected. This will make reconnecting it easier.
- Remove the screws holding the wires in place.
- Remove the damaged element from the stove. It should slide out easily.
- If possible, try to locate where the damage on the element took place for future reference.
- Begin installing the new element.
- Connect the power wires by matching the same color as the original element. (Refer to Step 5 for more information.)
- Gently re-insert the element back into the stove opening.
- Refasten the two screws at the front to secure the element in place.
- Close the oven door and reset the power through the electrical panel.
- Turn the power on and turn the oven on to make sure the element is functioning properly.
- There may be some smoke and an odor coming from the baking element because of the protective coating. This is normal.