iHome iH8BR iPod Adapter Replacement
ID: 14200
Description: The iPod adapter is an essential component of...
Steps:
- Unplug the device from the wall outlet, and turn it over so that the buttons are on a flat surface.
- Use your fingers to pinch the tab in the direction of the "Open" arrow until tab is loose. Pull the tab vertically to remove it.
- Remove the battery cover and the batteries.
- Slide a spudger under the two front rubber pads to expose two hidden screws.
- Remove the following eight screws:
- Four 15.1 mm Phillips #2 screws near the front of the device.
- Four 12.7 mm Phillips #2 screws near the back of the device.
- The slots for the four 12.7 mm screws are very narrow, so you will need a slender, Phillips #2 screwdriver that does not feature replaceable heads in order to reach them.
- Turn the iHome 180 degrees so the speaker grille is facing you. Carefully lift the bottom case away from the rest of the body and tilt it as shown.
- Be careful and do not yank the bottom case. A white ribbon wire is the only thing that connects the bottom case to the rest of the device.
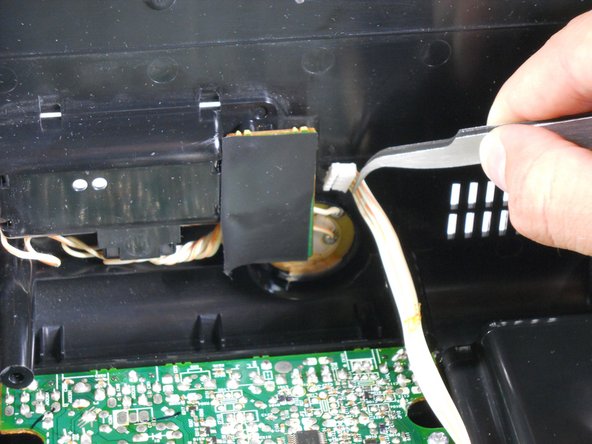
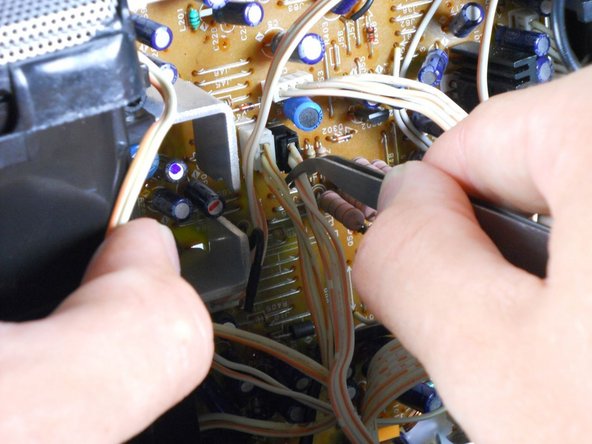
- Using a pair of tweezers, detach the white ribbon cable. Make sure to pull on the ribbon, not on the head.
- The lower case can now be completely removed from the device!
- Remove the four screws attaching the top of the case to the motherboard:
- Two 9.5 mm Phillips #2 screws near the speaker grille.
- Two 14.3 mm Phillips #2 screws that sit in recesses under the motherboard.
- It is useful to use a screwdriver with a magnetic tip so that the screws don't get lost inside the device.
- Turn the iHome 180 degrees and carefully pull up on speaker cases to pry them loose from the bottom case.
- Prying the Motherboard Assembly from the Upper Case will require a good amount of force. Be very careful not to break the case, or yank on any of the ribbon wires attached to the underside.
- Pulling outwards on the sides of the Upper Casing can help loosen the assembly.
- If it seems too difficult to remove, chances are that a screw is still attached. Make sure you've removed every screw listed before proceeding to this step.
- Pull the back adapter cover off.
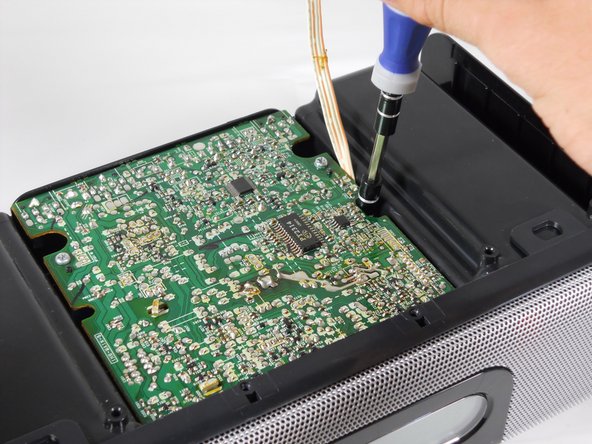
- Remove the four 6.4 mm Phillips #1 screws holding the adapter to the outer case.
- Only remove the following screws if you are planning on taking apart the iPod Adapter later on:
- Two 6.4 mm Phillips #1 screws near the center of the adapter. These screws have built in washers.
- One 4.0 mm Phillips #1 screw near the center of the adapter.
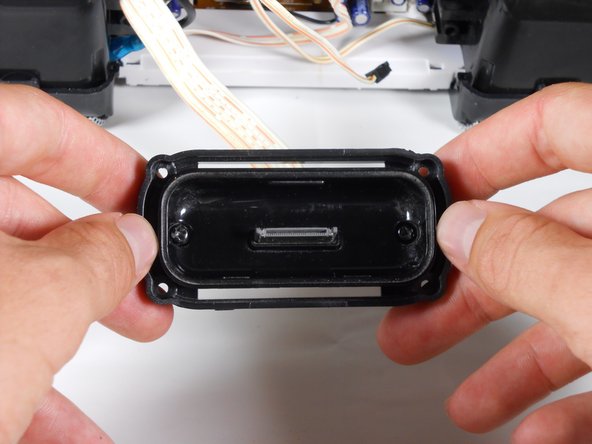
- The iPod adapter should now be separate from the upper casing.
- With the back of the iHome is facing you, tilt the Motherboard Assembly upwards as shown.
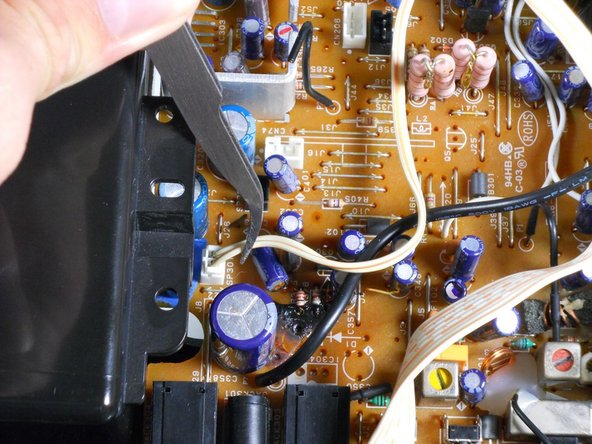
- Do not yank or jerk these ribbon cables. Make sure not to pull on the heads, but on the ribbons themselves.
- Use tweezers to remove the 6 ribbon cables.
- Pull the speakers, motherboard, and iPod adapter up and away from the lower casing.
- You have now separated your iHome's inner workings from its protective case!
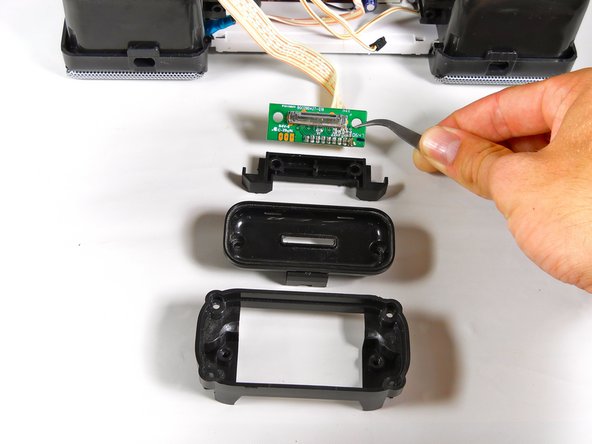
- Remove the two 1.8 mm Phillips #2 black screws from iPod stand.
- You can now separate the iPod adapter from its casing!