How to Fix an Air Tech 2K0 Aquarium Pump
ID: 142003
Description: For the fellow fish lovers and aquarium owners,...
Steps:
- Begin disassembling the air pump by removing the screws (2.9mm x 13mm) with the small Philips screwdriver.
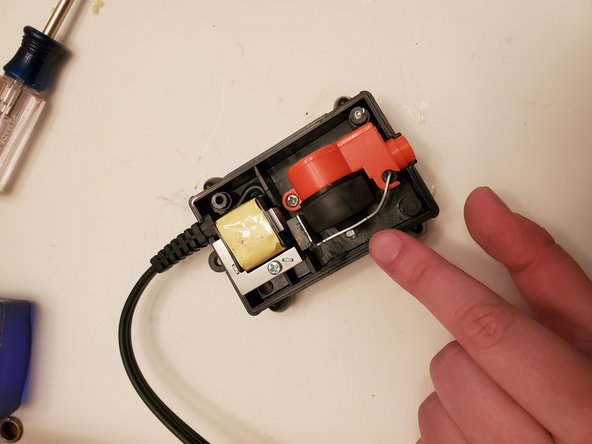
- Remove the cover of the air pump to expose the inside of it.
- Set aside the three screws (2.9mm x 13mm) and cover to save for reassembly at the end of the guide.
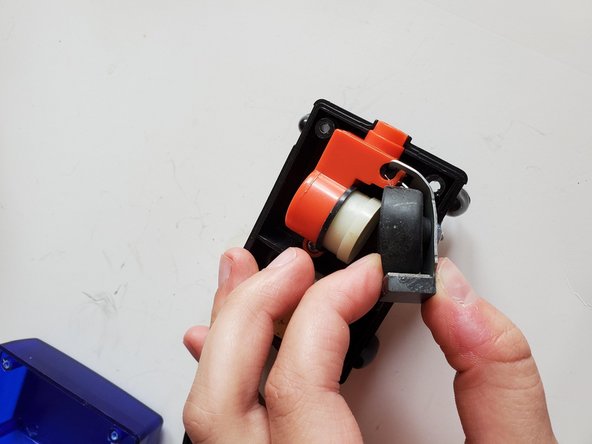
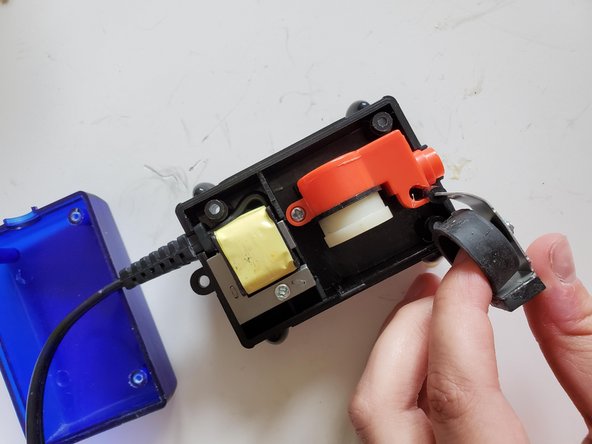
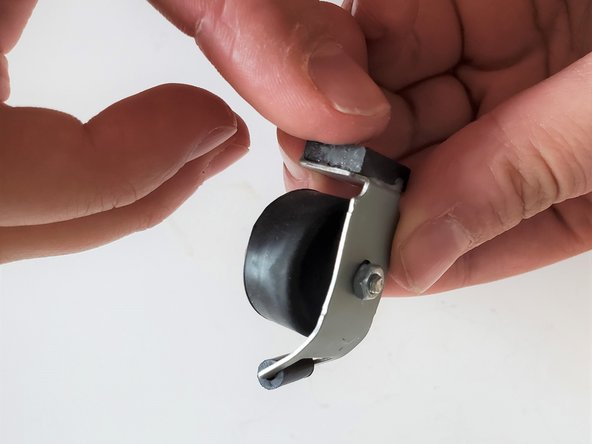
- Remove the round, rubber cover called the diaphragm.
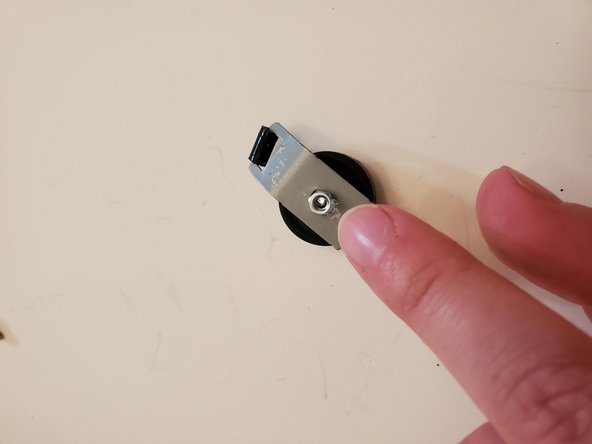
- Once the entire piece is removed, unscrew the the rubber diaphragm from the metal part.
- Begin by twisting off the washer.
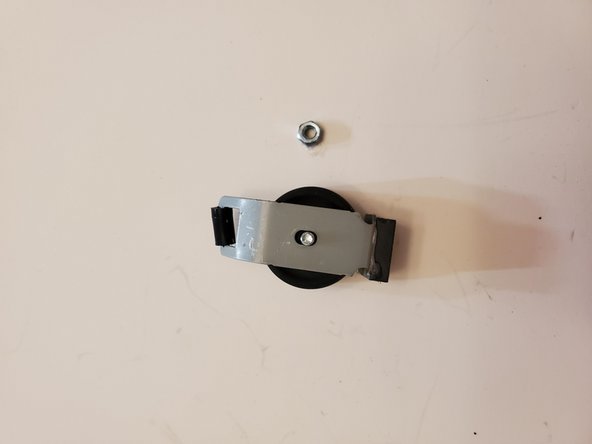
- From here, remove the metal piece and the screw (1.25mm x 8mm) from the center of the diaphragm.
- Once the diaphragm has been separated, set aside the metal piece, the screw (1.25mm x 8mm), and the washer.
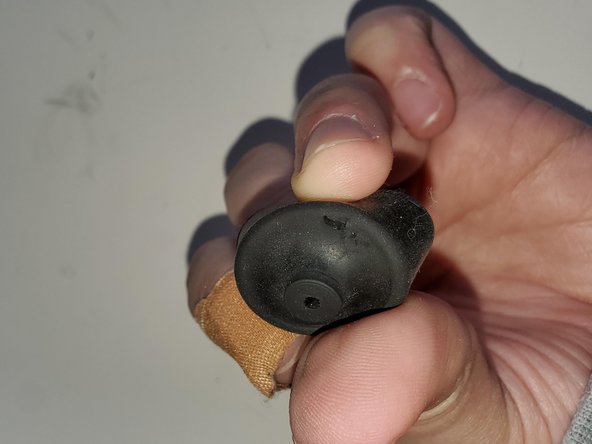
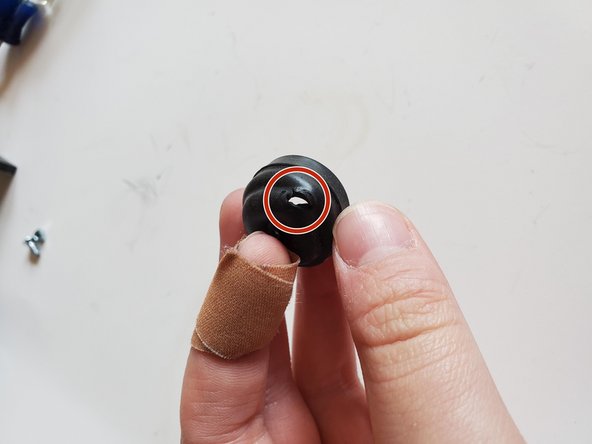
- Examine the diaphragm for damage.
- Here, you can see a hole in the diaphragm that needs to be repaired.
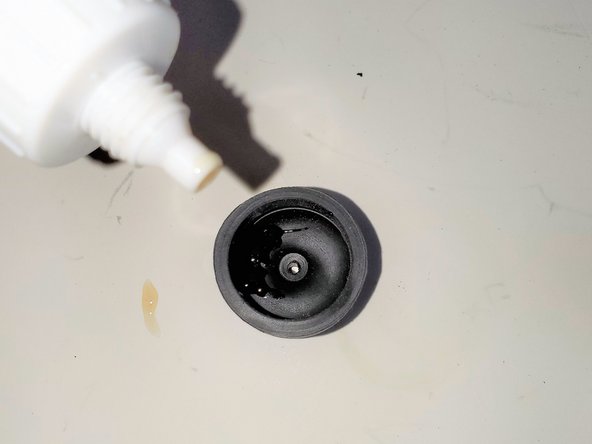
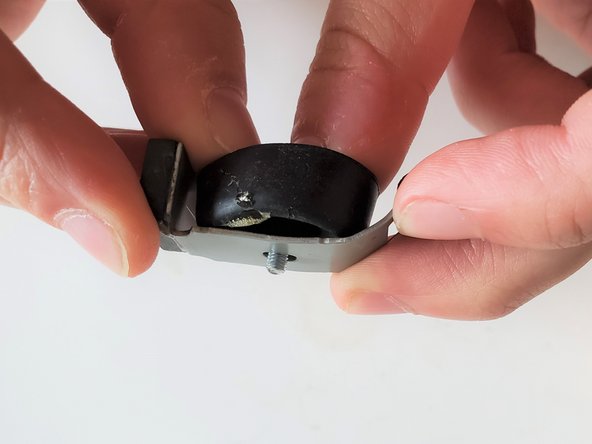
- Using the Gorilla Glue, coat the diaphragm on both the inside and outside of the damaged area to ensure adhesion.
- Make sure the entire area is covered as pictured - it's okay if it looks messy.
- Allow the glue to dry thoroughly before reassembling the air pump.
- From here, follow Step 4 in reverse to reassemble the diaphragm and its attached metal piece:
- Insert the screw (1.25mm x 8mm) through the hole of the diaphragm.
- Place the metal piece flush against the back of the diaphragm, making sure to line up the screw with the hole.
- Finally, screw the washer back on to ensure a secure fit between all the pieces.
- Place the reassembled diaphragm back into the slot you initially removed it from.
- Place the cover back on the air pump, lining up the holes for the three screws (13mm x 2.9mm).
- Place the three screws (2.9mm x 13mm) and use the Philips screwdriver to secure them in place.
- Once the cover is on securely, you will be able to reconnect the tubing, and you should have bubbles!