How to Hook up Front Panel Connectors to an ATX Motherboard
ID: 142383
Description: When it comes to building a computer it takes...
Steps:
- Lay your PC on its side and unscrew the side panel thumb screws. (Open your PC case)
- For some computer cases you may need a screw driver to remove actual screws.
- Once the screws are removed lift off the side panel to expose the motherboard and internal cables.
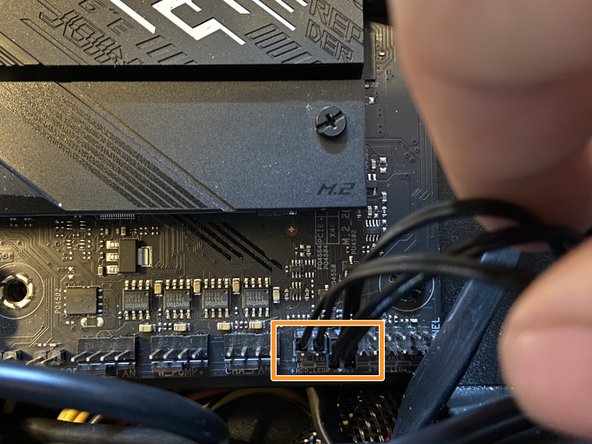
- Locate where the front panel pins are.
- Plug the cable marked Reset SW into the motherboard. This will allow your reset button to actually work.
- Plug the Power SW cable in above the Reset SW on the motherboard. This will allow you to turn on your computer with the power button on the front of your PC case.
- Plug the Power Led + into the top left prong. Positive goes on the left prong.
- Connect the Power Led - cable to the prong on the right.
- This is the final cable structure.
- Power LED
- Power Switch
- Reset Switch