Telecaster Guitar String(s) Replacement
ID: 142408
Description: This is a guide for replacing strings on a...
Steps:
- Start with the low E string (the furthest on the right). Unwind the string by turning the tuning peg counter-clockwise.
- Keep the string secure by placing one finger on the string's nut slot.
- After unwinding the string, the segment coiled around the post will come loose. Pull the string out of the post.
- Uncoil the end of the string as much as possible.
- Caution: Use caution in handling the ends of strings as they are extremely sharp.
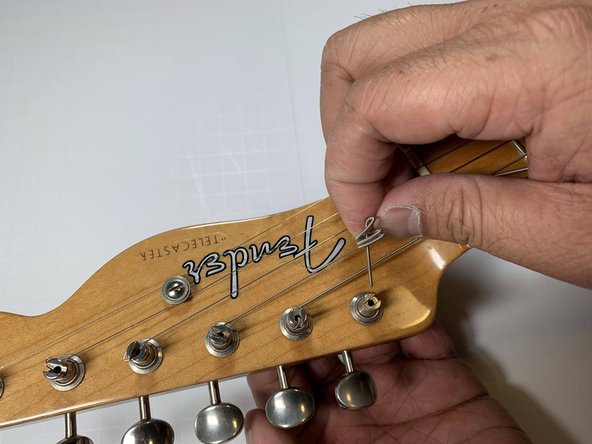
- Pull the end of the string through the bridge and out through the back of the guitar.
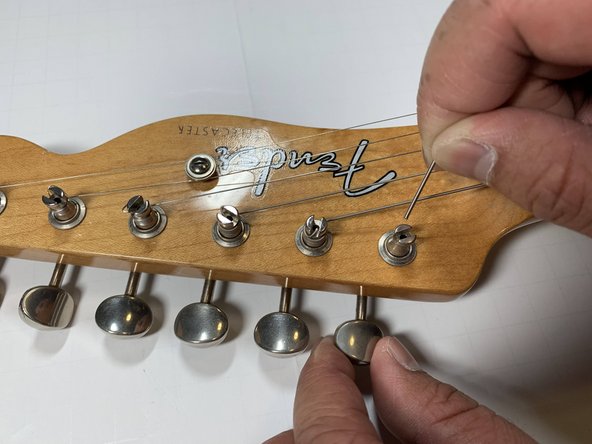
- Insert the pointed end of the new string through the corresponding hole on the back of the guitar.
- Turn the guitar over and pull the string all the way through.
- There will be extraneous string length while replacing the 5th and 6th (furthest to the right) strings. Using a wire cutter, you may opt to trim the length of these strings.
- Stretch out the replacement string and cut it about 3-4 peg lengths away from the peg of the string you're replacing. In this case, you are replacing the 5th string and will cut the string near the 2nd string peg.
- Insert the end of the cut string into the middle hole of the corresponding peg.
- Keep pushing the end of the string to the bottom and bend the string until the outside segment touches the bottom of the guitar head.
- Pushing the end of the string to the bottom and the outside segment to the guitar head, turn the tuning peg clockwise.
- When the string is tight enough, you may release it. Make sure the string fits securely within the nut slot.
- Using a tuner of your choice, tighten the guitar string until it matches the correct pitch.