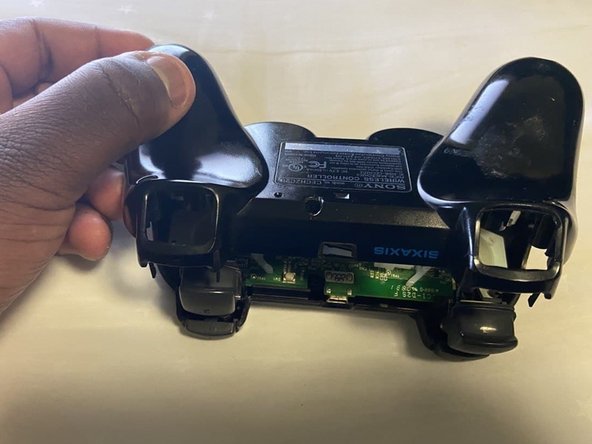
DualShock 3 Front Shell Cover Replacement
ID: 144962
Description: Use this guide to replace a worn out, broken or...
Steps:
- Flip the controller over and locate the five 7.2mm Phillips #0 screws securing the rear cover to the front cover.
- Using the Phillips #0 screwdriver, remove the five screws holding the rear/back cover in place.
- Gently lift the rear cover away from the rest of the controller starting from the bottom side adjacent to the analog stick controllers.
- Push gently by sliding the rear back forward towards the top edge of the dual shock controller to prevent tripping the two bottom triggers labelled (2).
- Lift the rear cover off of the controller to expose the interior.
- Carefully detach or disconnect the lithium polymer battery from the motherboard.
- The wires are fragile, be careful not to break them when pulling out the battery as they can break easily.
- Use the Phillips #0 screwdriver to remove five 7.2 mm screws from the motherboard.
- Lift the motherboard, vibration motors and analog module joysticks pads all in one connection, away from the shell.
- Carefully lift the rubber or plastic part holding the button triggers labelled (2) in place.
- Be careful not to strip the plastic rubber holding the triggers in place.
- Slide the trigger button retainers away from the front shell. Set them aside.
- Set aside the colored buttons and lift the white rubber part holding the Dpad buttons in place to securely remove it.