Lenovo Yoga C930-13IKB Power Button Board Replacement
ID: 145054
Description: This guide includes all the steps, tools, and...
Steps:
- Flip the device over so that the underside is facing up.
- Remove the six 3.5 mm T5 Torx screws.
- Pry off the back cover using the plastic opening tool.
- Loosen the back cover in multiple spots using the opening tool, then remove the whole back.
- You may have to run the plastic tool along the edges until you find a small gap to separate the back cover from the laptop.
- Do not use a metal tool when working with your device.
- Carefully lift the cover off with your hands.
- Unplug the battery from the motherboard by pinching the cables with your fingers and tugging out with force.
- Use the spudger for assistance.
- Unscrew the four 3mm screws with a Phillips screwdriver.
- The battery is still held in place with two stretch-release adhesive strips, similar to ones found in an iPhone.
- Use your fingers to pry up the clear plastic pull-tab for one of the stretch release adhesives.
- Grasp the pull-tab and slowly pull away from the battery at a shallow angle. The adhesive strip will stretch to many times its length and slowly release from underneath the battery.
- Repeat the procedure for the second strip on the opposite side of the battery.
- Be careful not to bend the battery. Breaking the battery is dangerous.
- Remove the battery with your hands.
- Remove the screw ( 2 mm with a 5 mm head) that connect the SSD to the motherboard using a Phillips #00 screwdriver.
- Pinch the left side of the SSD card.
- Pull gently to the left, horizontal to the laptop.
- Unscrew the two 2mm screws using a Phillips #00 screwdriver.
- Gently lift out the digital pen spring using the iFixit opening tool.
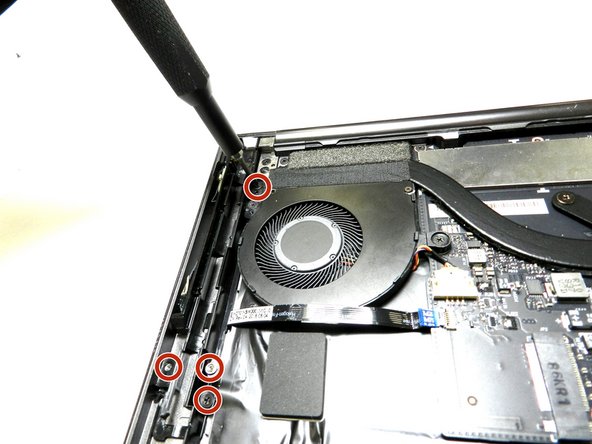
- Remove four 2 mm screws from the digital pen holder using a Phillips #00 screwdriver.
- Do not remove the pen holder until the attached ribbon cable is uninstalled.
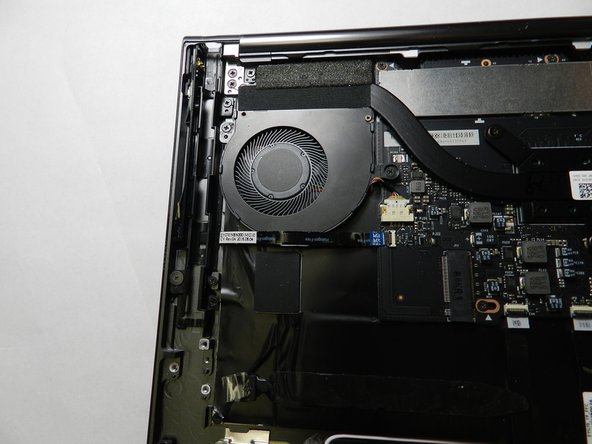
- Using the angled ESD tweezers, gently lift the black tab on top of the ZIF connector on the motherboard which connects the power button ribbon cable.
- Gently pull the cable out from the connector.
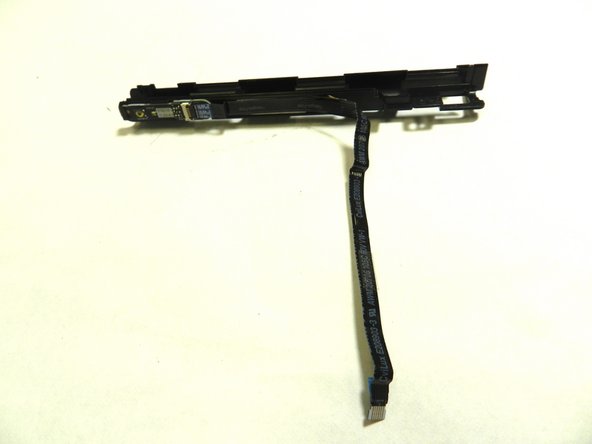
- Carefully lift out the digital pen holder with the attached power button ribbon cable.
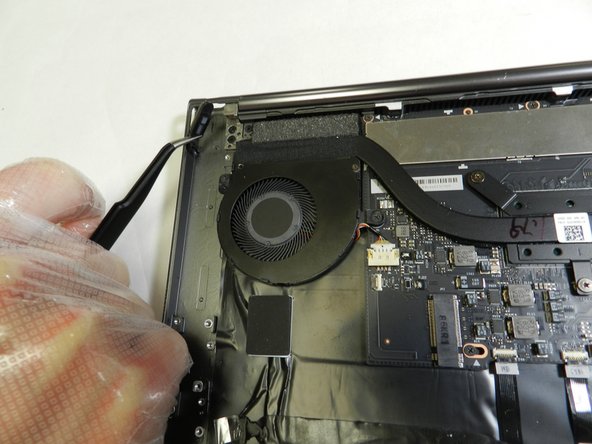
- Depress the power button, then gently pull and detach it using the angled ESD tweezers.