Beats Solo HD Headband Replacement
ID: 145428
Description: It can be frustrating when expensive, name...
Steps:
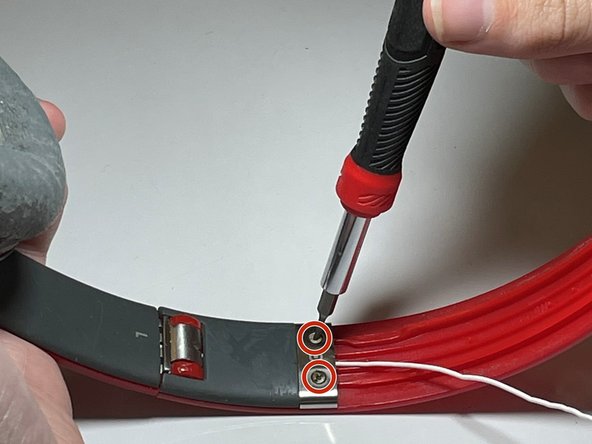
- Unscrew both screws in the metal brace using a T4 Torx screwdriver.
- Repeat all steps on both the right and left sides of the headphones.
- Lift away the metal brace and set it aside.
- Be sure to keep the small plastic spacers located underneath the brace on either side. They may fall out when removing the brace.
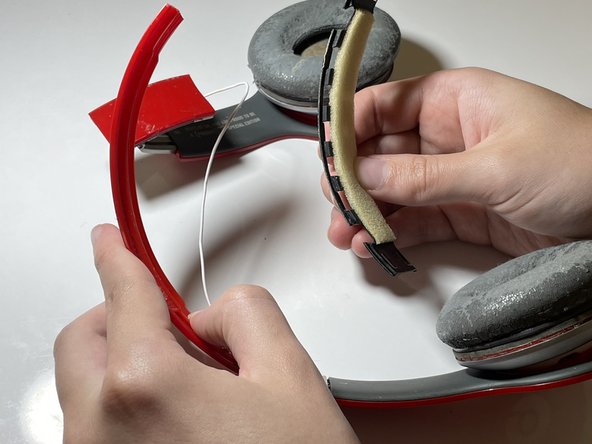
- Pry off each clip on the headband cushion until it is loose enough to be removed.
- Start by prying off the clips on either end, since they are easier to detach. Finish with the clips in the middle.
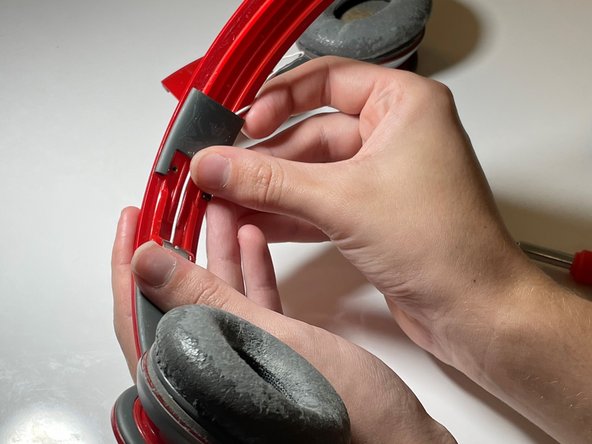
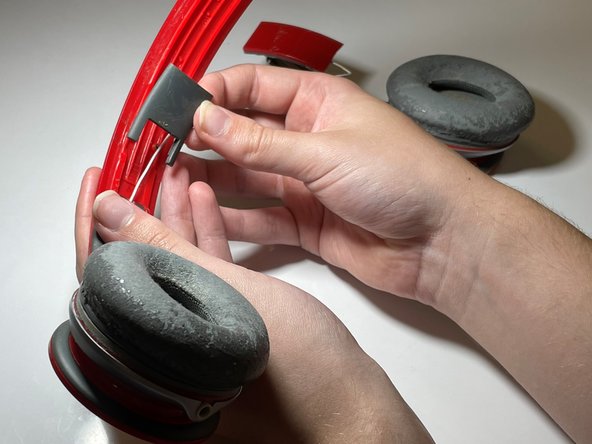
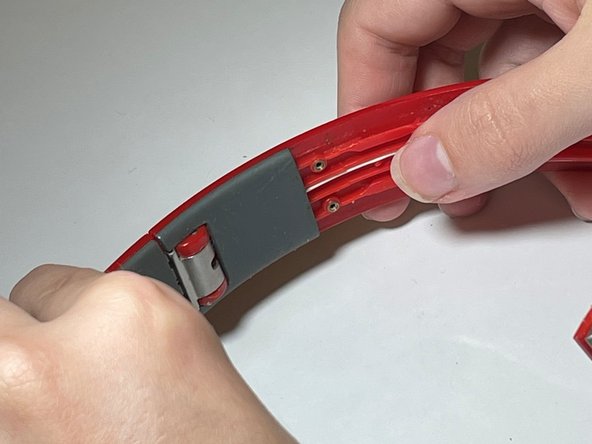
- Slide the gray plastic covering away from the hinge to remove it.
- Grasp the earpiece with one hand and bend the headphones at the hinge.
- Brace the headband by pressing it downward against the surface you are working on.
- These steps will prepare you to pry off the hinges, so make sure your hold on the headphones is stable.
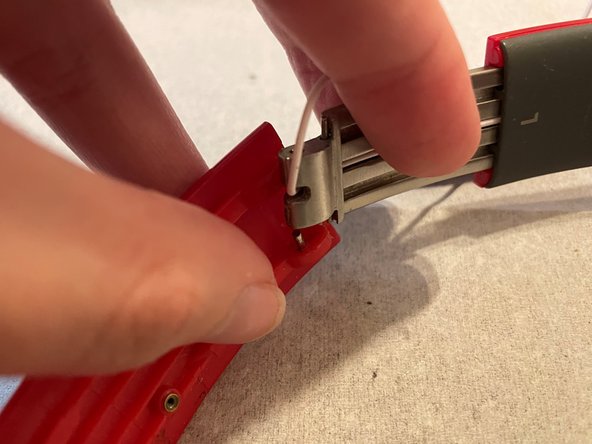
- Slide the Jimmy between the metal earpiece and the plastic of the headband at the hinge.
- Pry the plastic away from the metal earpiece using an opening tool until one of the small cylindrical hinge pins can be removed.
- This may be difficult, as prying takes some force. You may need to experiment and try whatever tools or prying techniques work best for you.
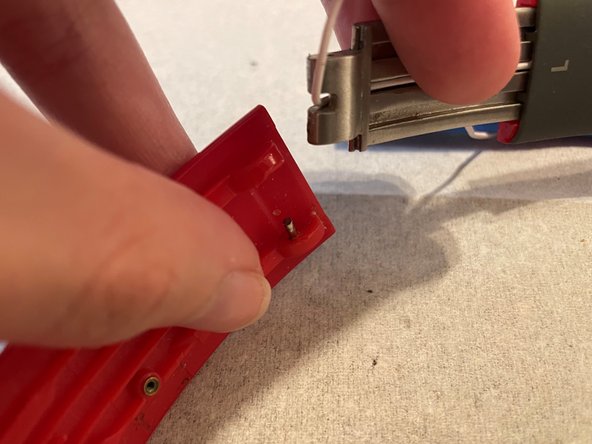
- Pull the earpiece out of the headband.
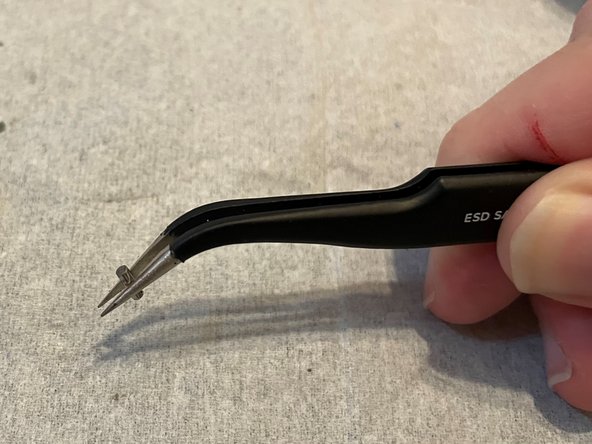
- Remove the second hinge pin with precision tweezers and set it aside.
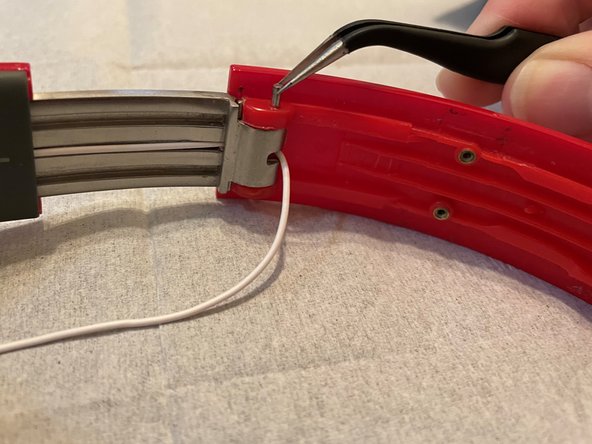
- Insert one of the hinge pins into one of the sockets of the new headband.
- Press the hinge of the earpieces into the new headband by aligning it with the pin.
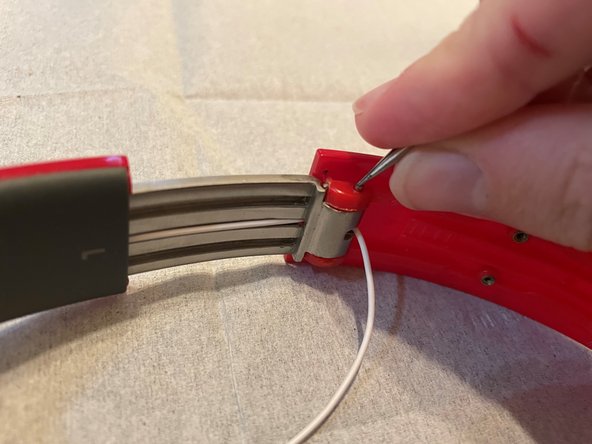
- Insert the second pin into the other socket of the headband using precision tweezers.
- Squeeze the pin inwards if the hinge seems loose or if the pin is jutting out of the socket.
- Slide the gray plastic covers back onto the headband.
- Pressing the white wire against the back of the headband can help to avoid damage during reassembly.
- Lay the metal brace in place.
- If the small plastic spacers are loose, it may be helpful to place them down before the brace.
- Screw both screws back into the metal brace.
- Reattach the headband cushion by pressing each clip into place.