Nivona Caferomatica 770 opening
ID: 145456
Description: These instructions may also help with other...
Steps:
- Pull the power plug!
- Remove all attachments such as water reservoir, coffee compartment lid, trestle drawer. Remove all coffee beans in the storage container.
- Unscrew the five Torx T10 screws on the back.
- Unscrew the two Torx T10 screws on the front edge of the heat plate.
- Do not remove the heat plate completely yet, its supply cables are still connected.
- Lift the front edge of the heat plate and slide it forward a bit to clear the tabs on the back edge.
- Put the heat plate back down, but in such a way that you can reach the screws underneath.
- Unscrew the two Torx T10 screws located under the heat plate.
- Gently lift the upper side a bit and put it back down.
- Push the side panel on the water tank back about 2 cm.
- This may jam a bit.
- Place the side panel next to the machine. Do not remove it completely yet, the cables of the switch are still connected.
- Disconnect the flat plugs from the switch. Be sure to note the order of the cables for later reassembly.
- Remove the side panel.
- Loosen the two insulated flat plugs with which the heat plate is connected.
- Lift the top slightly upwards and loosen the nut that secures the eyelet to the green-yellow grounding cable. Remove the eyelet.
- Do not remove the top yet, it is still connected with a sensor cable.
- Lift the top side slightly.
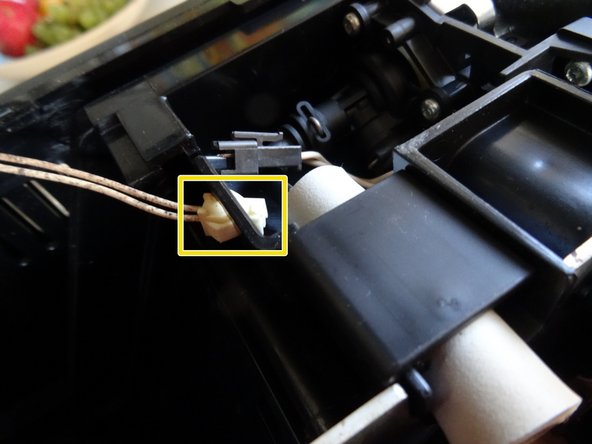
- Press down the locking tab on the plug of the white sensor cable and pull off the black plug towards the front of the machine.
- Press the two catches of the counterpart on the sides together and slide it out of the opening towards the back.
- Now the top is free and you can remove it.
- Slide the side panel with the service door back about 2 cm and remove it.
- This may jam a little.