DCC-3200 Hose Replacement
ID: 147309
Description:
Steps:
- The Cuisinart I'm working on is the model DCC-3200. The model DCC-2600 is very similar except for the diameter of the hose, the clamps and the length of one of the hoses.
- This model has phillips screws. The DCC-2600 has torque head. Remove the 4 screws from the bottom.
- The DCC-3200 has one long hose and one short hose located deep in the "well" of the coffee maker. This one hose will be a challenge to remove because it's difficult to get needle nose pliers down in there. The DCC-2600 has two long hoses with more room down in the "well" to grasp the ears of the clamp.
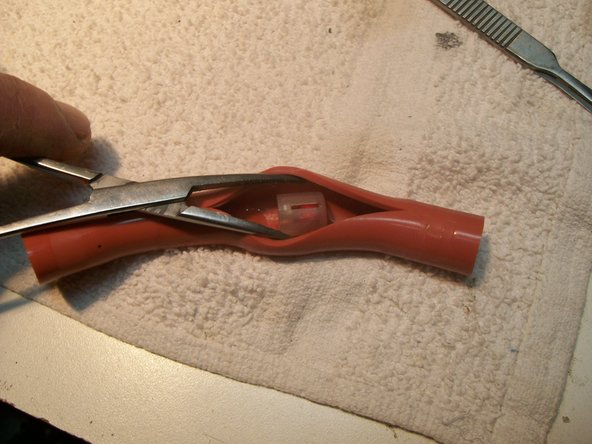
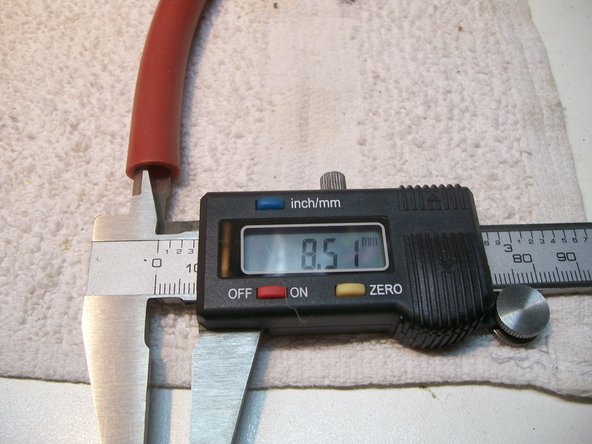
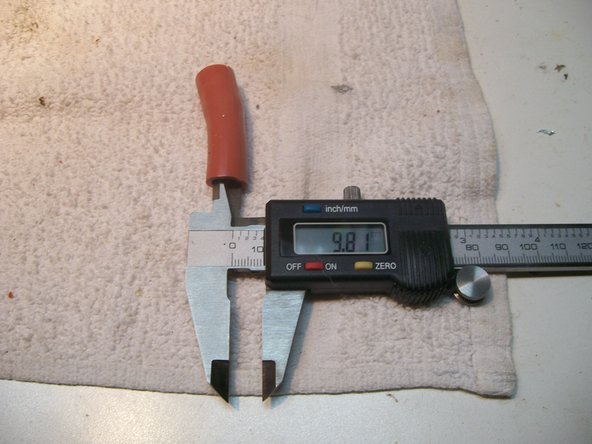
- Notice that the hose that comes from the filler reservoir has a bulge in it. That is the check valve. We need to remove it and install it into the new hose. I cut the hose open and took note of the direction of the valve. The small end will face up. This allows the water to flow down into the heating element and prevents it from flowing back up
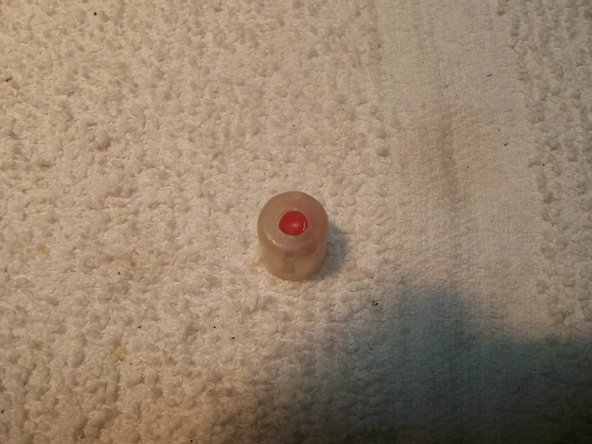
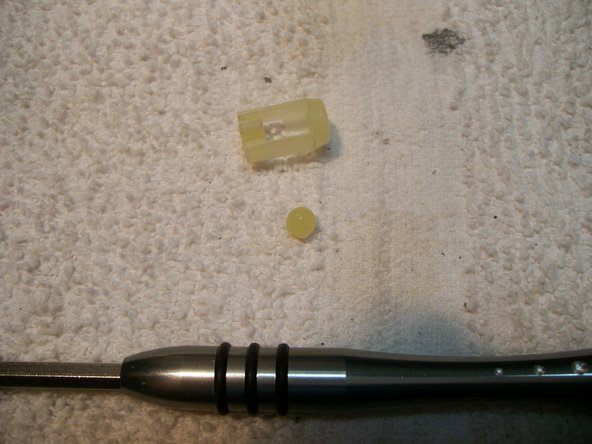
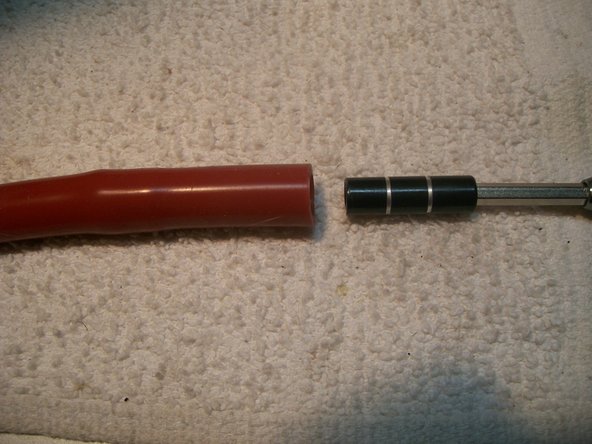
- The DCC-3200 has a one-piece check valve, the 2600 is two pieces. Don't lose that ball!!! The "IFIXIT" screwdriver handle is PERFECT for pushing the valve into the new hose. Double check the direction. I used some WD-40 to help the valve slide in better. We'll clean the coffee maker when we're done.
- The aluminum fittings need to be cleaned very well to allow the new hose to seal. Here you can see some of the old hose under the fitting. Get it ALL out.
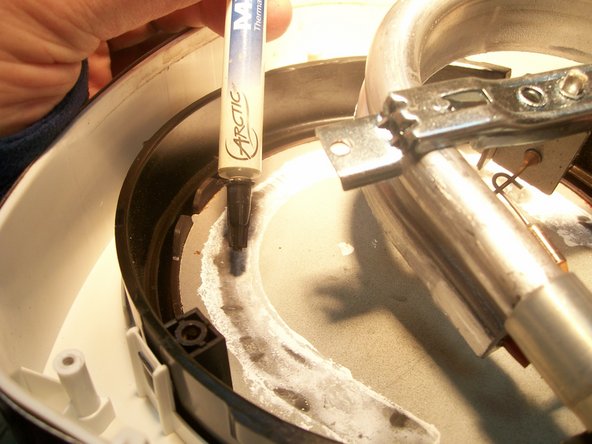
- Loosen the heating element if needed to allow room to slide the new hoses on. The stubs on the coffee maker are made of plastic and slide on well. The aluminum stubs need a bit of WD-40. I replaced some of the "thermal paste" to help with heat transfer. You can see the thermal fuse. If your coffee maker will not turn on or heat replace fuse.
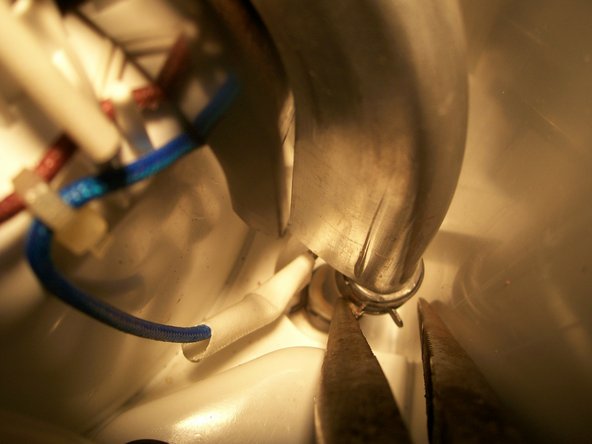
- I'm trying a new clear high temperature hose for this fix. The reddish hose last about 2 years with heavy use. You can see the check valve and hose clips. That bottom hose was a challenge but that was the one that was leaking. I find that the hose coming OUT of the heating element and going into the top of the coffee maker leaked most often.
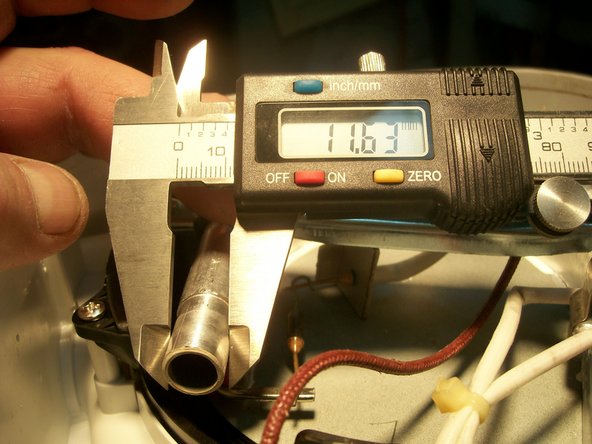
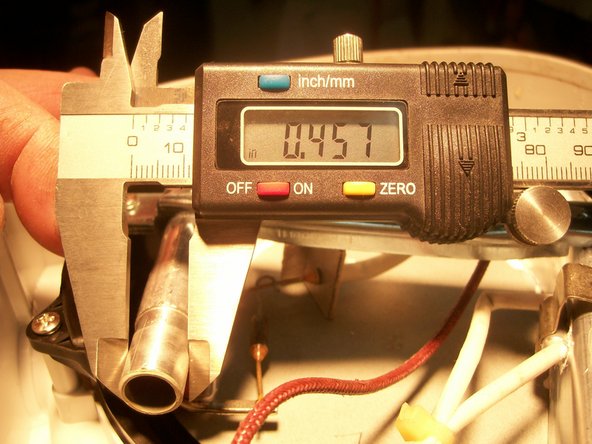
- I did a web search for "coffee maker hose" and "high temperature hose". You can find this type of hose by the foot at the most noted web retailers. They come in several inside and outside diameters. This hose is made of silicone and will stretch a bit. You want it tight on the fittings. I'll update with the exact hose type later.
- Once you've replaced both hoses, all that's left is to re-attach the heating element and replace the bottom cover. I ran a solution of 50% water and 50% vinegar thru the coffee maker to clean out the WD-40 and any bits of hose that may have fallen off. I then follow up with clean water.