MNT Reform WiFi Card Replacement
ID: 147329
Description: Use this guide to restore wireless connectivity...
Steps:
- Remove the following screws securing the transparent acrylic bottom plate to the main box:
- Ten M2×6mm silver Phillips screws
- Lift the bottom plate and set it aside.
- Before servicing anything on the inside, make sure to remove all battery cells.
- Pull out the eight battery cells one by one, and set them aside safely.
- Do not use a metal tool to remove the batteries. You may accidentally short-circuit the metal pins of the battery holders.
- When replacing the batteries, pay attention to the polarity! Inserting a cell the wrong way in will damage your device.
- The circuit board indicates the + and - orientation for each cell.
- Unplug the UI1 (keyboard) and UI2 (trackball or trackpad) cables from the motherboard.
- To avoid damaging the cables, pull on the connector, not the wires.
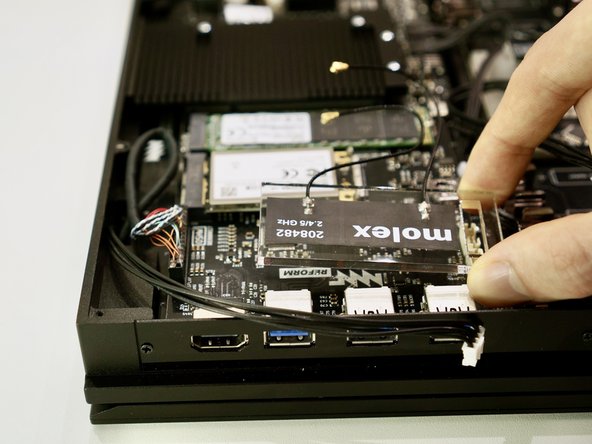
- Use the flat end of a spudger or a clean fingernail to pry both antenna connectors up from their sockets.
- When reconnecting the antenna, either cable can be connected to either socket. The order doesn't matter.
- Antenna cable connectors are fragile. When reconnecting them, ensure they are properly ligned up with the sockets and do not apply excessive pressure.
- Lift the acrylic holder with the Molex MIMO antenna out and set it aside.
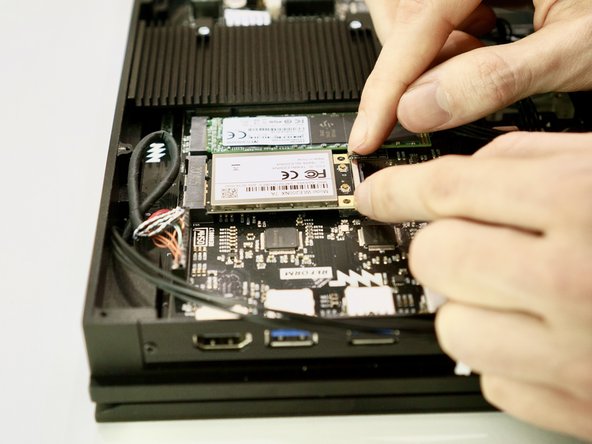
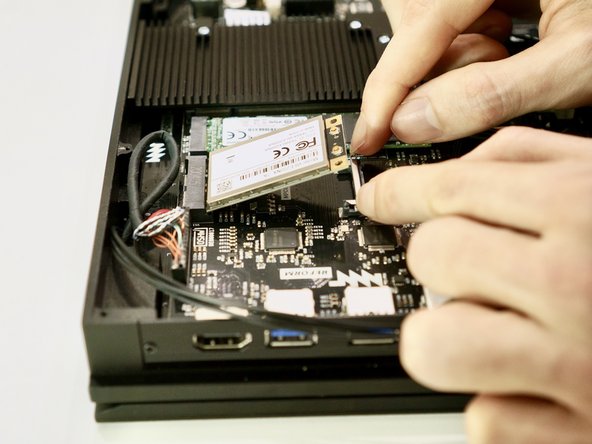
- Pull the two metal tabs holding the WiFi card away from the mPCIe socket. The WiFi card will spring up on its own.
- When replacing the WiFi card, simply press it down after inserting it into the mPCIe socket. You will hear a click when it latches.
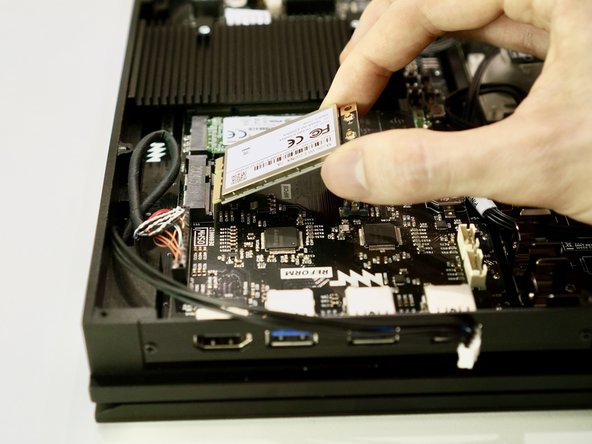
- Pull the WiFi card out of its mPCIe socket on the motherboard.
- To avoid damaging its socket on the motherboard, do not excessively lift the free end of the WiFi card.