How to Alter a Lengha Blouse
ID: 147614
Description: You may have just bought a new Lengha, or other...
Steps:
- Take the measuring tape and wrap it around under your bust. Take note of this measurement.
- Divide the measurement by two and take note. This will be the measurement used to tighten the blouse in step 4.
- Take the blouse, and flip it inside out.
- The inside of blouse must be facing outward.
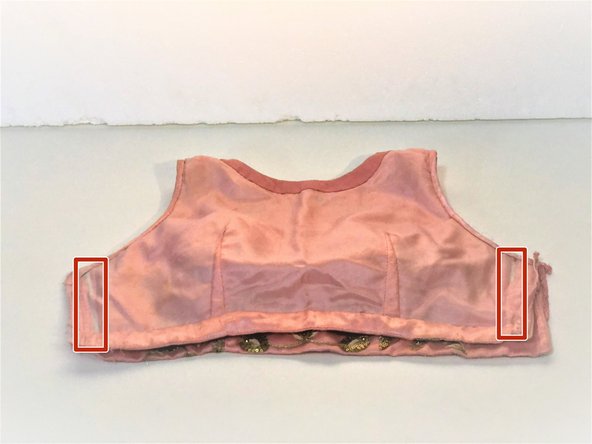
- Lay the blouse with the front facing upward on a flat surface.
- Stretch the measuring tape across the bottom of the blouse and use the measurement from step one to evenly measure how much to take it in on both sides.
- Use fabric chalk to mark where you will be sewing on each side of the blouse.
- Select a thread that matches the blouse preferably, otherwise any color is fine.
- For clarity we will be using a yellow thread.
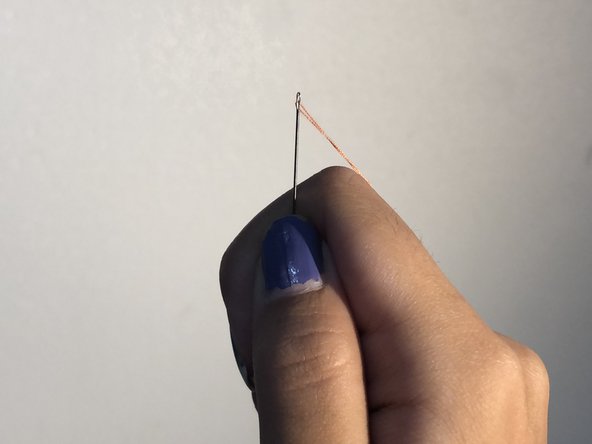
- Take the thread and insert it into the needles hole and pull approximately 30cm of the thread through.
- It is fine if there is extra thread remaining after the stitching.
- Put the two sides of the thread together to make a single thicker thread.
- Tie the end and cut the remaining thread, leaving you with a long line of thread for stitching.
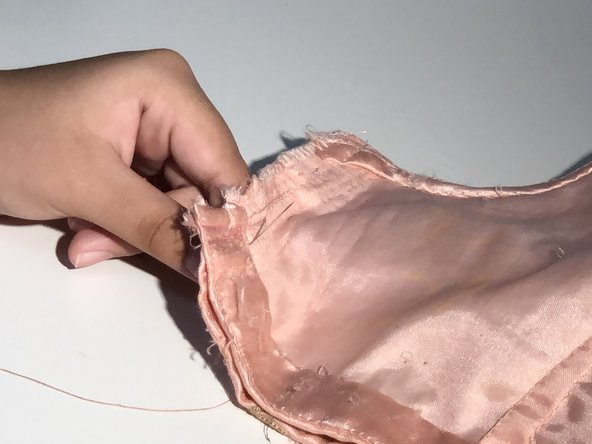
- Position the needle pointing upward at the bottom of the blouse, where it is marked with chalk to begin stitching.
- Push needle upward through both pieces of the cloth.
- Pull through the entire thread until the knotted end of the thread stops the thread from being pulled any further.
- Measure a short interval and push the needle down into the blouse again.
- Continue steps 9-11 until you reach the top of the cloth. This will create a running stitch.
- Tie a knot at the end of the stitch.
- Make sure it is close to the blouse. This photo demonstrates tying a knot away from the blouse.
- Cut the excess thread at the top and bottom of the garment.
- Repeat Steps 9-14 for the other side of the blouse.
- Normally one side of the blouse will have a zipper. In that case it is not necessary to stitch the entire way through. Rather only stitch the part of the blouse that is already closed up.
- In this image, the zipper only opens until the visible point, therefore stitch above that area.
- Flip the blouse right side out, and now you have a complete fitted Lengha blouse.