Asus Chromebook Flip C302CA Motherboard Replacement
ID: 149077
Description: If you have an Asus Chromebook Flip laptop...
Steps:
- Turn the laptop over so the bottom is facing you.
- Remove two rubber caps on the top.
- Remove the two 1 mm screws using the Phillips #00 screwdriver.
- Remove the ten 2 mm screws from the back panel using a T5 Torx screwdriver.
- Carefully remove the back panel using an opening pick.
- Remove the back panel from the laptop.
- Remove the sticker holding the cable using a pair of tweezers.
- Detach the cable from the motherboard by lifting it up with a spudger.
- Always use a plastic or nylon ESD-safe tool. Metal spudger and other sharp tools can puncture a battery, potentially causing a fire.
- Remove the two 2 mm screws holding the battery using a Phillips #00 screwdriver.
- Carefully lift up the battery from the front side to remove it from the laptop.
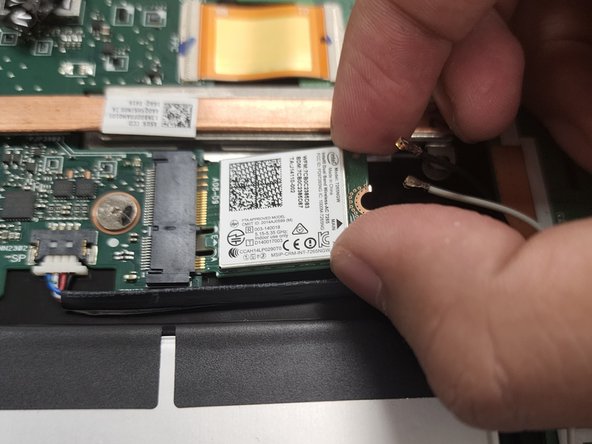
- Carefully remove the black and white cables connected to the Wi-Fi card.
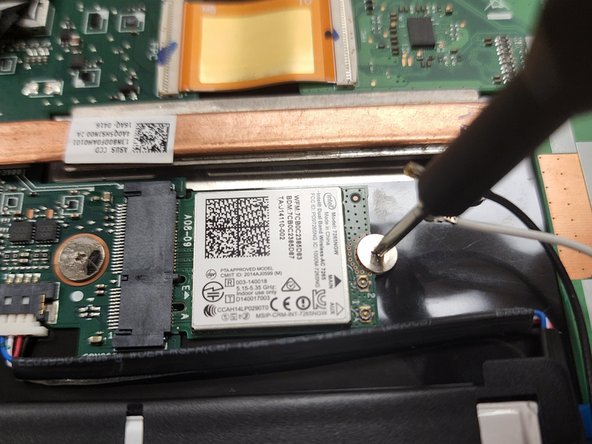
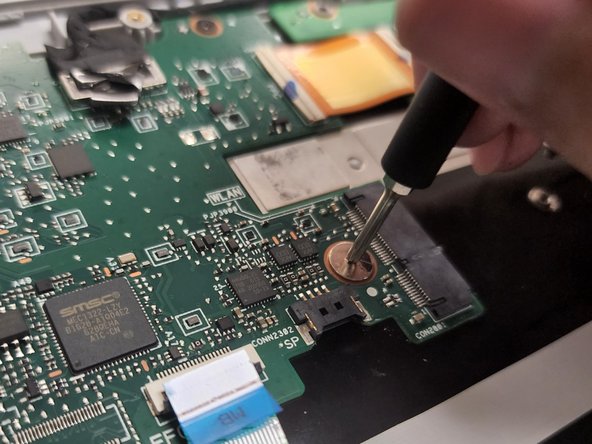
- Remove the single 2 mm screw while holding the Wi-Fi card using the Phillips #00 screwdriver.
- Remove the Wi-Fi card from the laptop.
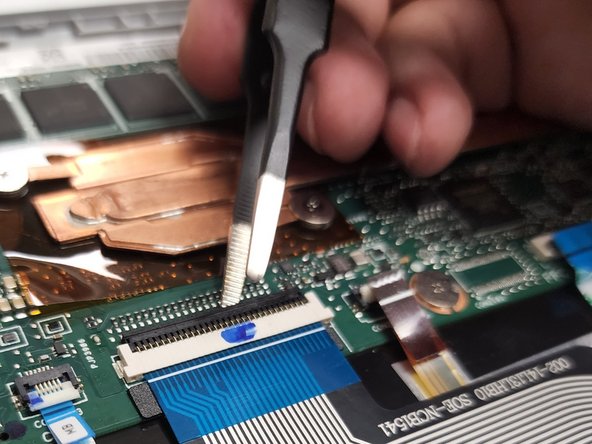
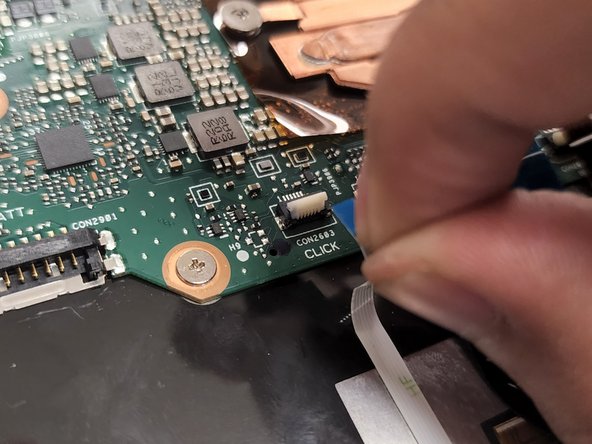
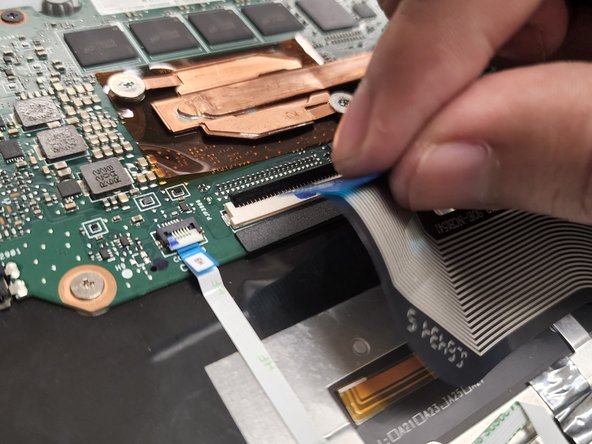
- Lift the four tabs connected to the motherboard using tweezers.
- Carefully pull out the tabs connected to the motherboard.
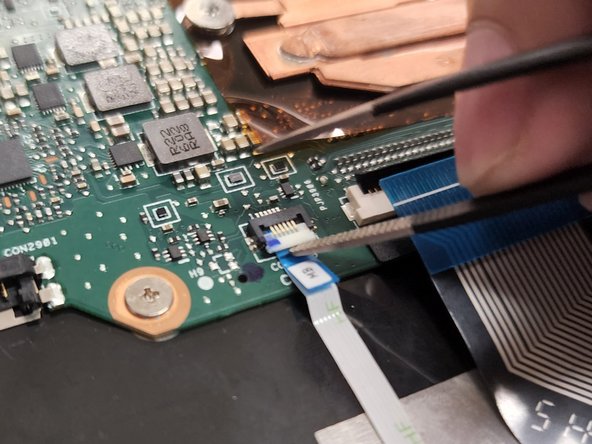
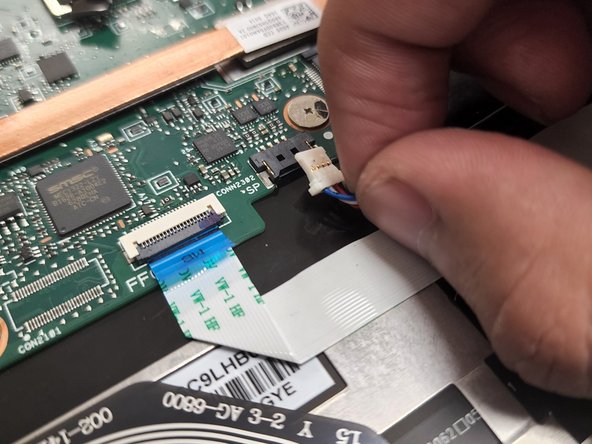
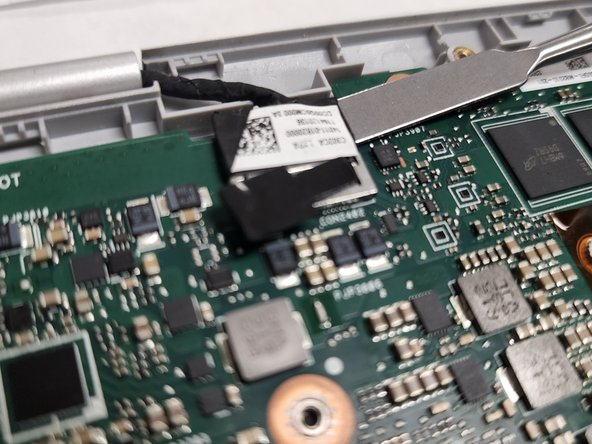
- Remove the speaker cable connected to the motherboard with tweezers.
- Careful not to damage your cable.
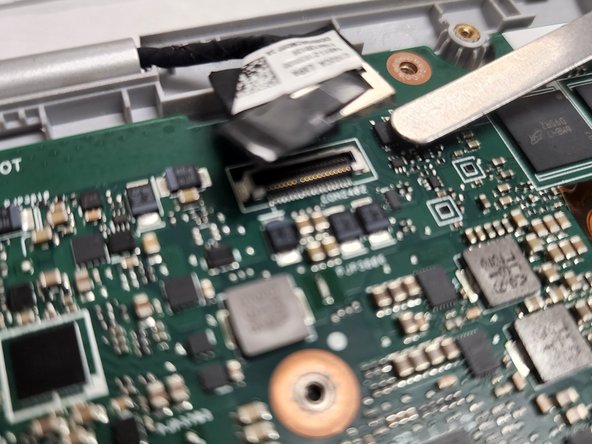
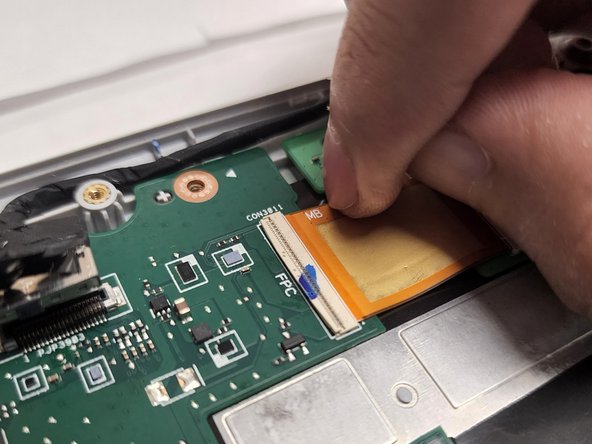
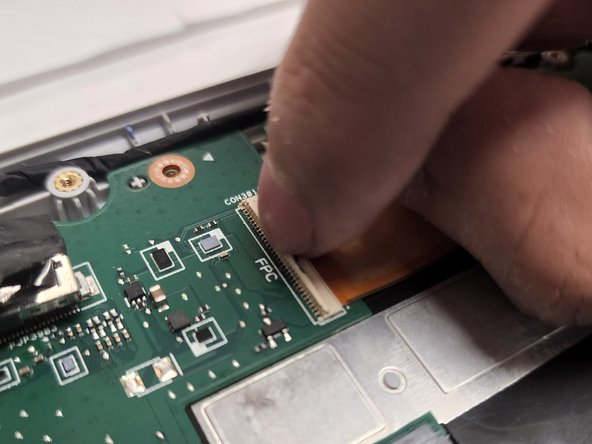
- Remove the ribbon cable from the motherboard.
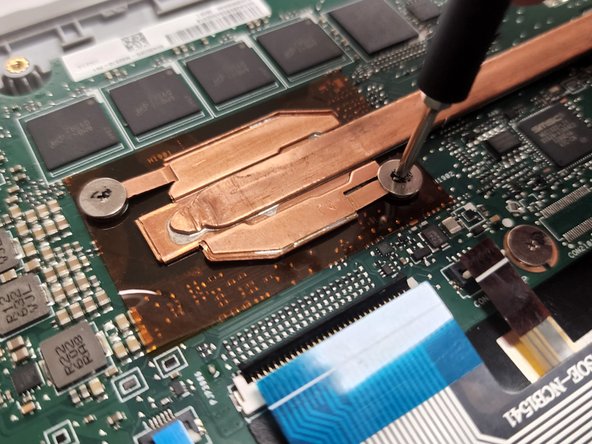
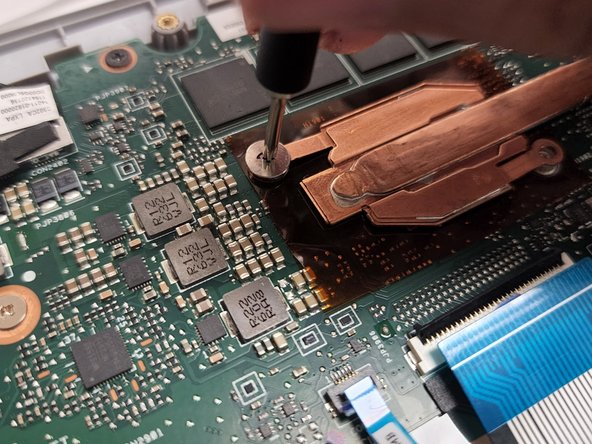
- Then, remove the two 1mm screws with a PH00 screwdriver.
- Lift and remove the copper from the right side of the motherboard.
- Remove the four 2mm screws with a PH00 screwdriver.
- Remove the six 1mm Screws with a PH00 screwdriver.
- Remove the two pictured tabs with a nylon spudger.
- Lift the tab with a small pick that connects to the ribbon cable
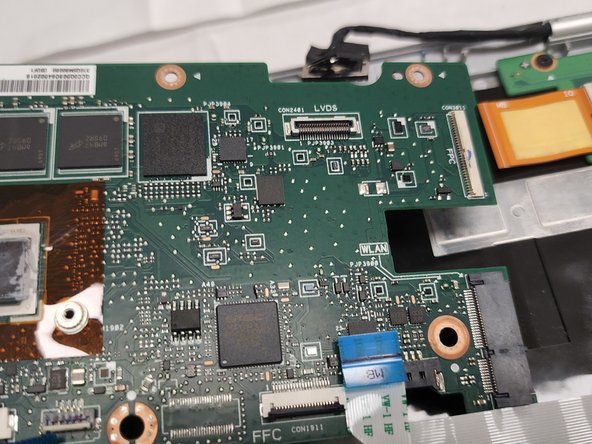
- Remove the mother from the left side of the computer