HP Chromebook 14-x010wm LCD Panel Replacement
ID: 149085
Description: This guide will walk you through all the steps...
Steps:
- First, remove the 4 circled rubber feet on the base of the laptop to expose the screws beneath them.
- If you experience difficulty removing them, use a pair of tweezers to aid in the removal.
- Remove the 5.7mm screws from the back of the laptop.
- Remember, there are screws located beneath the rubber feet removed in the previous step.
- Open the laptop.
- Use an opening tool to separate the keyboard assembly from the rest of the computer by prying the two pieces apart.
- Do this along the perimeter of the keyboard assembly to ensure it is fully seperated.
- Continue to the next step before removing the newly separated keyboard!
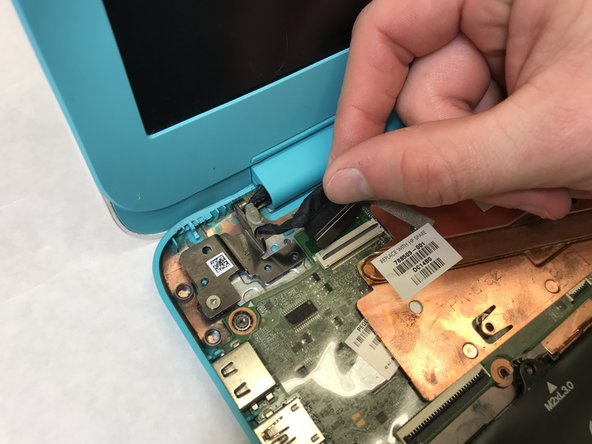
- Once separated, carefully lift the keyboard assembly up and gently detach the two ribbon cables from the motherboard.
- Lift the black ZIF tab that secures the cable. That will allow the cable to be pulled out freely.
- Detatch the display ribbon cable from the motherboard.
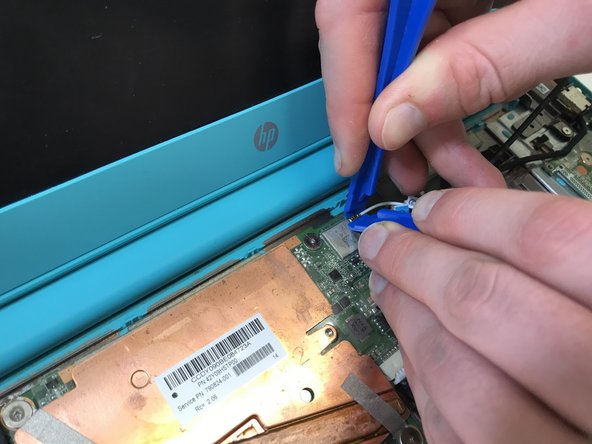
- Gently pull the the black and white coaxial Wi-Fi cables from the motherboard.
- The ribbon cable can be removed as in the previous step. To remove the coaxial cables, use the opening tool to pop them off their terminals.
- This step is optional but will greatly decrease the difficulty of the rest of the assembly.
- To separate the screen assembly from the rest of the computer, remove the two screws that hold the hinges in place using the #00 phillips screwdriver.
- The screen assembly can now be separated from the rest of the laptop.
- Next, using the opening tool to sperate the frame from the screen-assembly backing.
- Insert the opening tool at the base and work around the perimeter. It may be necessary to use the tool on the inside perimeter of the frame.
- There is also glue holding the assembly together, so take your time. It may take a few passes with the opening tool before the parts separate.
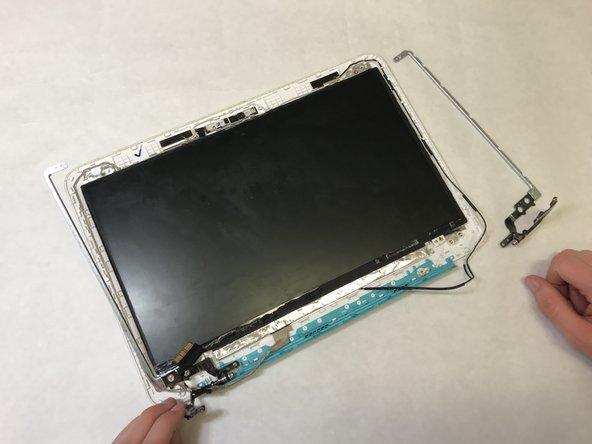
- Before the screen can be removed, the hinges need to be taken out of the screen assembly.
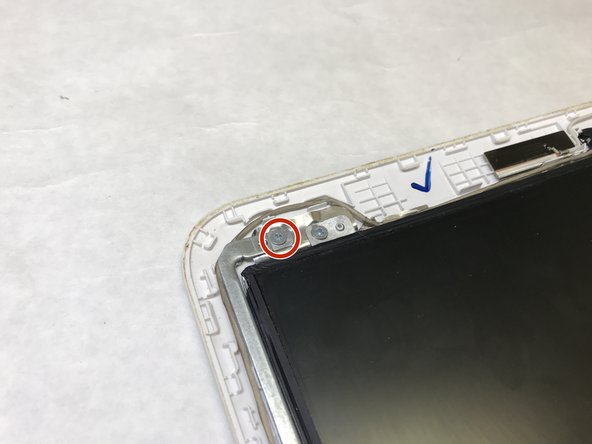
- There are 4 screws holding each hinge in place: 3 at the base and 1 at the top. Use the #00 Phillips screwdriver to remove them.
- Once all the screws are removed, the hinges can be lifted out.
- Remove the four Phillips #00 screws that secure the screen.
- There are two at the base and two on the opposite side of the screen at the top.
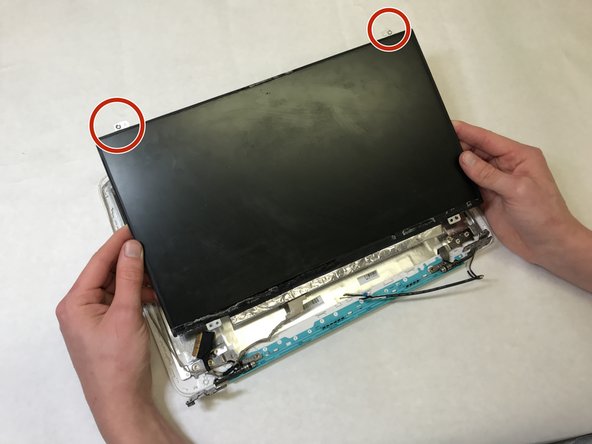
- Once the screws are removed, the screen can be lifted out, but it is still attached by a ribbon cable.
- As you lift out the screen, be sure to detach the ribbon cable from the back.
- If necessary, untuck the cables connected to the screen from the plastic hooks that hold them in place.
- With that, you have successfully removed the screen from your HP Chromebook! Reverse the steps to install a new screen.